How to Make a Mask…Sewing in the time of COVID-19

In this crazy time of the pandemic, most of my sewing time has been spent making masks. I’m not a “machine” like some of my sewist friends. But, I have developed a procedure that works for me.

I’m going to share it with you, in case it helps you to make a mask.

To start, you need:

  • One piece of fabric 7.5″ x 15″ (it’s a good idea to wash the fabric first, before you cut it)
  • Four strips of fabric that are 18″ long and about 2″ wide. I cut my strips to a 1 and 7/8″ width, which seems ridiculous, but works for me.
  • I also use a piece of fusible interfacing to give the mask a little body. If you want to, use a piece that is 7.5″ x 7.5″.
  • One new twist tie, the kind you get at the supermarket in the produce section.
  • One piece of cardboard (I use a file folder) cut to about 3″ x 2″.
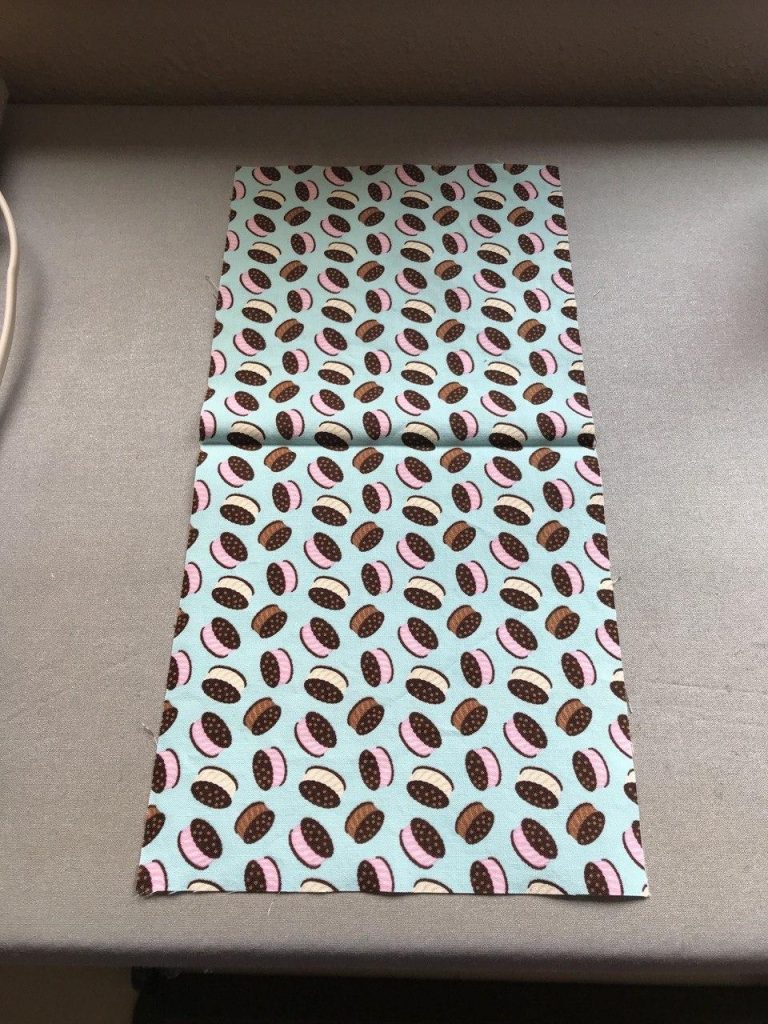
So, here we go.

Take your 15 x 7.5″ fabric and fold it so that the right sides are together.

Now is the time you can press the interfacing to one half of the fabric.
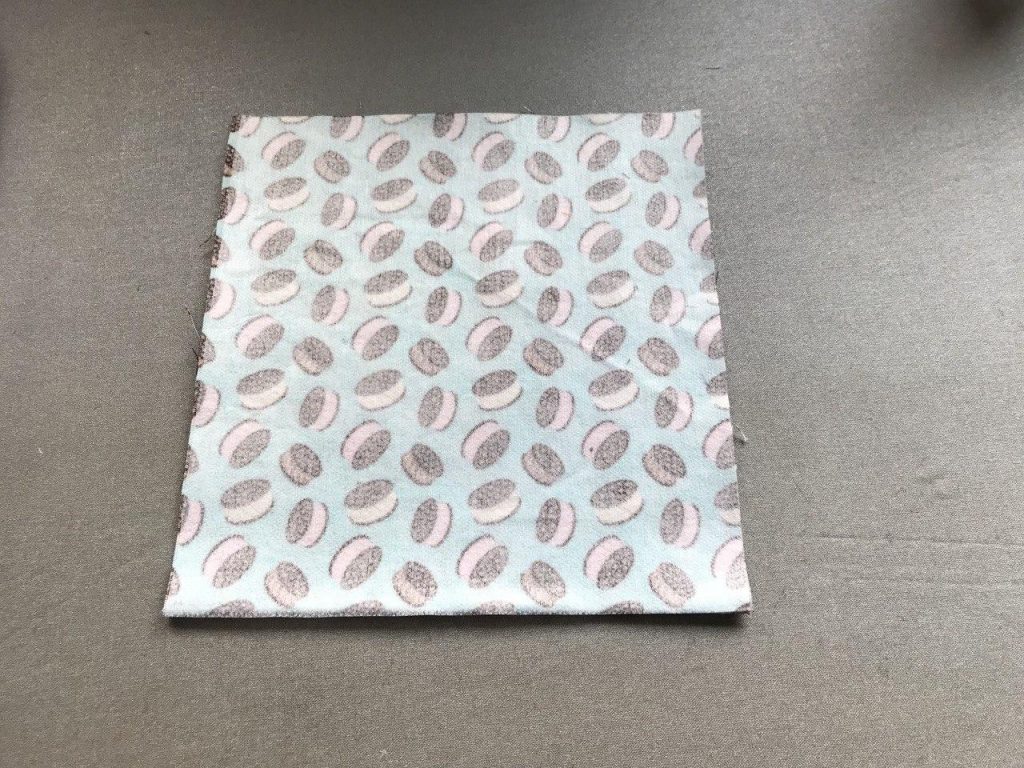
Next, sew across the bottom of the fabric, opposite where the fold is. BUT, you need to leave about 1.5″ open in the center. So, sew in from the edge, leave 1.5″ unsewn, and sew to the other side.
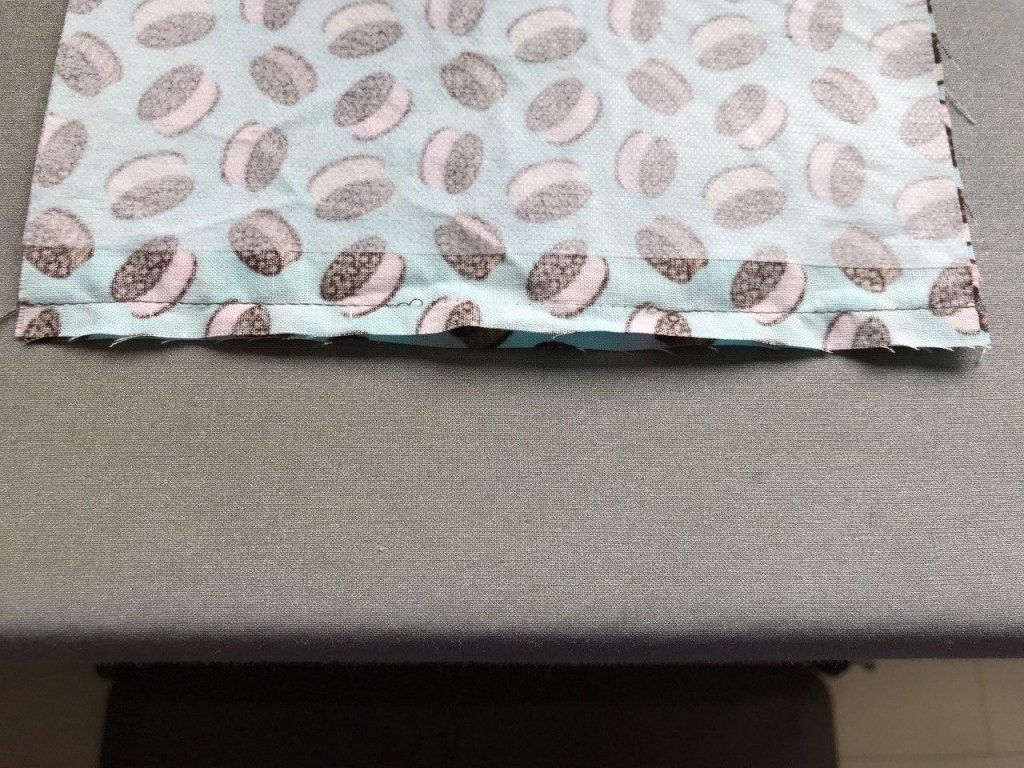
Now you need to make the cords. I find this part to be the trickiest and most time-consuming. When I first started making masks, I used elastic that would go behind the ear. But, two things happened:

  1. I ran out of elastic.
  2. I realized that if you wear hearing aids like I do, it is not possible to have the elastic around your ear AND your hearing aid in at the same time. Inevitably, the hearing aid pops off your head. And you don’t want to lose a $4,000 hearing aid! (Did you know they are that expensive? Each? Ack!)

Okay – so to make the cords, you want to take a strip that you cut and do a double fold, like you are making bias binding.
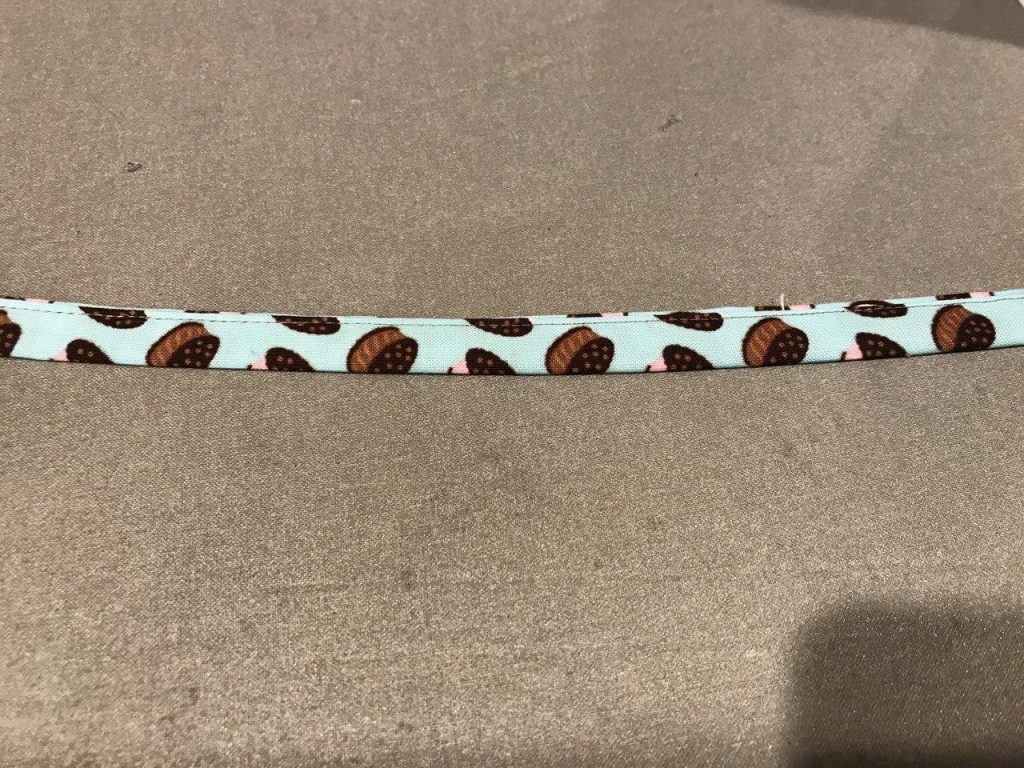
This way, you don’t have any raw edges sticking out.

So, on the Free Spirit website, I found a YouTube video on how to make a little jig to do the double fold. You use cardboard – I used a file folder. Here is the jig:
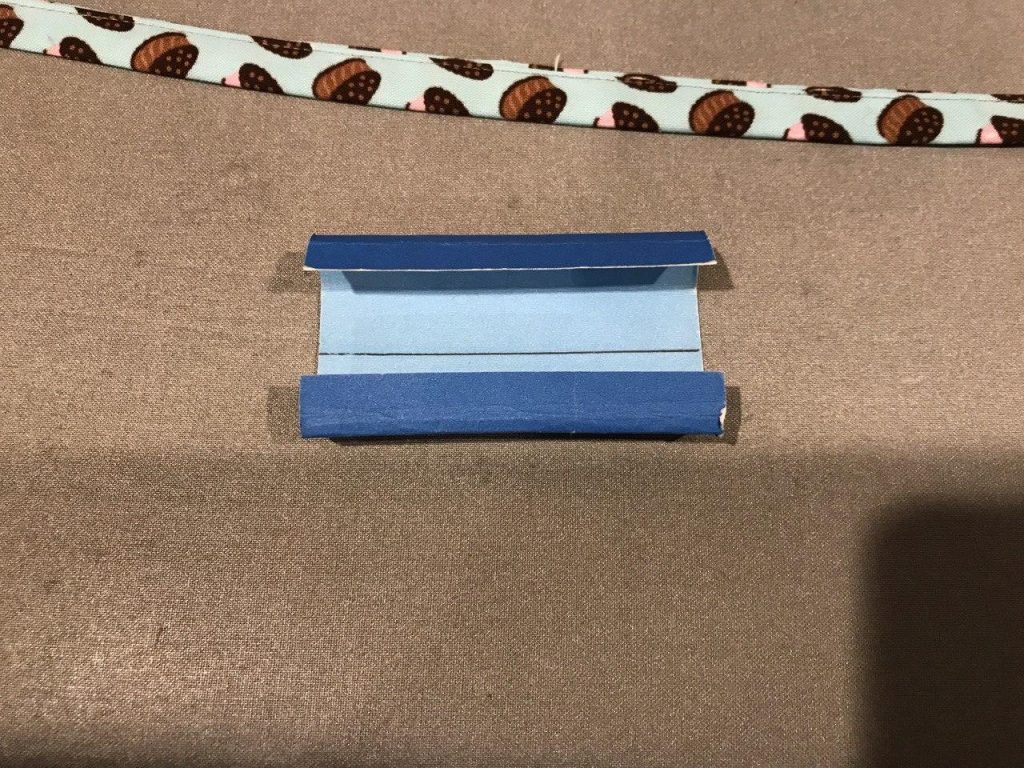
All you do is put the fabric into the jib, fold it up, and press it. Move the jig down the fabric (or the fabric through the jig…same thing) until you’ve gone all the way to the end of the strip. however, I highly recommend that you starch the strips before you do this. It makes the creases hold better and it is easier to work with. I like Best Press for this sort of thing.
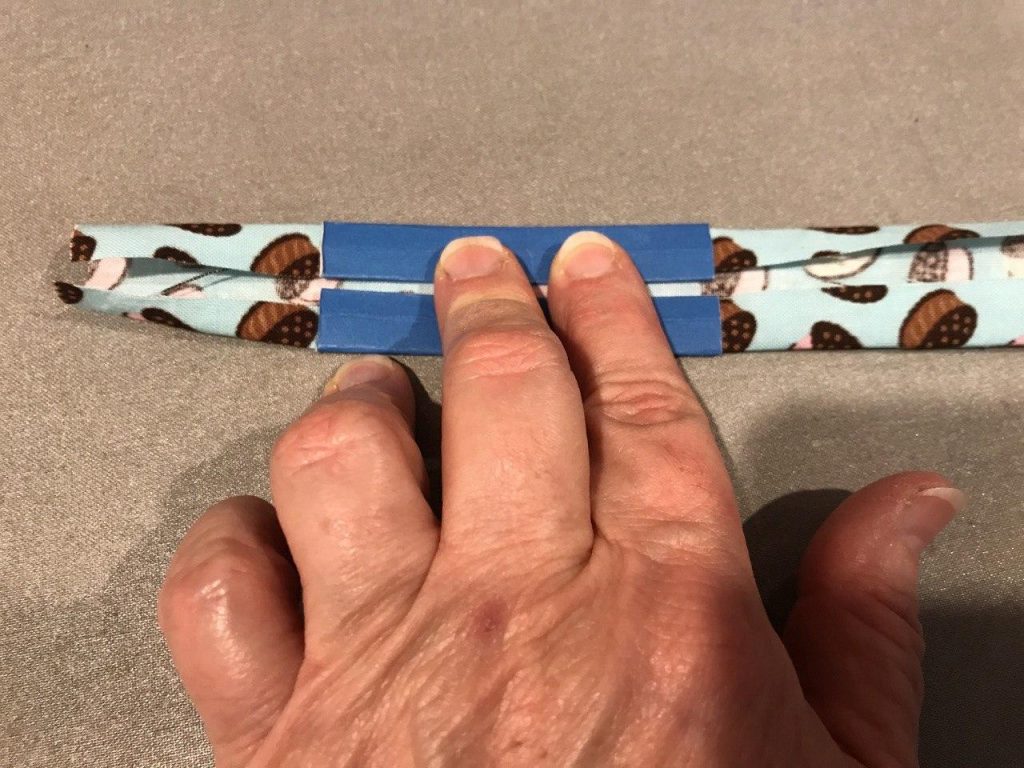
After you’ve gone down the length of the strip, press it in half and sew it so it looks like this:
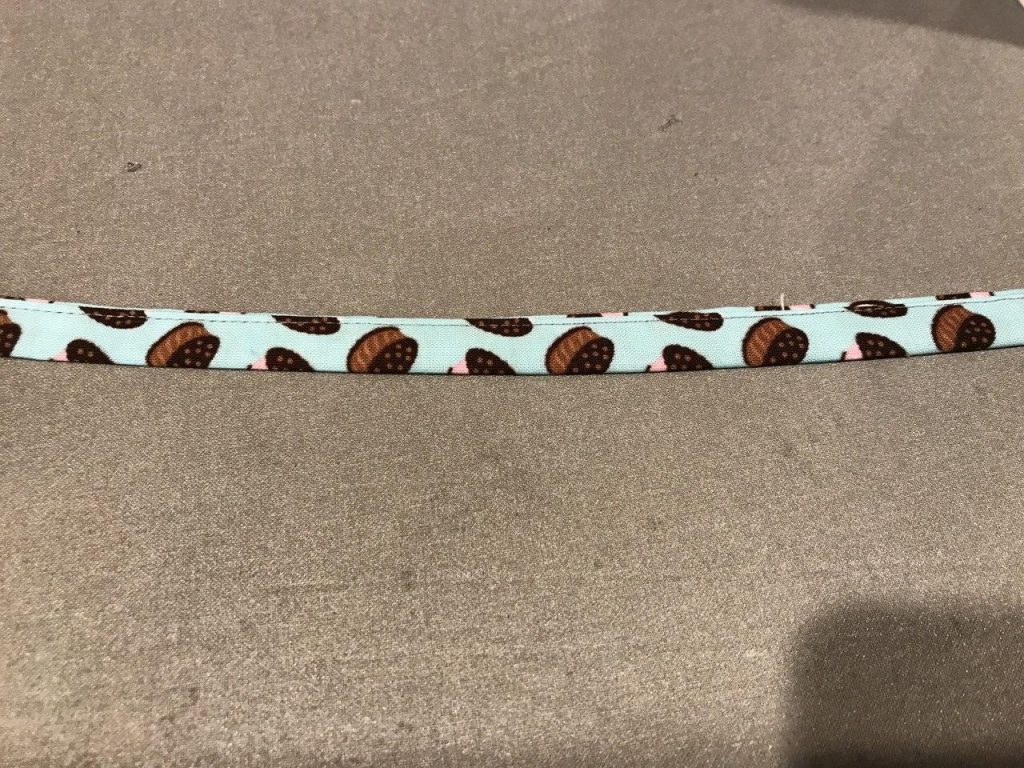
Do this for all four strips of fabric. Don’t burn your fingers!

Now that your strips are all pressed and sewn, it is time to attach them to the mask.

The body of the mask should still be sitting waiting for you, folded right sides together and pressed. And you have the bottom sewn with the 1.5″ opening in the middle. (That was up there, at the beginning of the post.)

Take a strip (that is now all done and is really a cord), and align it with the top of the mask – but on the INSIDE. And do the same for the bottom – on the INSIDE. I put one on the upper right and the other on the lower left. You’ll see why.
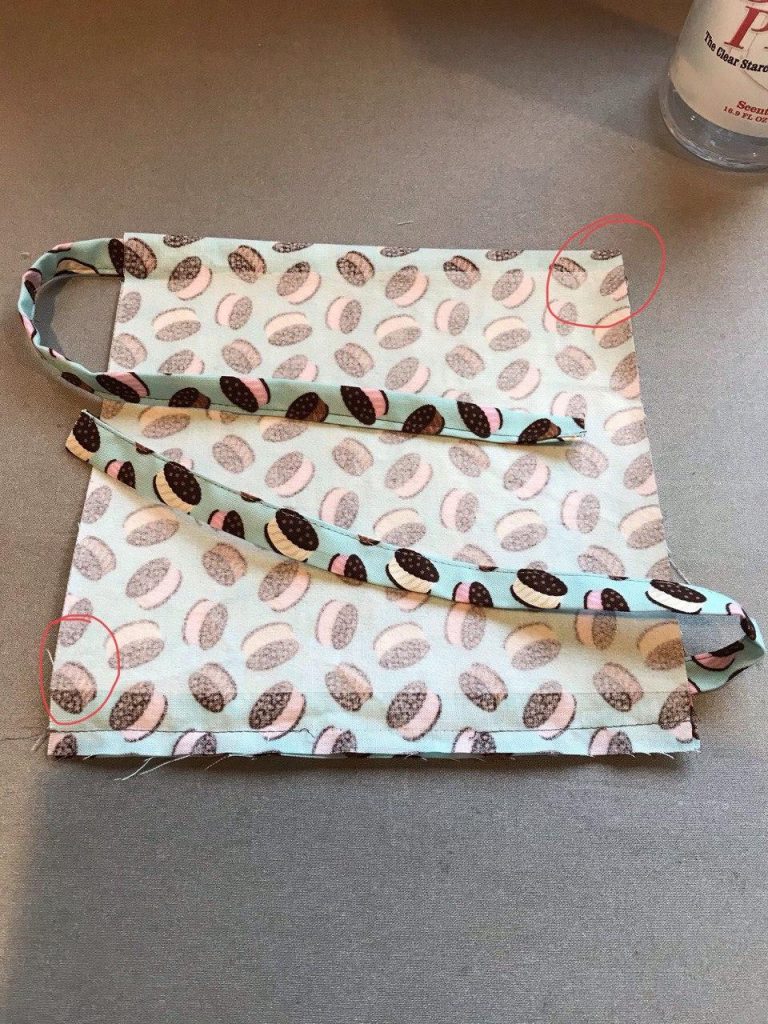
In those marked red circles is the edge of the cord.

Keeping the cords INSIDE the sandwich, sew halfway down each side. Like this:
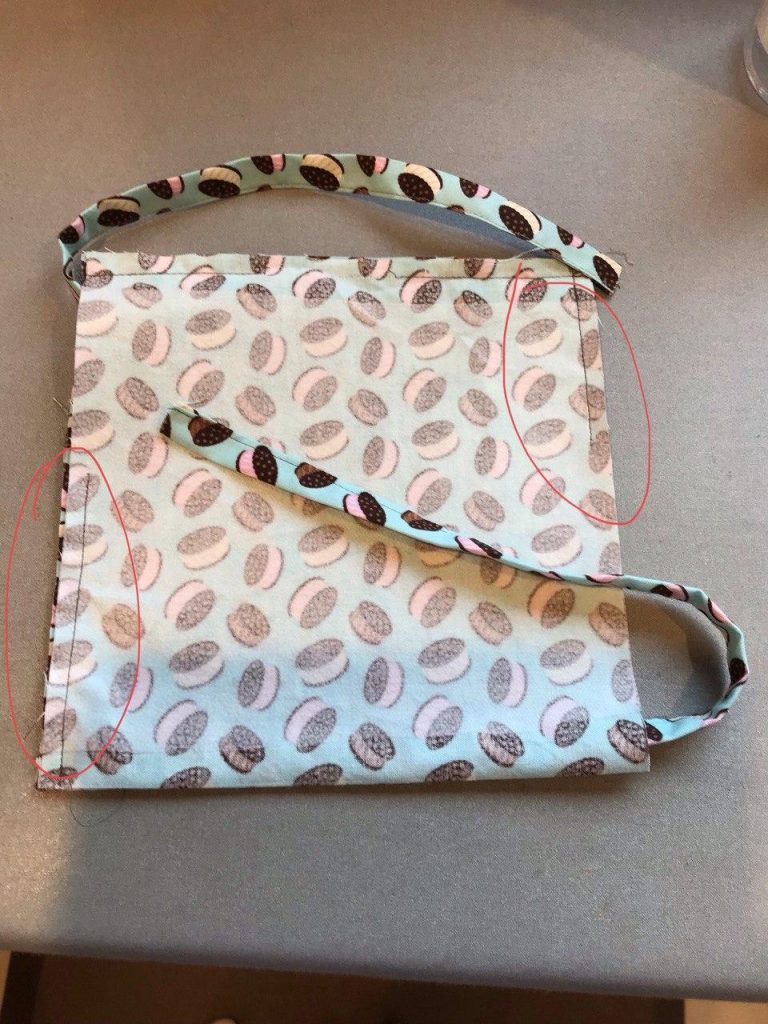
See how I sewed halfway, but I sewed over the cord?

Next, sew the other two chords and sew all the way down the side. At this point, I like to pull the loose ends of the chords through than 1.5″ opening in the bottom of the mask. It keeps them out of the way and lets the mask lie relatively flat.
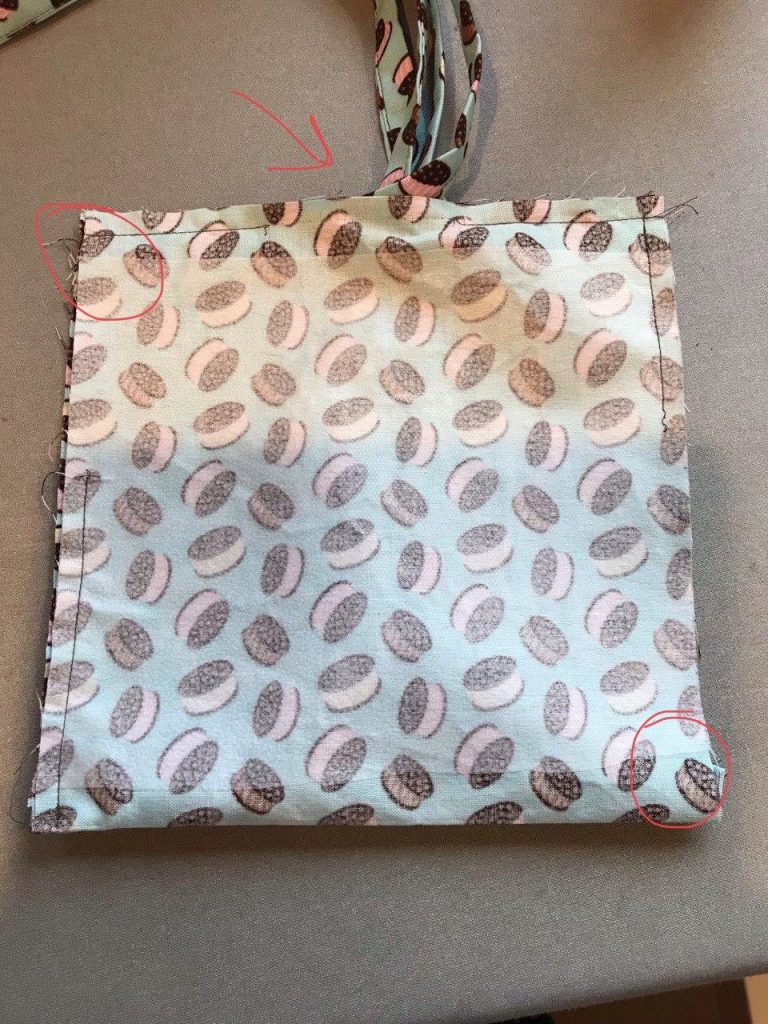
Now all four cords are sewn in.
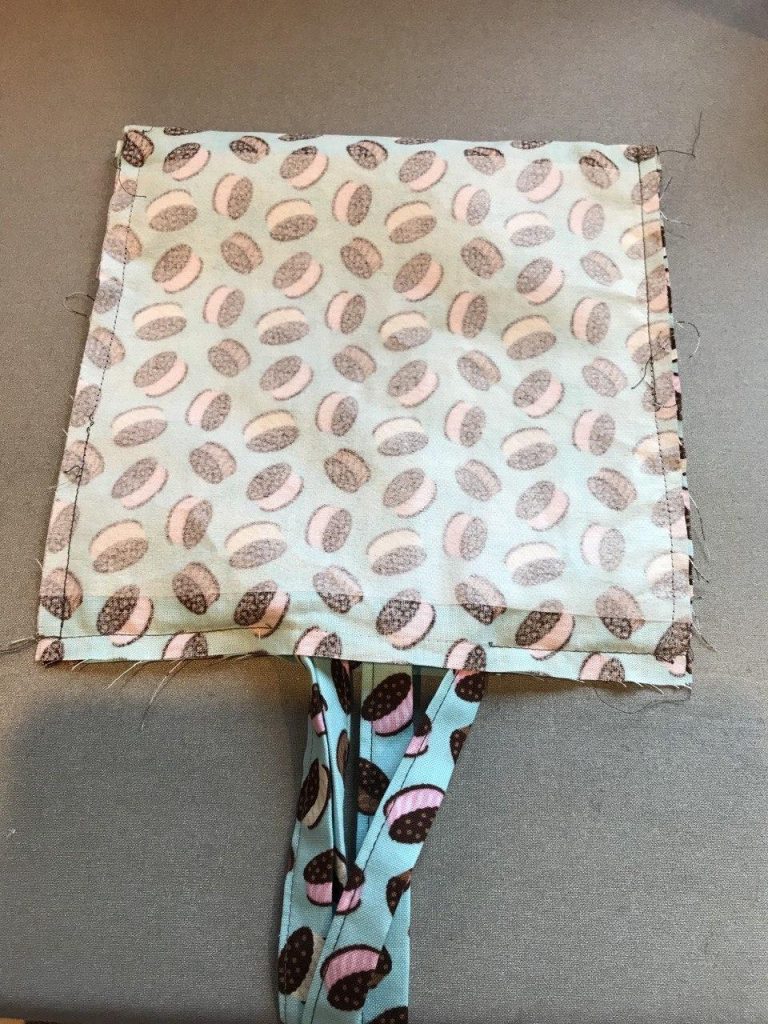
Flip the mask so that the right sides are facing out and the cords are too.
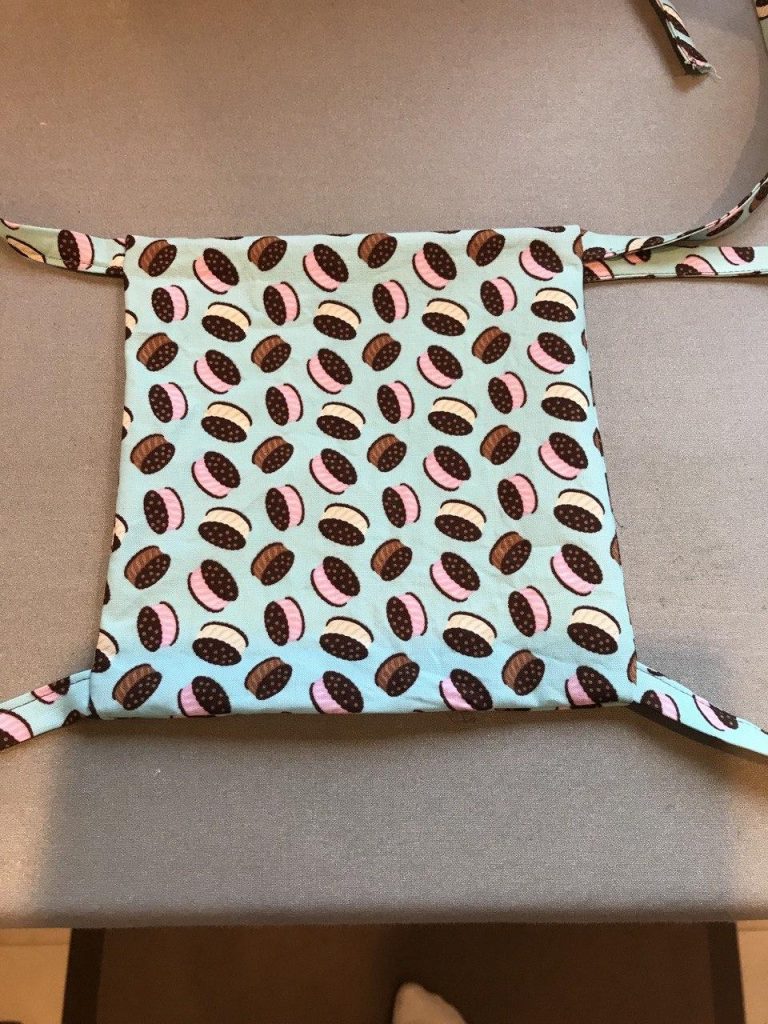
Take the supermarket twist tie and put it INSIDE the mask, at the top, in the middle. Right about here:
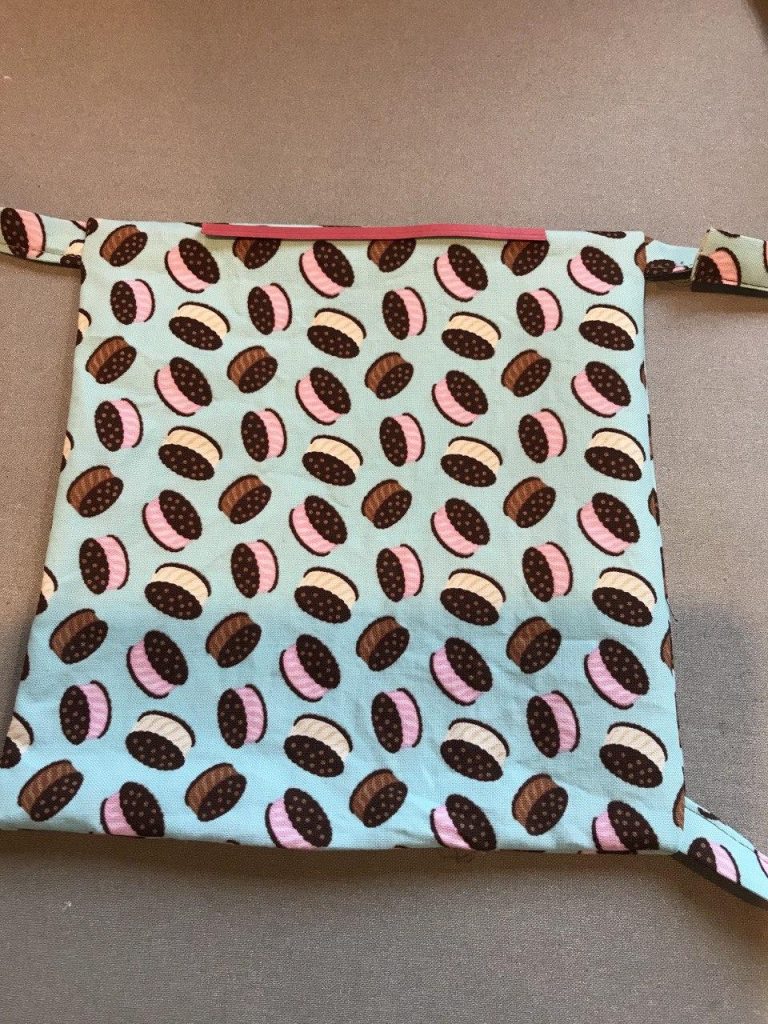
This is the bendy part that goes over your nose. Sometimes I need to use tweezers to line up the twist tie INSIDE in the right place.

Sew across so that the twist tie is secured in the little pocket you just made for it.

Next, sew across the bottom, so that you seal up the 1.5″ opening that you used for the cords and twist tie.
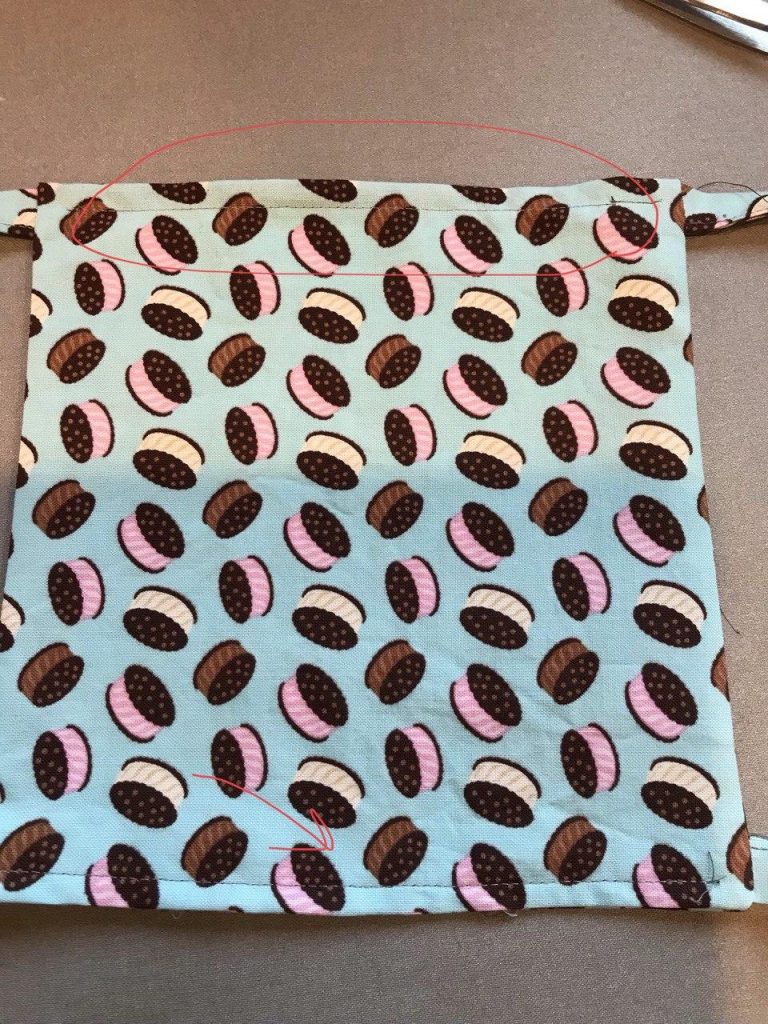
Now fold three pleats into the fabric. I always pin down the pleats. Some people measure and use precision. I just fold them and pin them. This is a utilitarian mask, not the next work of art. Who has the time?
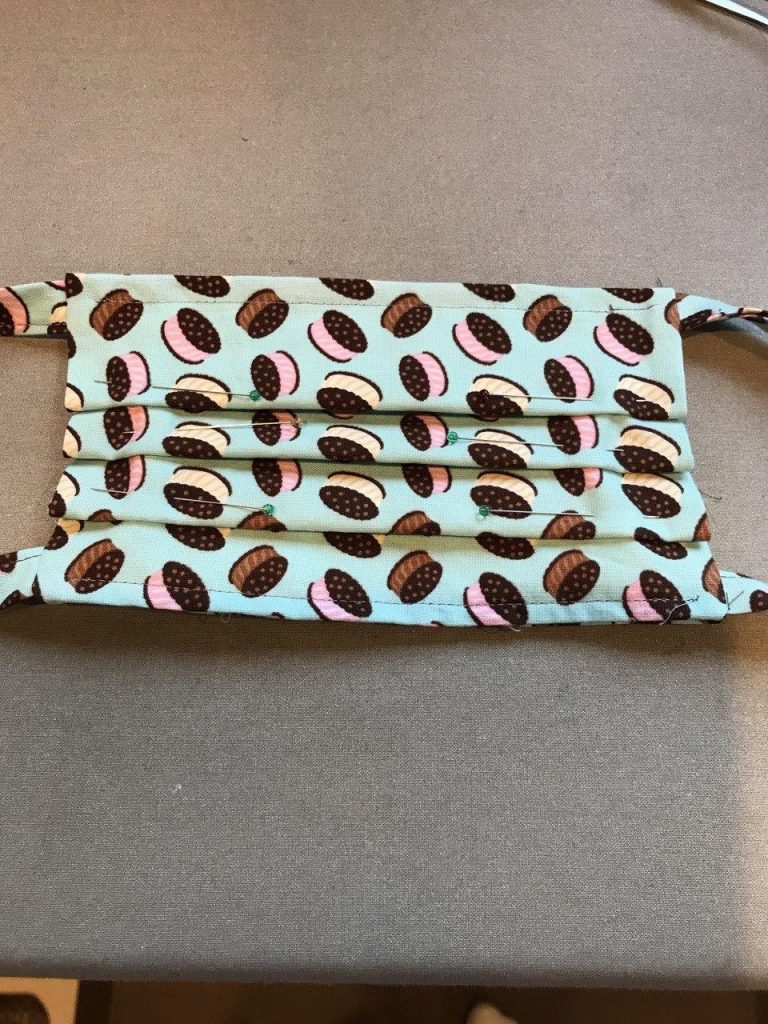
Sew down both sides – you may have to fiddle with the presser foot to make sure the folds don’t get caught in the back.

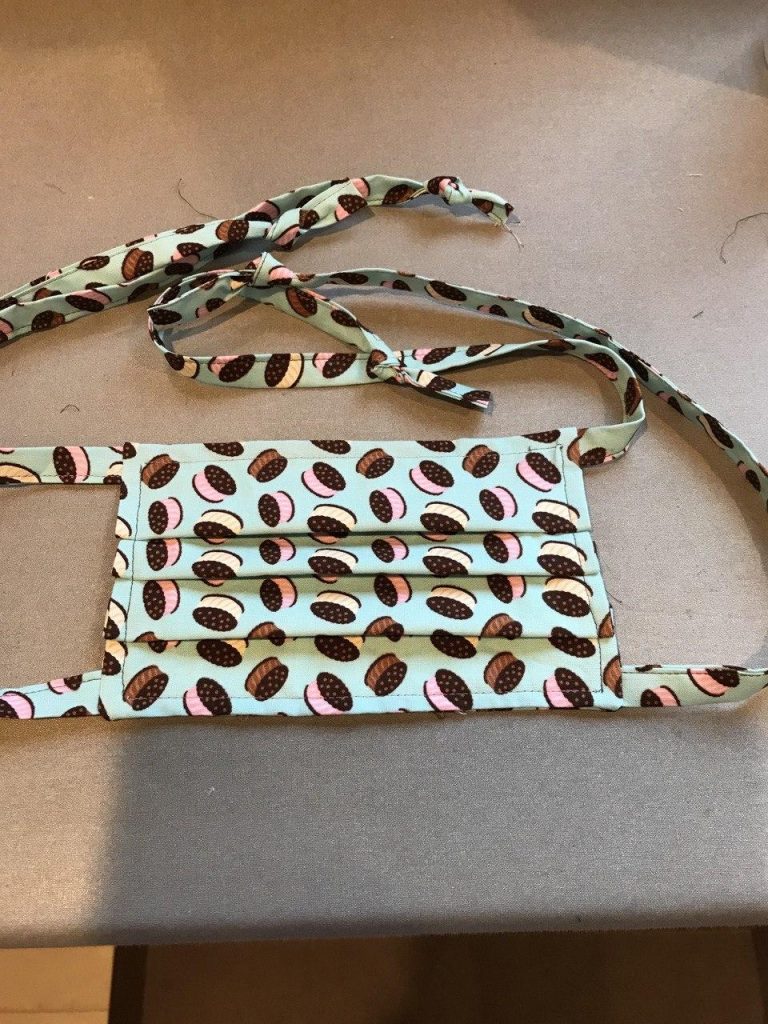
Remove the pins, press the mask. Then, I like to tie knots in the end of each chord. And VOILA! You’ve made a mask!
The Quilt that “Made It”

As you probably noticed, I love using Kaffe Fassett fabric. The colors are amazing and the designs are even better. There are three fabric designers who work in the Kaffe Fassett Collective: Kaffe Fassett, Brandon Mably, and Philip Jacobs.

Philip Jacobs designs amazing florals and other nature-based prints. He is my all-time favorite. I’m like a fan girl of his fabric.

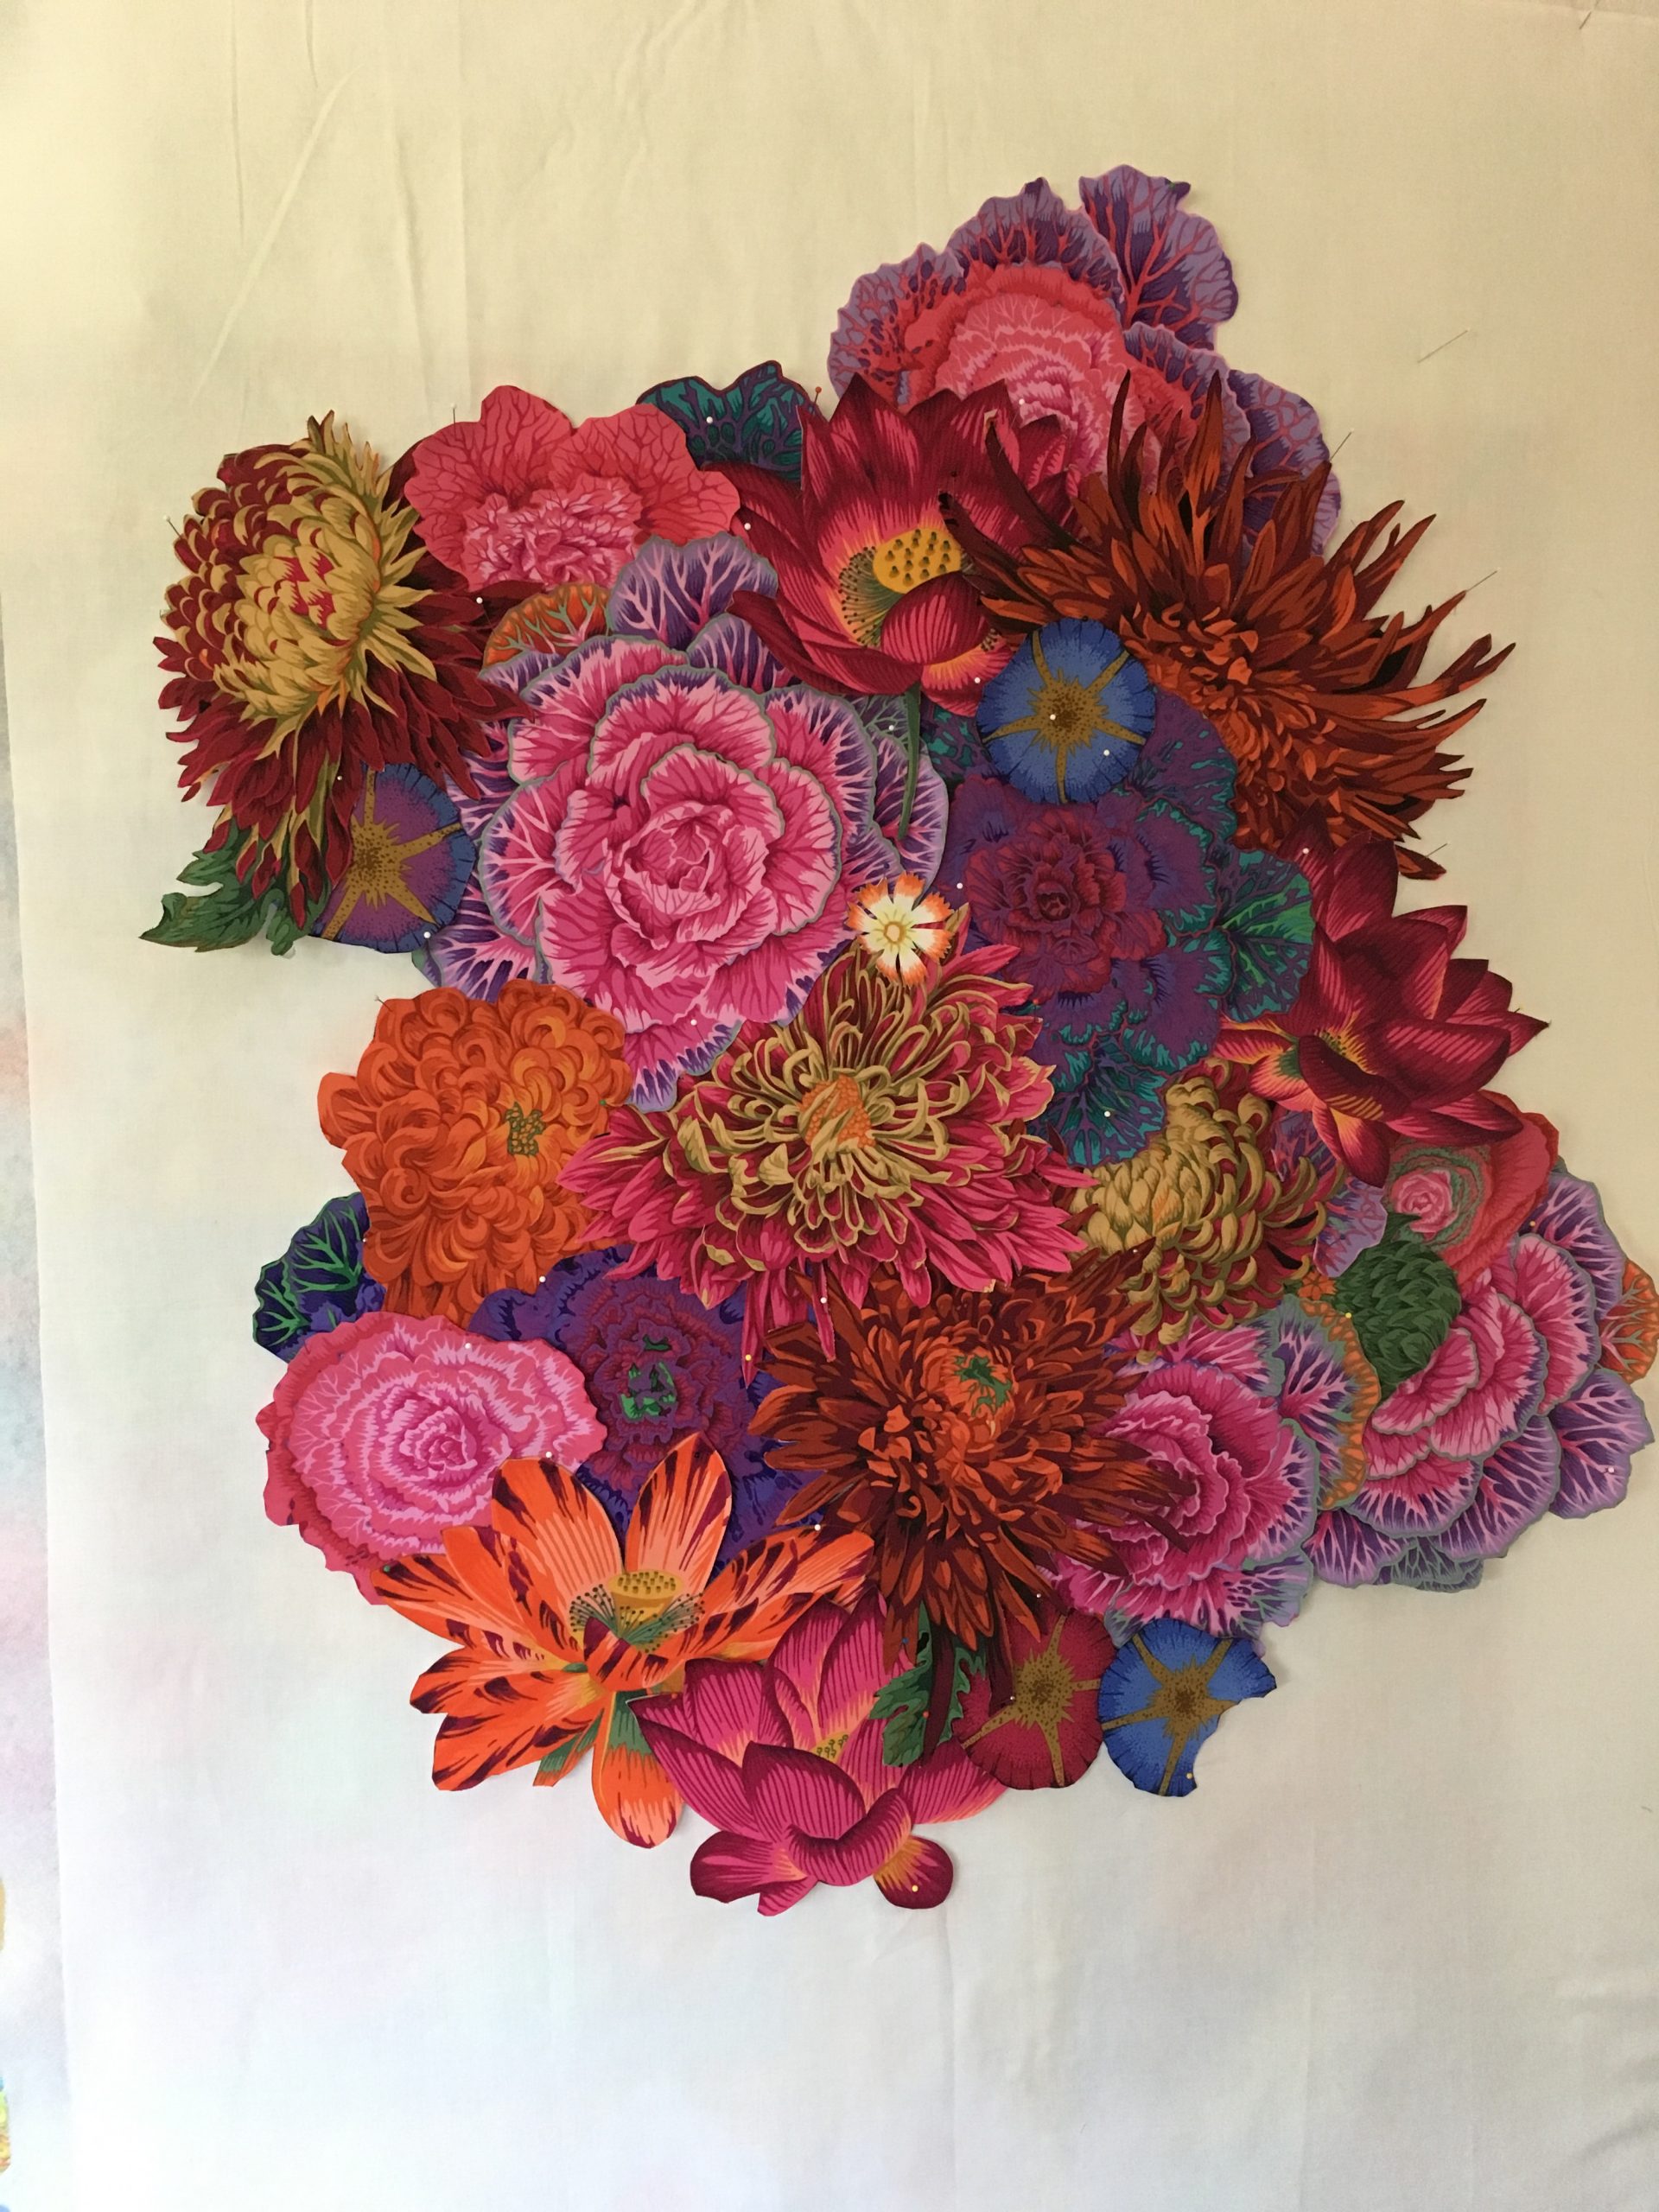
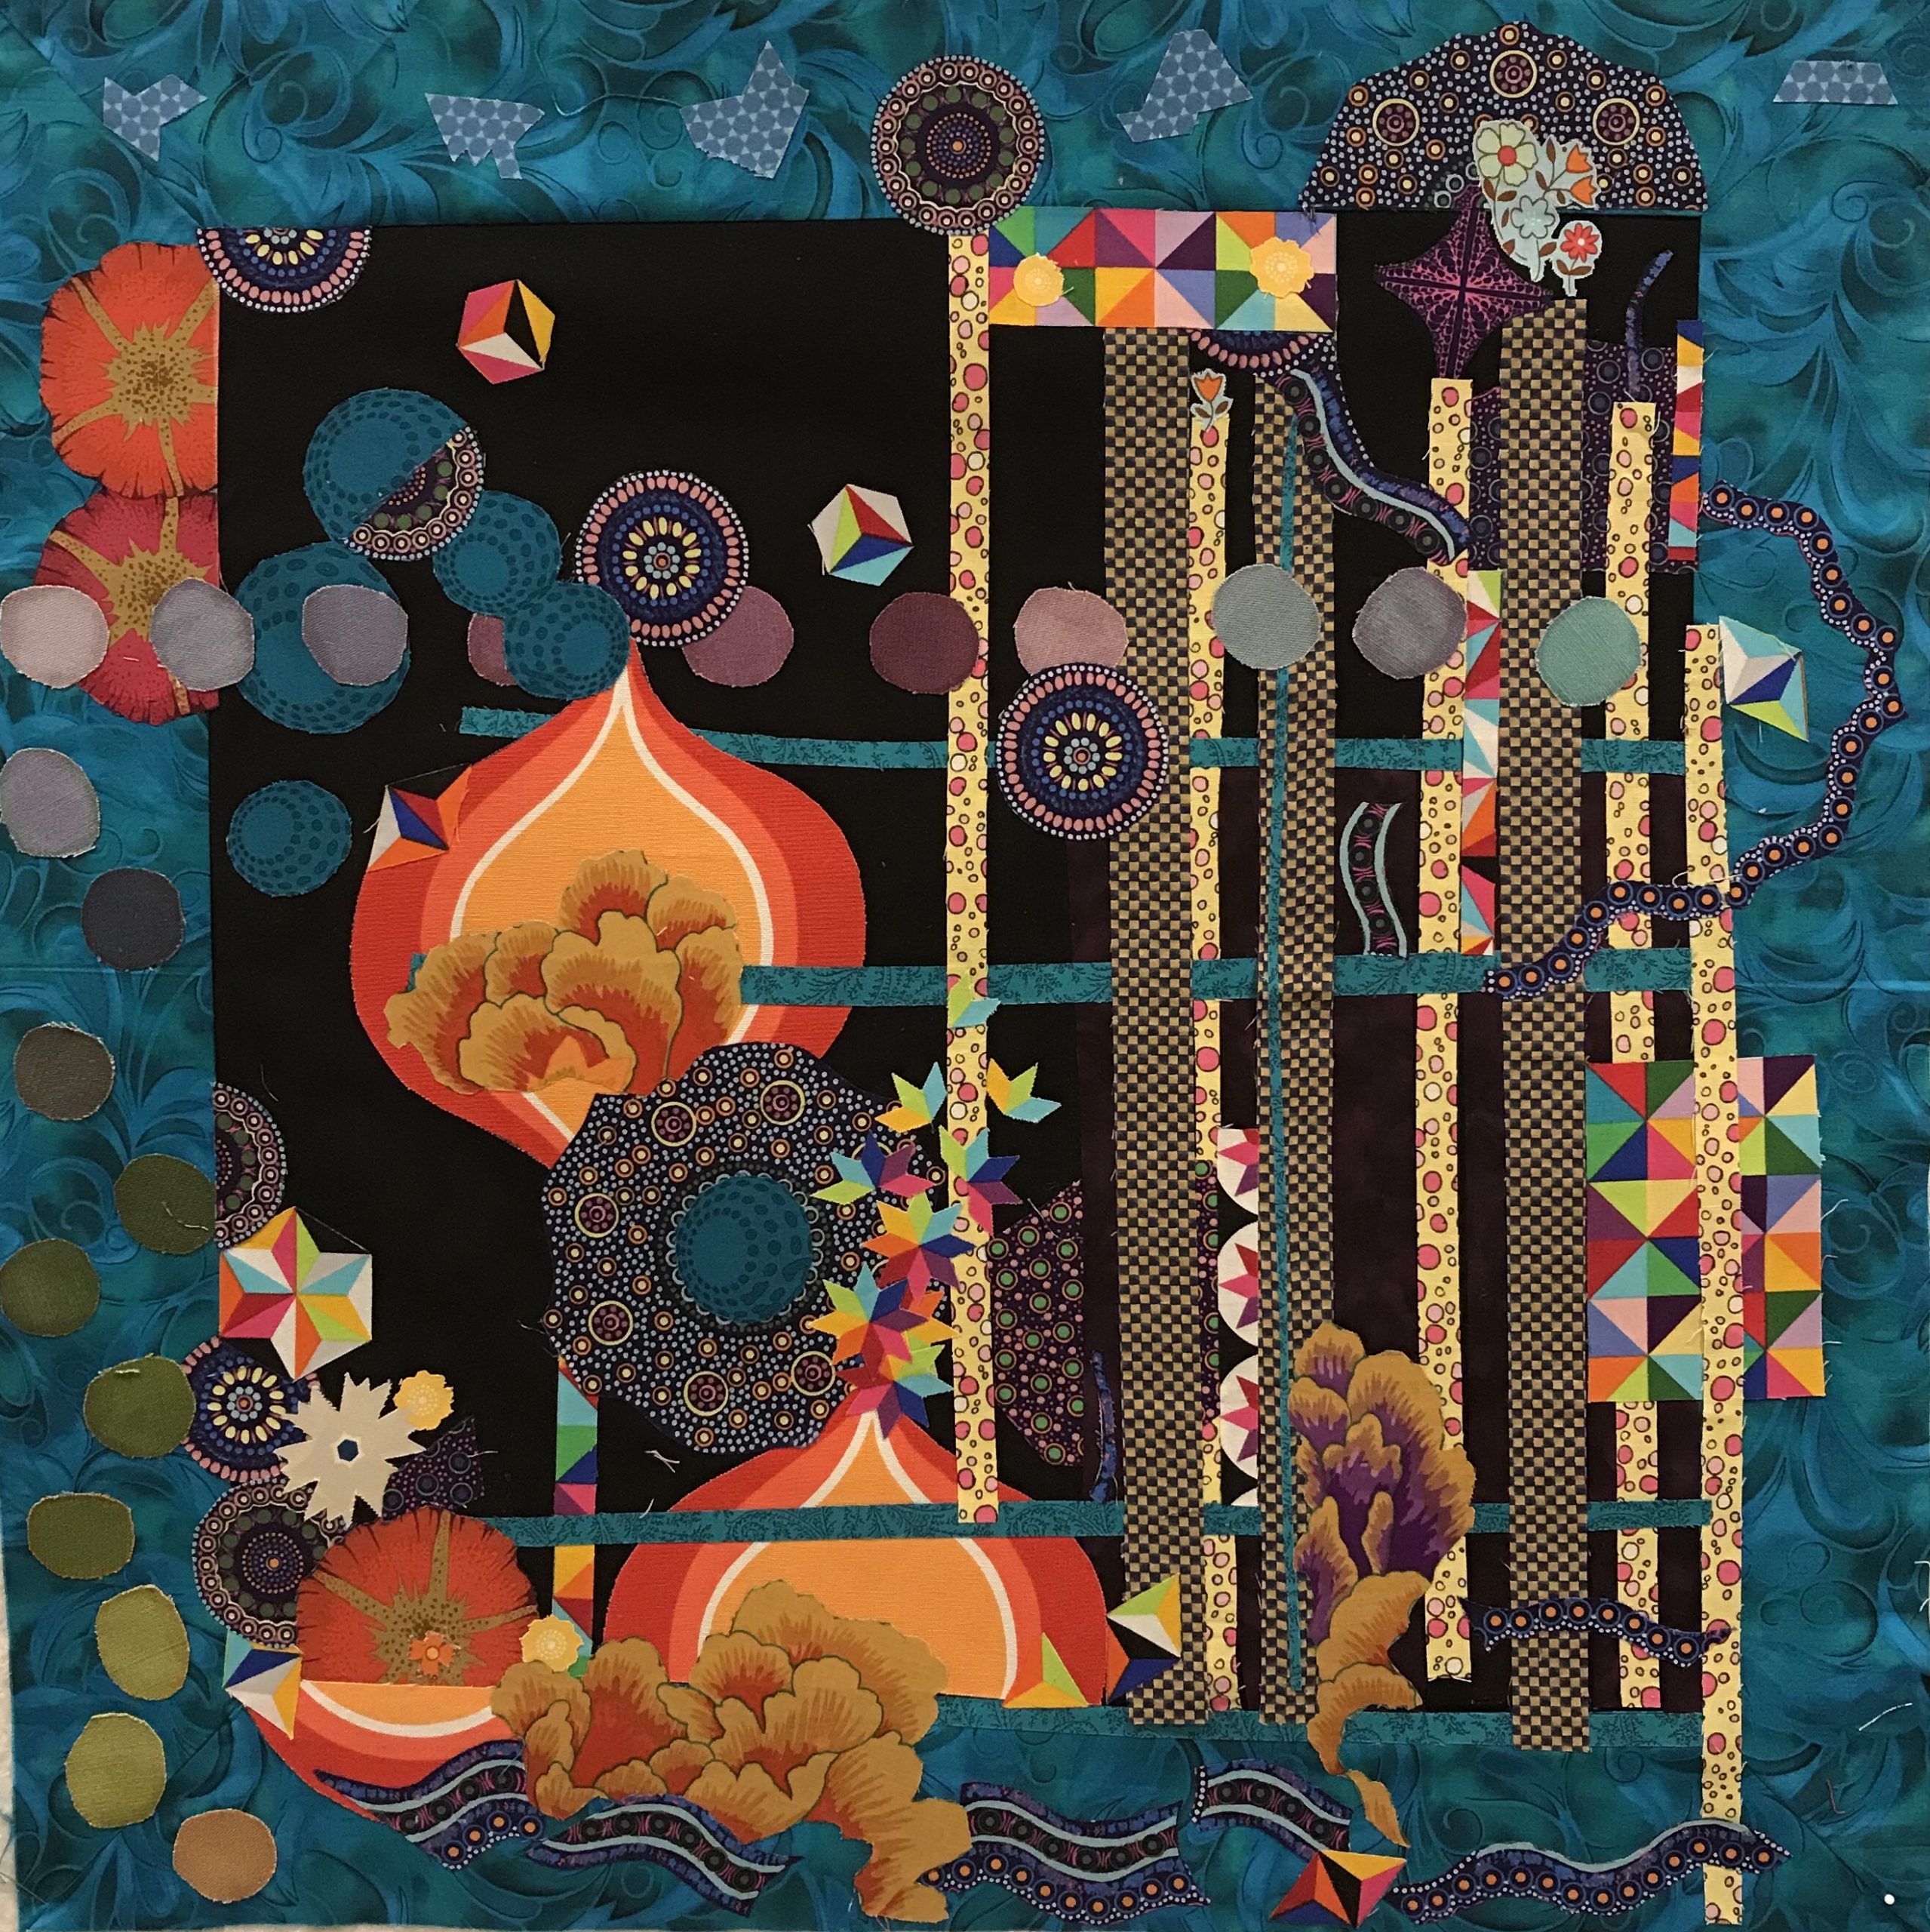
In this quilt, I took a bunch (I mean a lot) of different fabrics and fussy cut the flowers and leaves. Fussy cutting is when you painstakingly select and cut specific areas of a fabric. It’s very fussy.

So I fussy cut lots of flowers and then I started putting them up on my design wall.

I was really enjoying how the prints were coming together. But, then I realized I had left out a critical step – fusing the fusible web onto the back of the fabric. Fusible web is like glue. You iron it on to the back of fabric and then the fabric sticks to pretty much anything else that you press it on to.

So, I had to take all of the pieces down and start over. I couldn’t quite get it to come together exactly the same way. But I kept going anyway.

When I reached the edges of my backing, I was done.

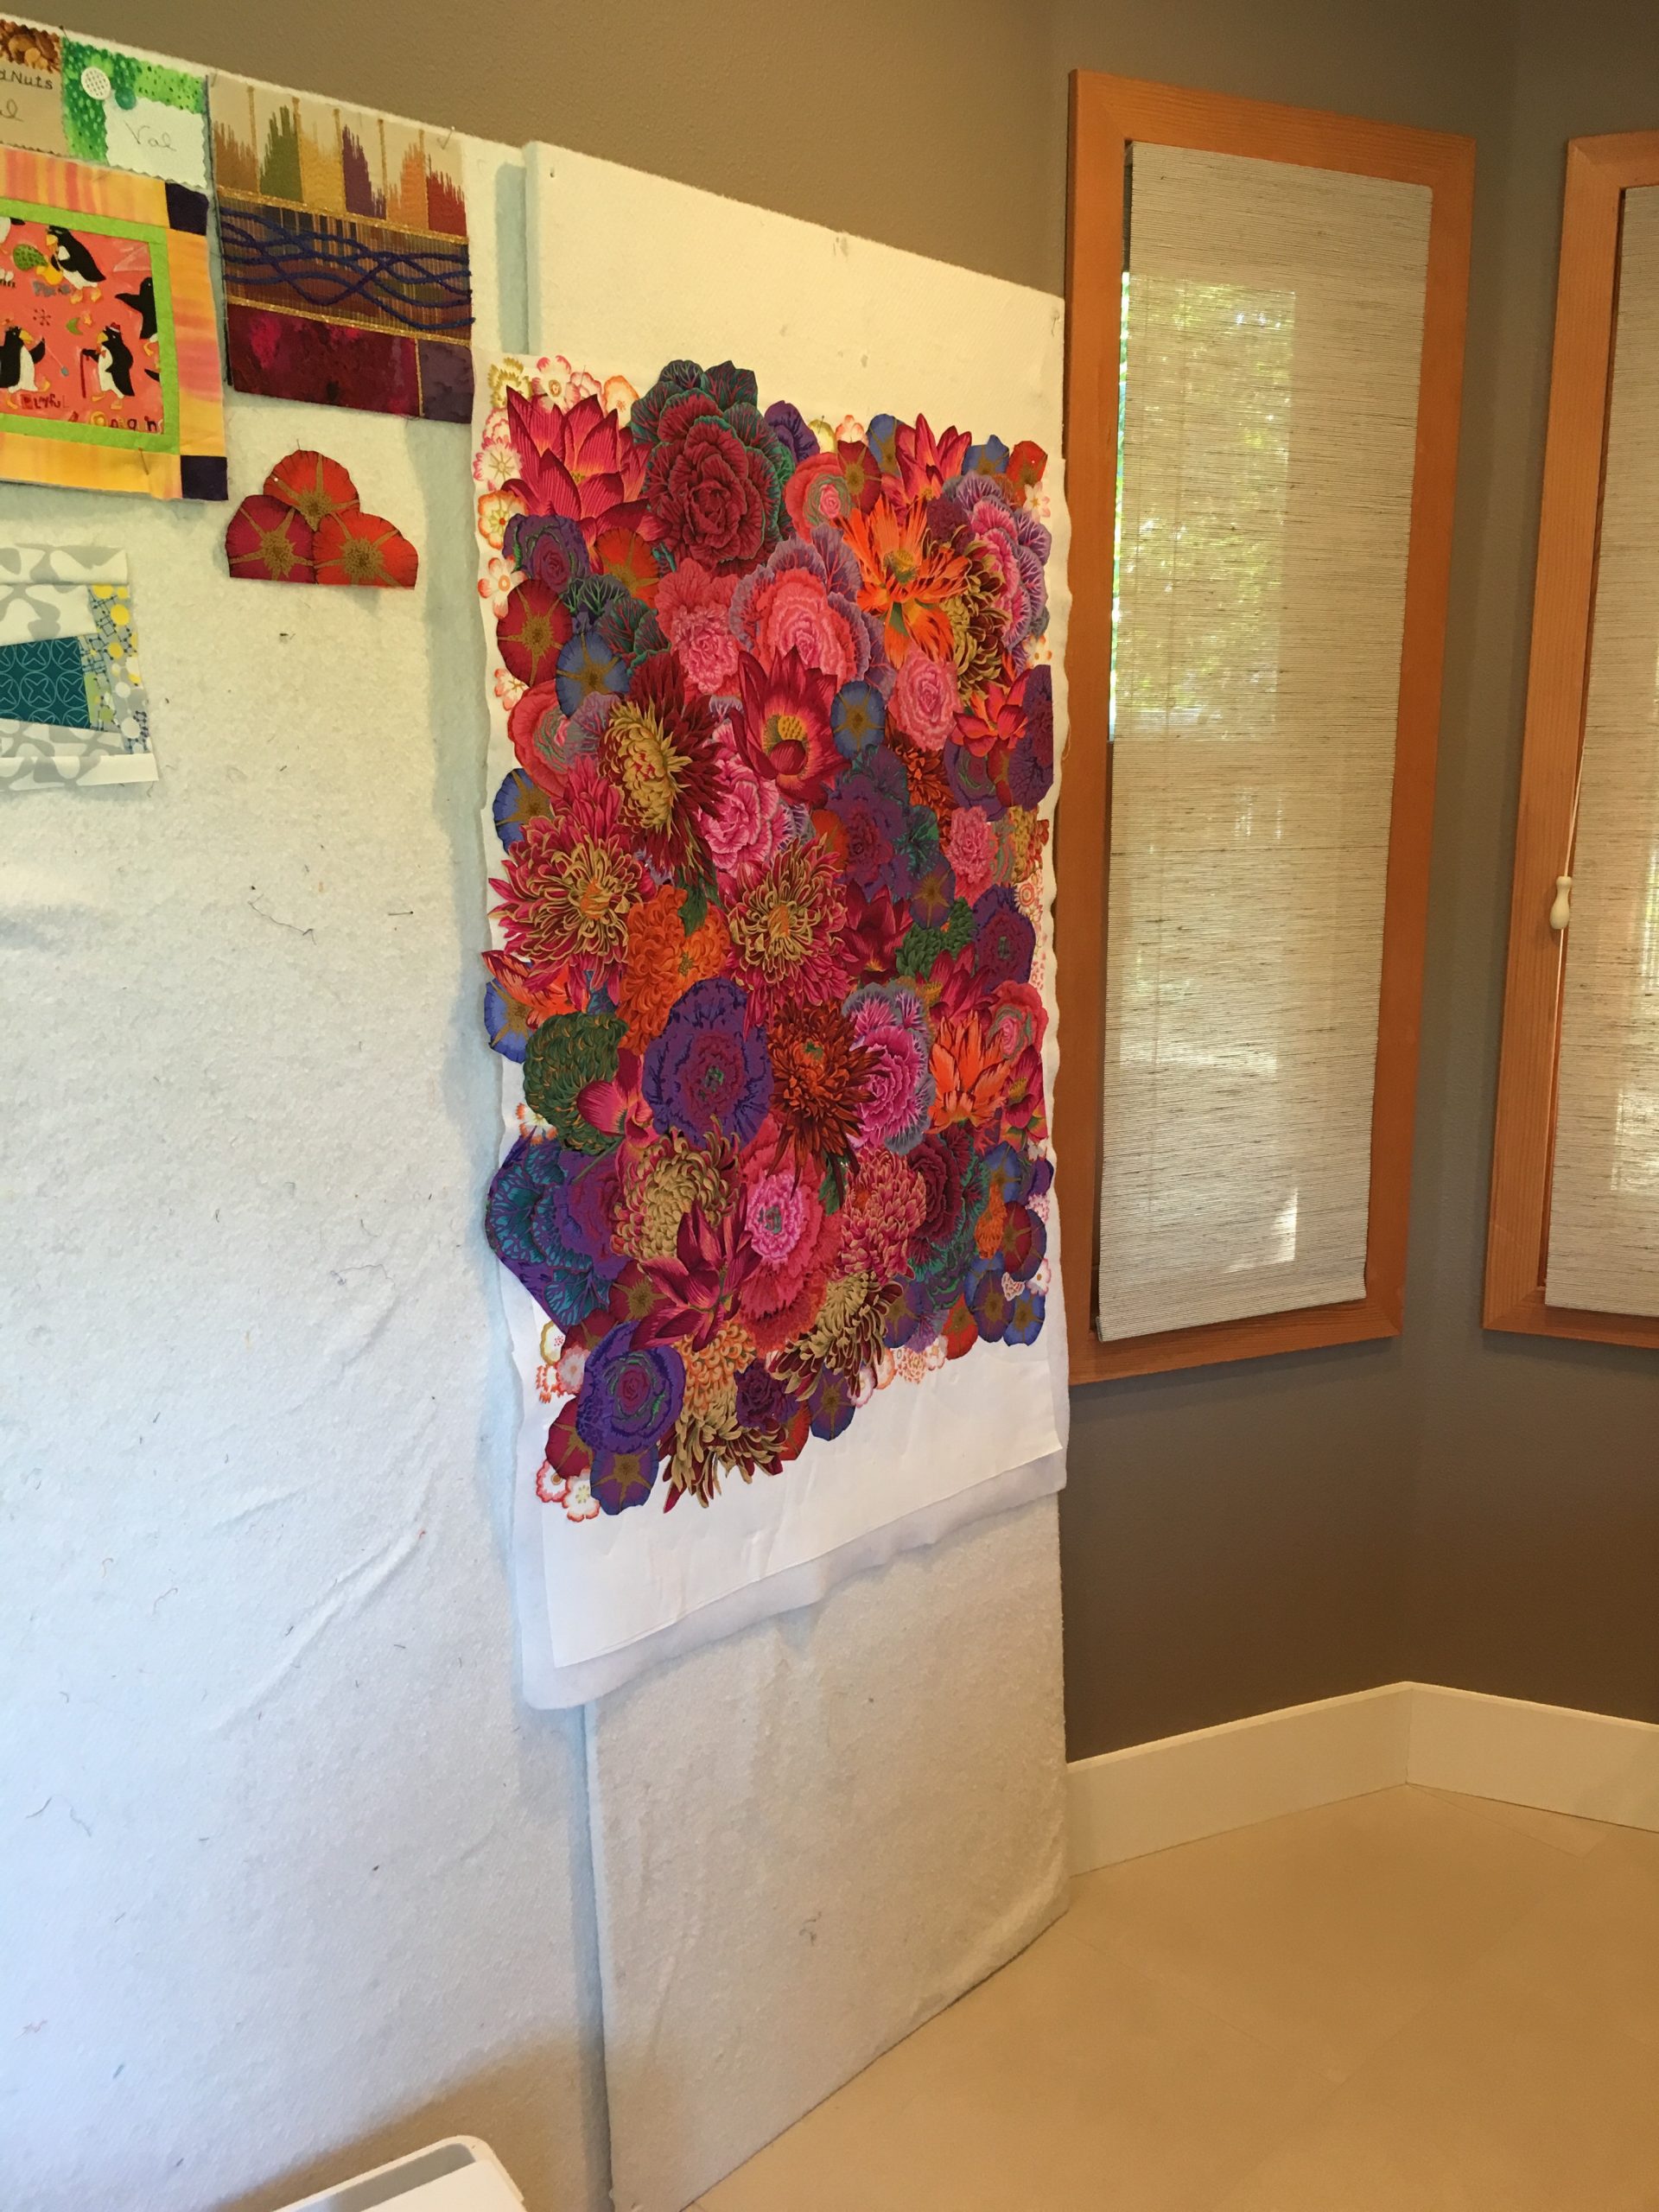
Then I took then entire piece and put it on a big piece of wood. It was actually an old door. I put the whole thing on my craft table and steamed the heck out of the prints. I pressed and steamed and pressed and steamed until all of the fabrics were secure.

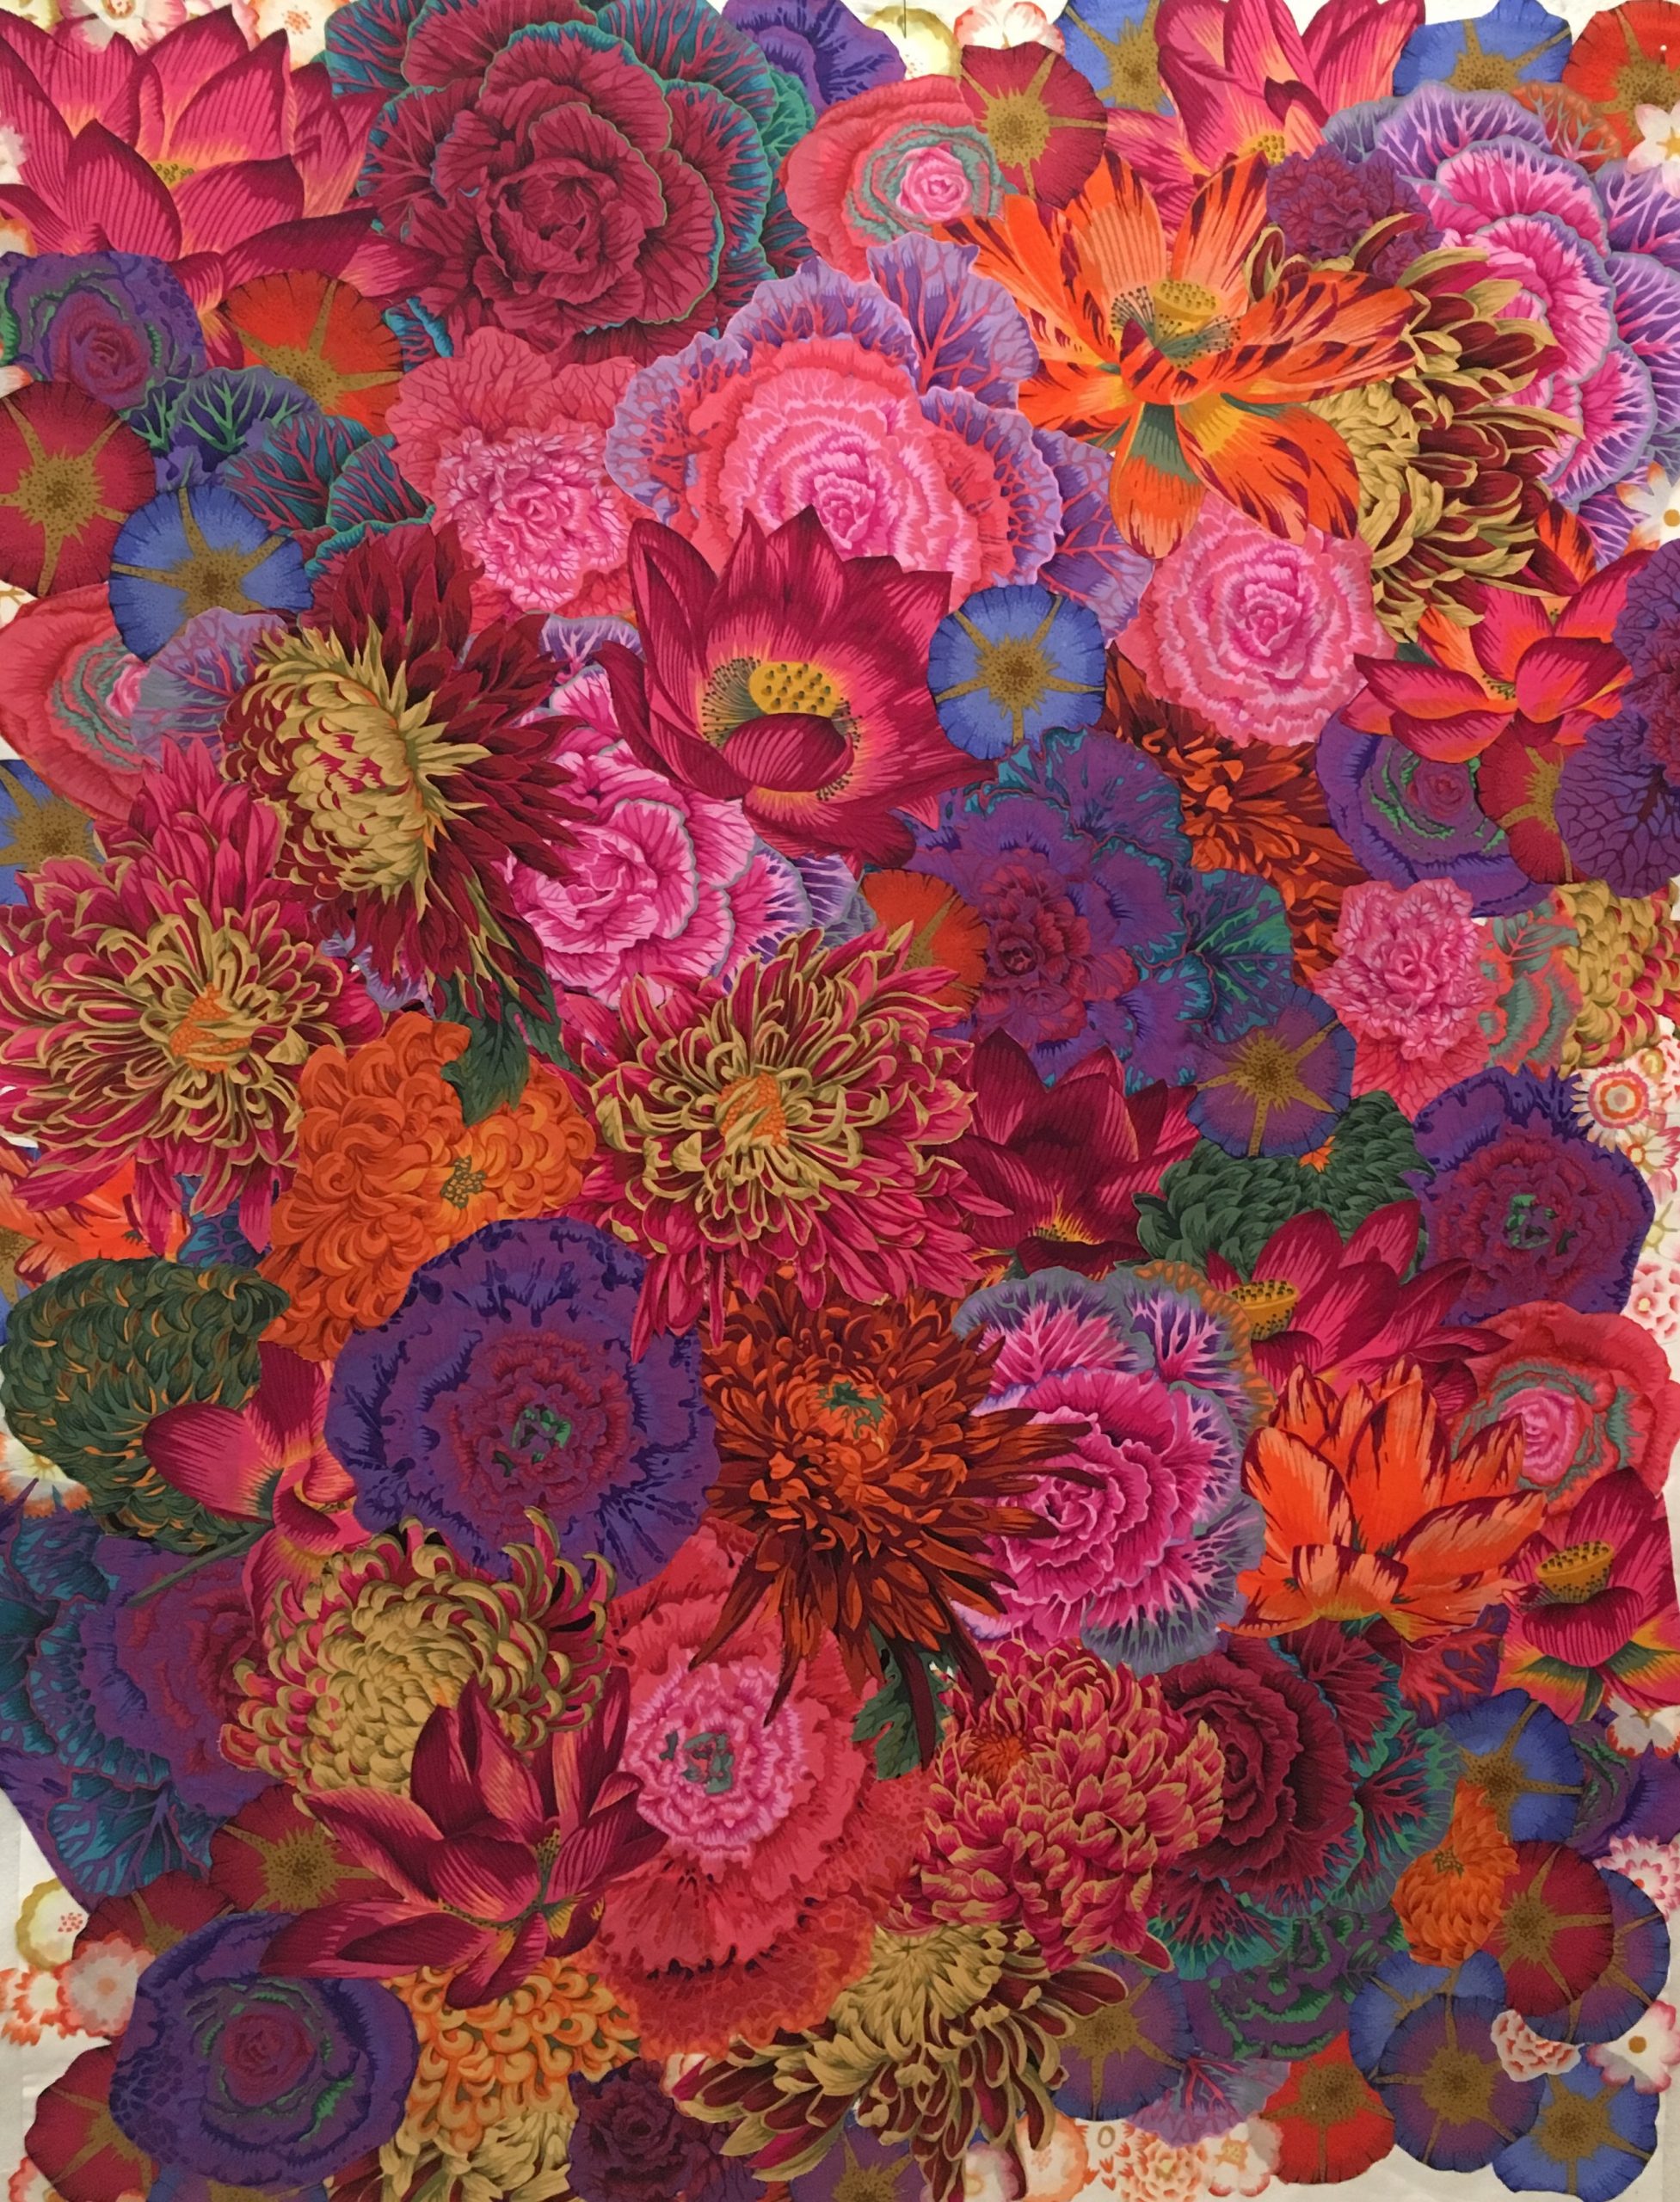
At this point, I was feeling pretty good about the quilt. So, I took the photo and I posted it to a Facebook group that is for people who love Kaffe Fassett fabric. It’s a very supportive group and I got a lot of nice compliments.

Then, who should comment but Philip Jacobs, himself! He loves this quilt. In fact, you can see what he said:

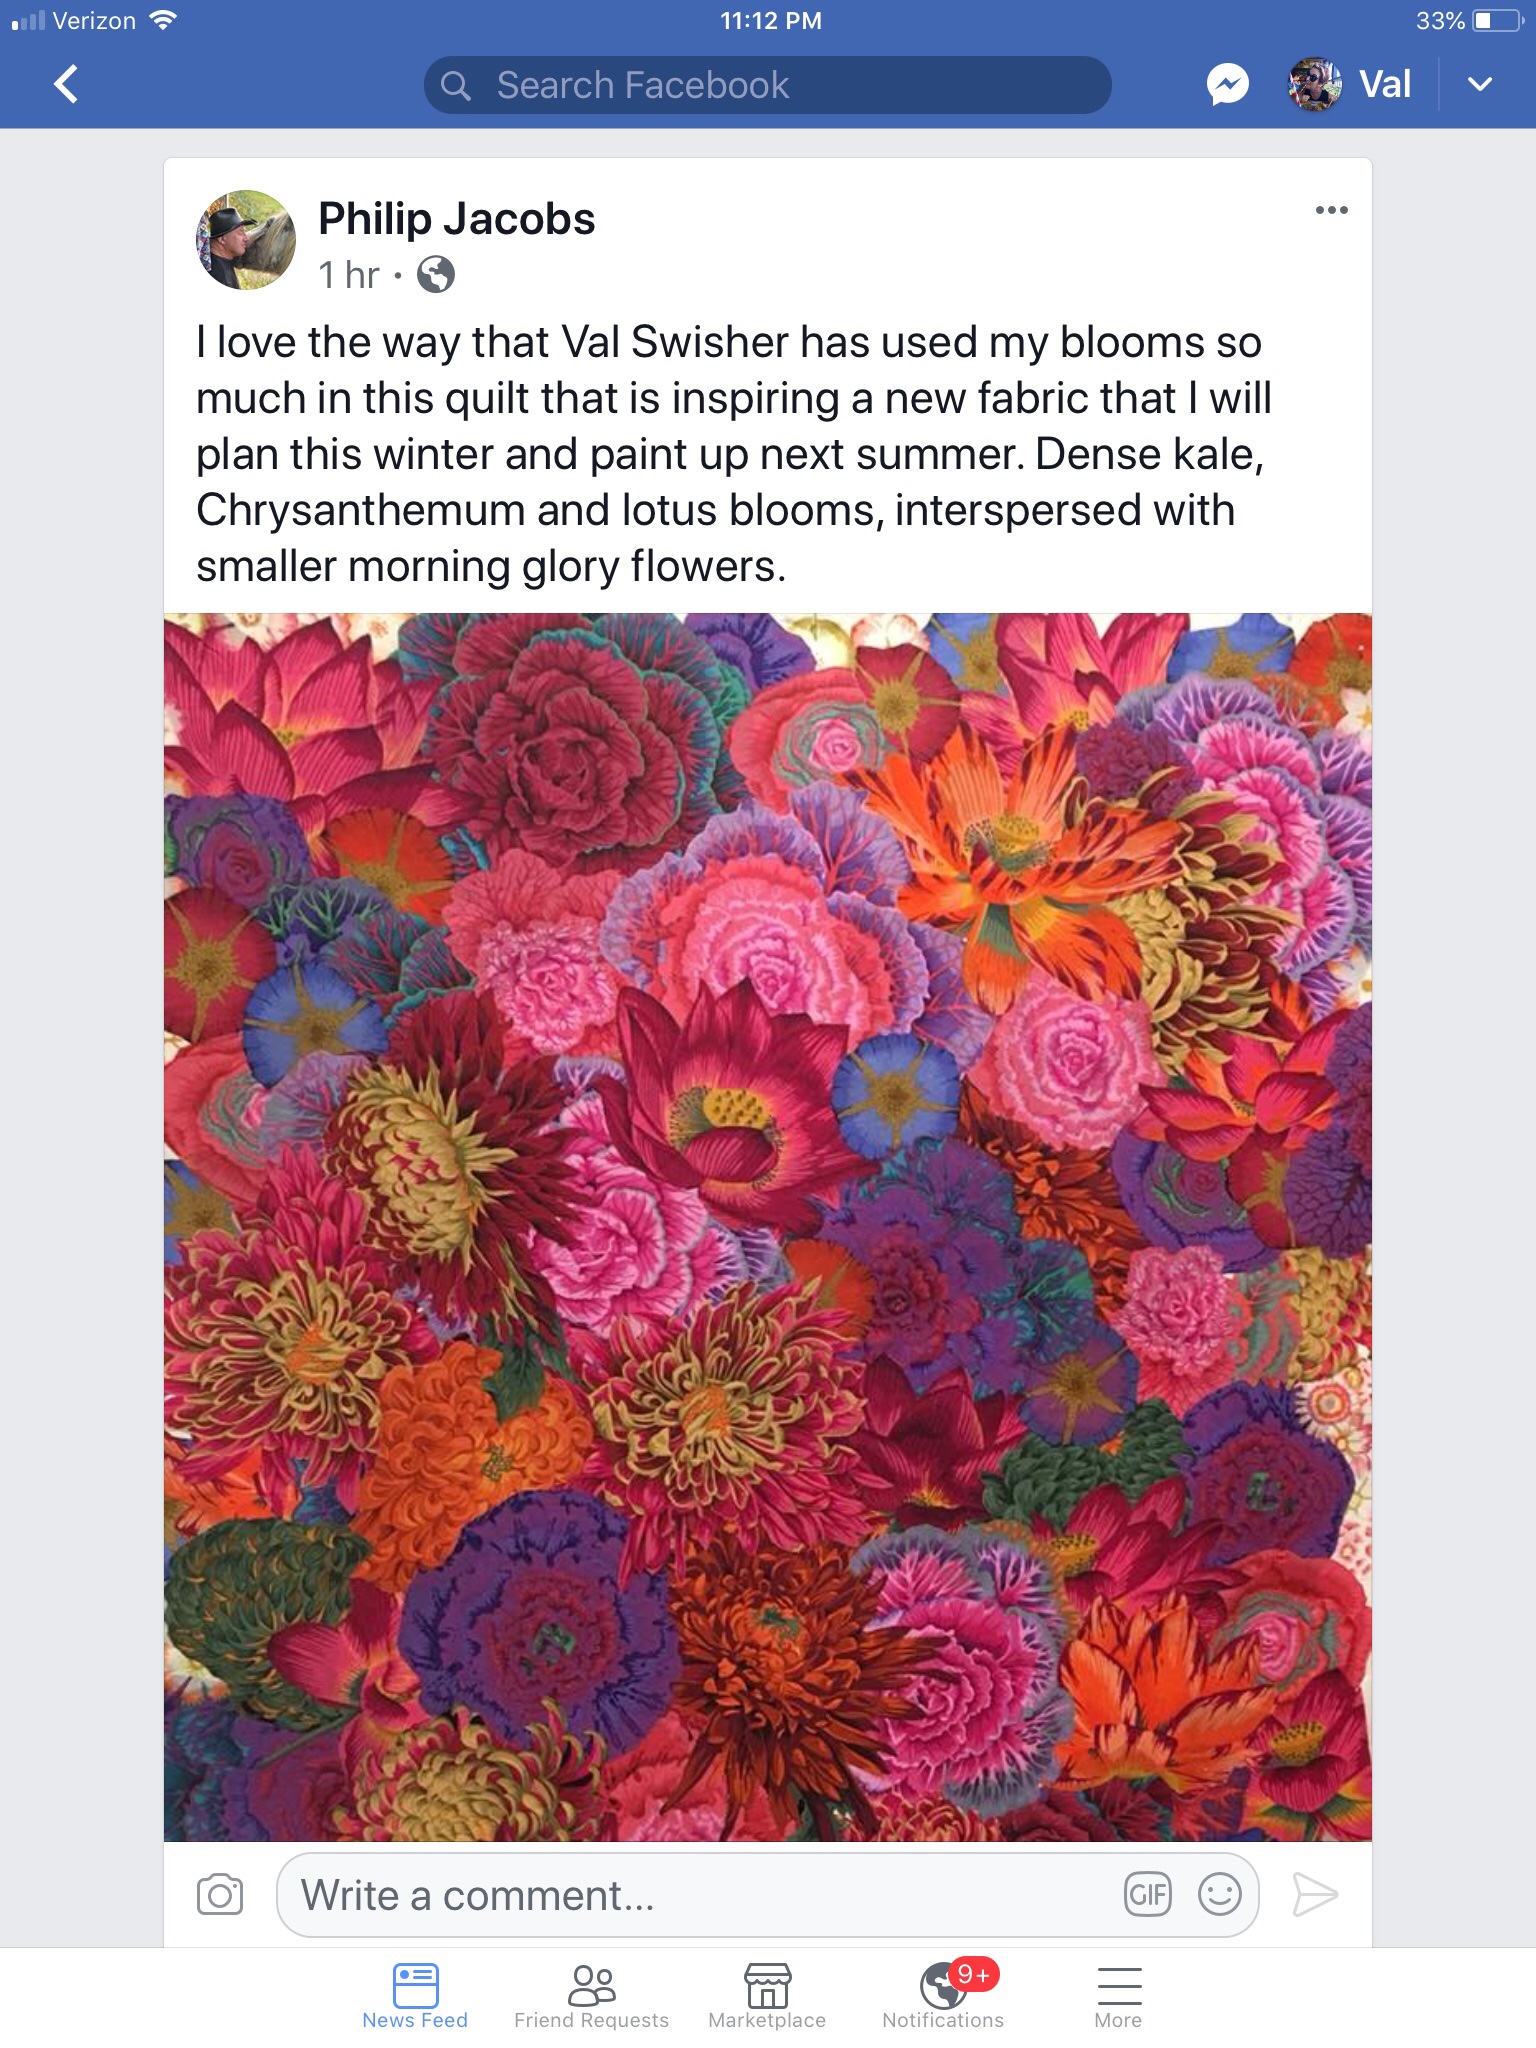
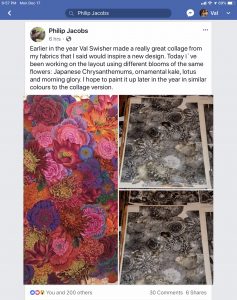
Oh my goodness! Philip Jacobs was going to design a fabric based on my quilt? This is definitely the crowning moment of my quilting career! A few months later, Philip posted about the design he was starting based on my quilt:

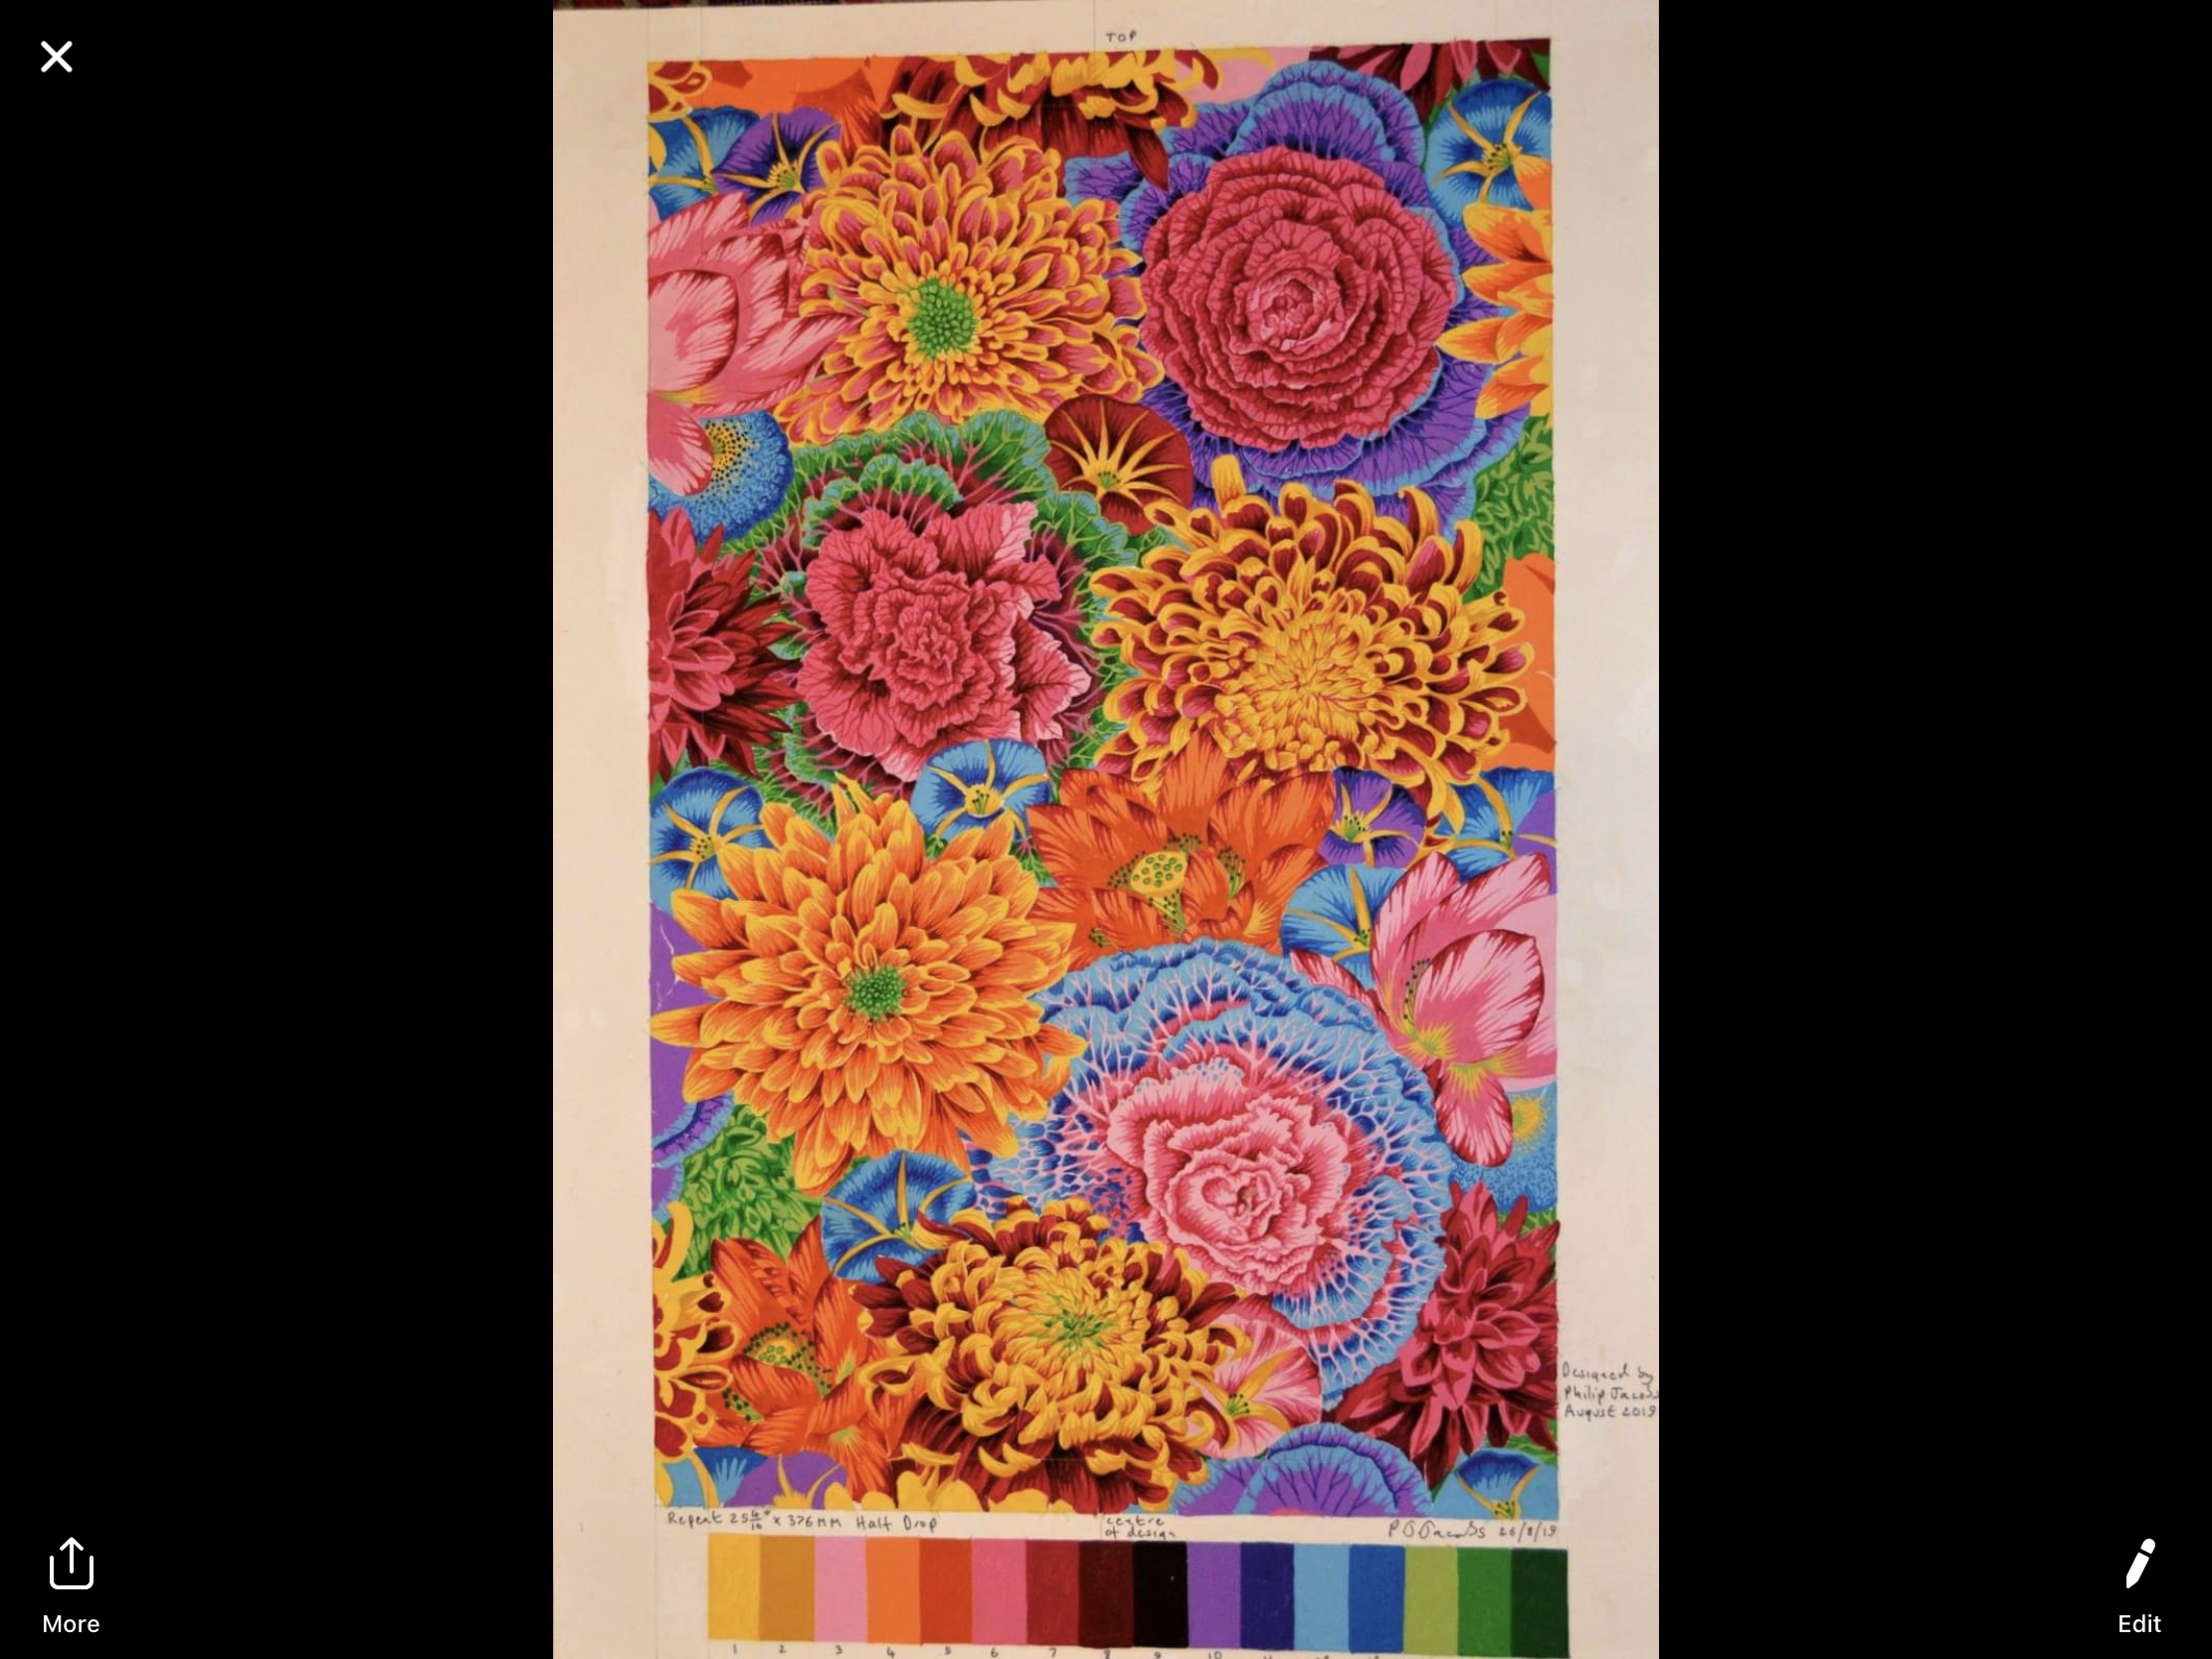
And, now, here it is! The fabric that Philip created, inspired by my quilt:

He says it will be available in shops later in the year. And I cannot wait!

Of course, it would be grand if he or Jaftex (the fabric company) would send me a bolt…all things considered. Regardless, it is such an honor to have my work serve as an inspiration for my favorite fabric designer. Swoon!!

Almost a Decade

A lot of quilts can be sewn in almost 10 years. But, yes, I’ve decided to restart my blog, “Val Quilts, but not nearly enough.” I have sewn so many quilts since the last one I posted and I’ve even finished a couple that were works in progress then.

So, I’m going to post a bunch of photos and give you as much information about each as I can remember. Here goes.

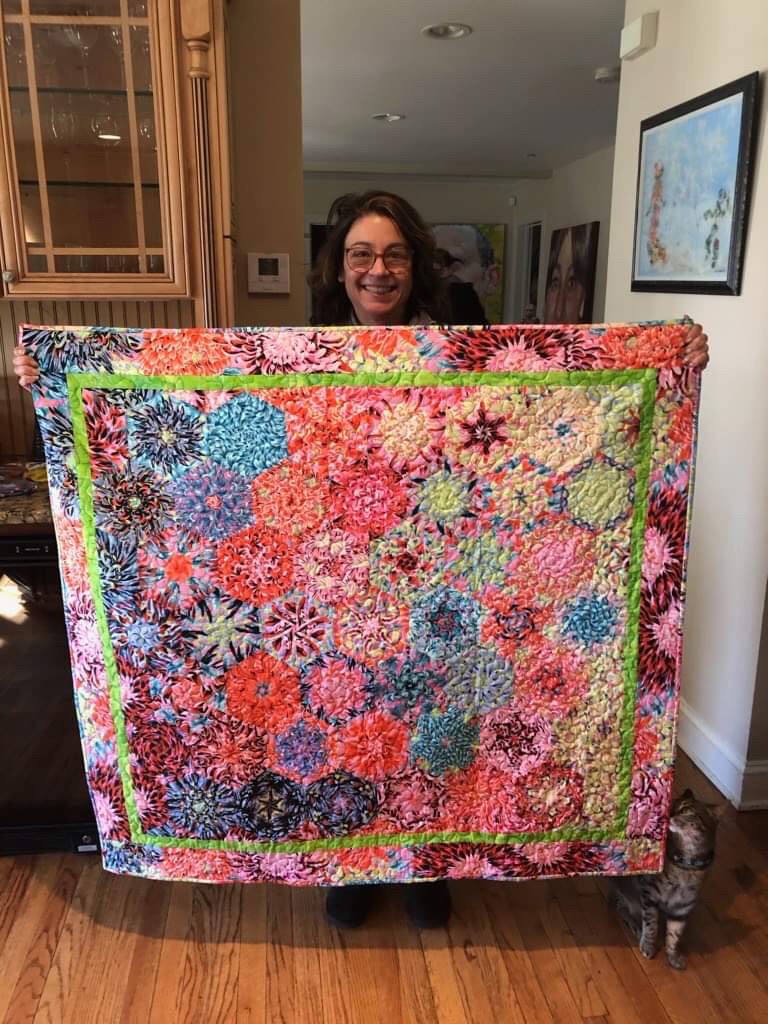
This is my first One Block Wonder quilt that I ever did. I completed it in early 2020. It was a gift to my very talented cousin, Anya. I used a Philip Jacob’s fabric called Chrysanthemums. If you don’t know what a one block wonder is, you might want to look up the one block wonder Facebook group and get inspired!

________

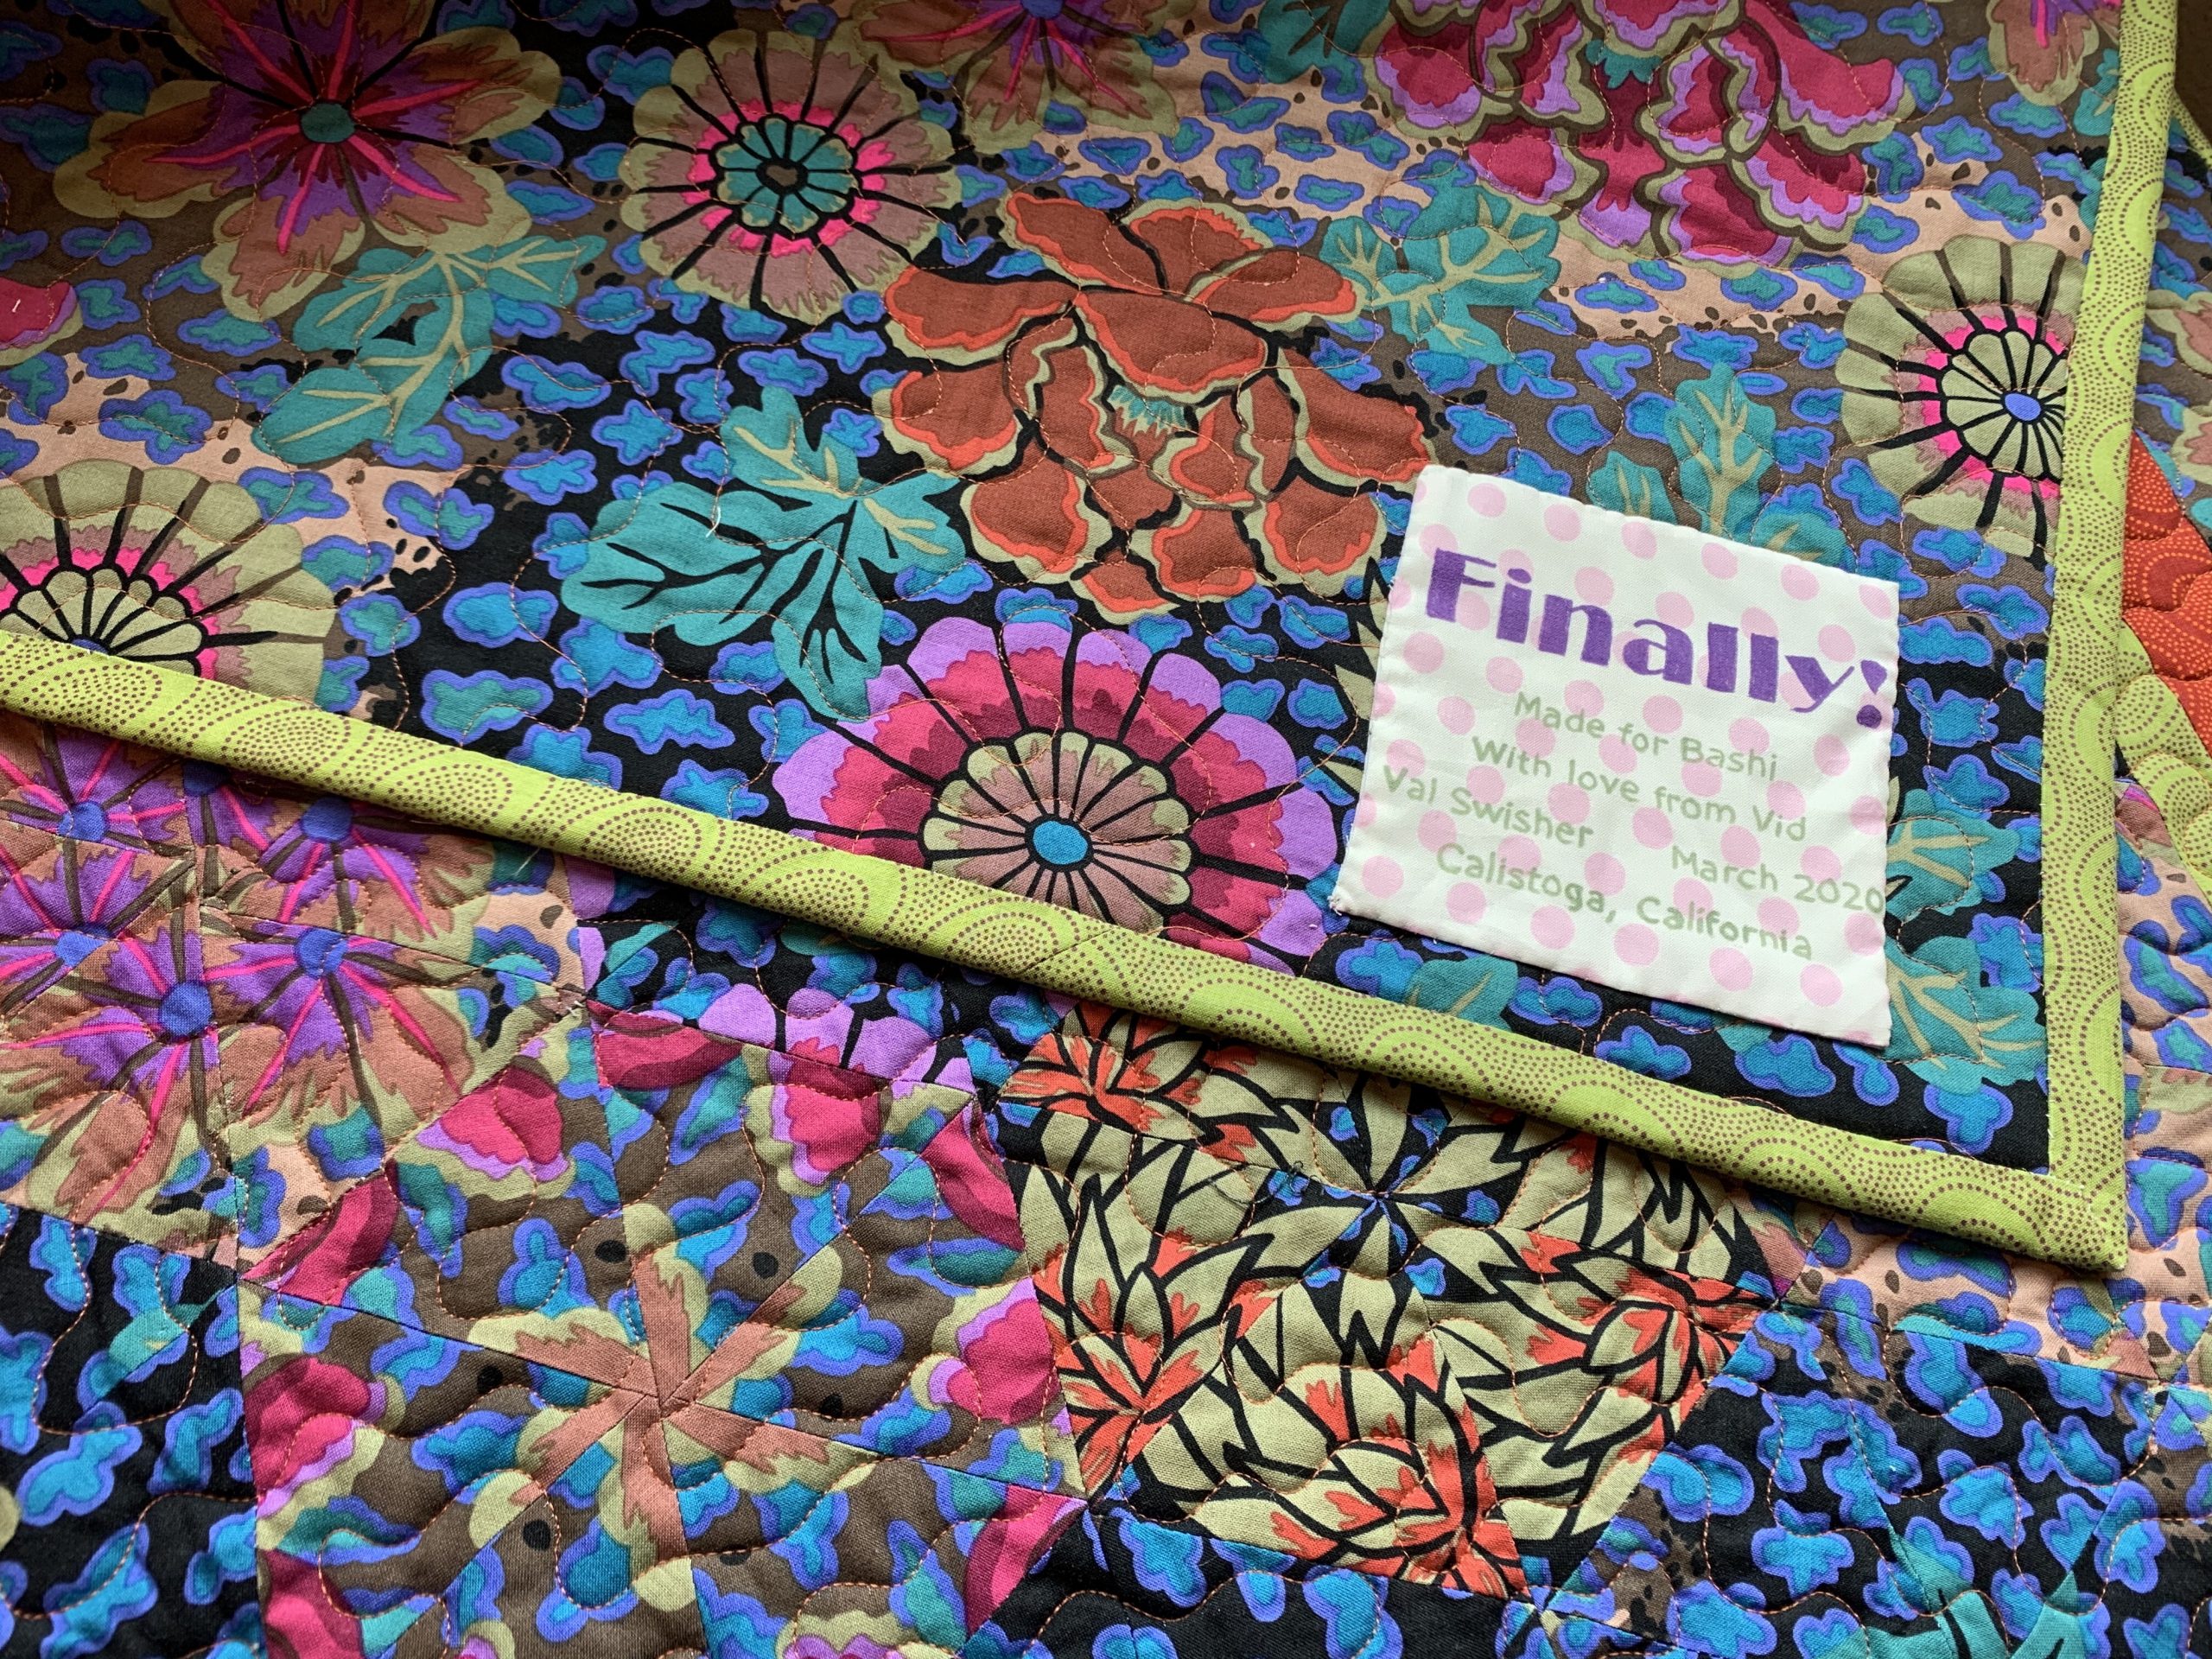
Here is my second One Block Wonder. I made it for my friend Debbie – who is my first friend. Her mom and mine were best friends. We met when we were about 1. It’s called “Finally” because she had been asking me for a quilt for about two decades and I FINALLY made one for her. She was extremely surprised!
________

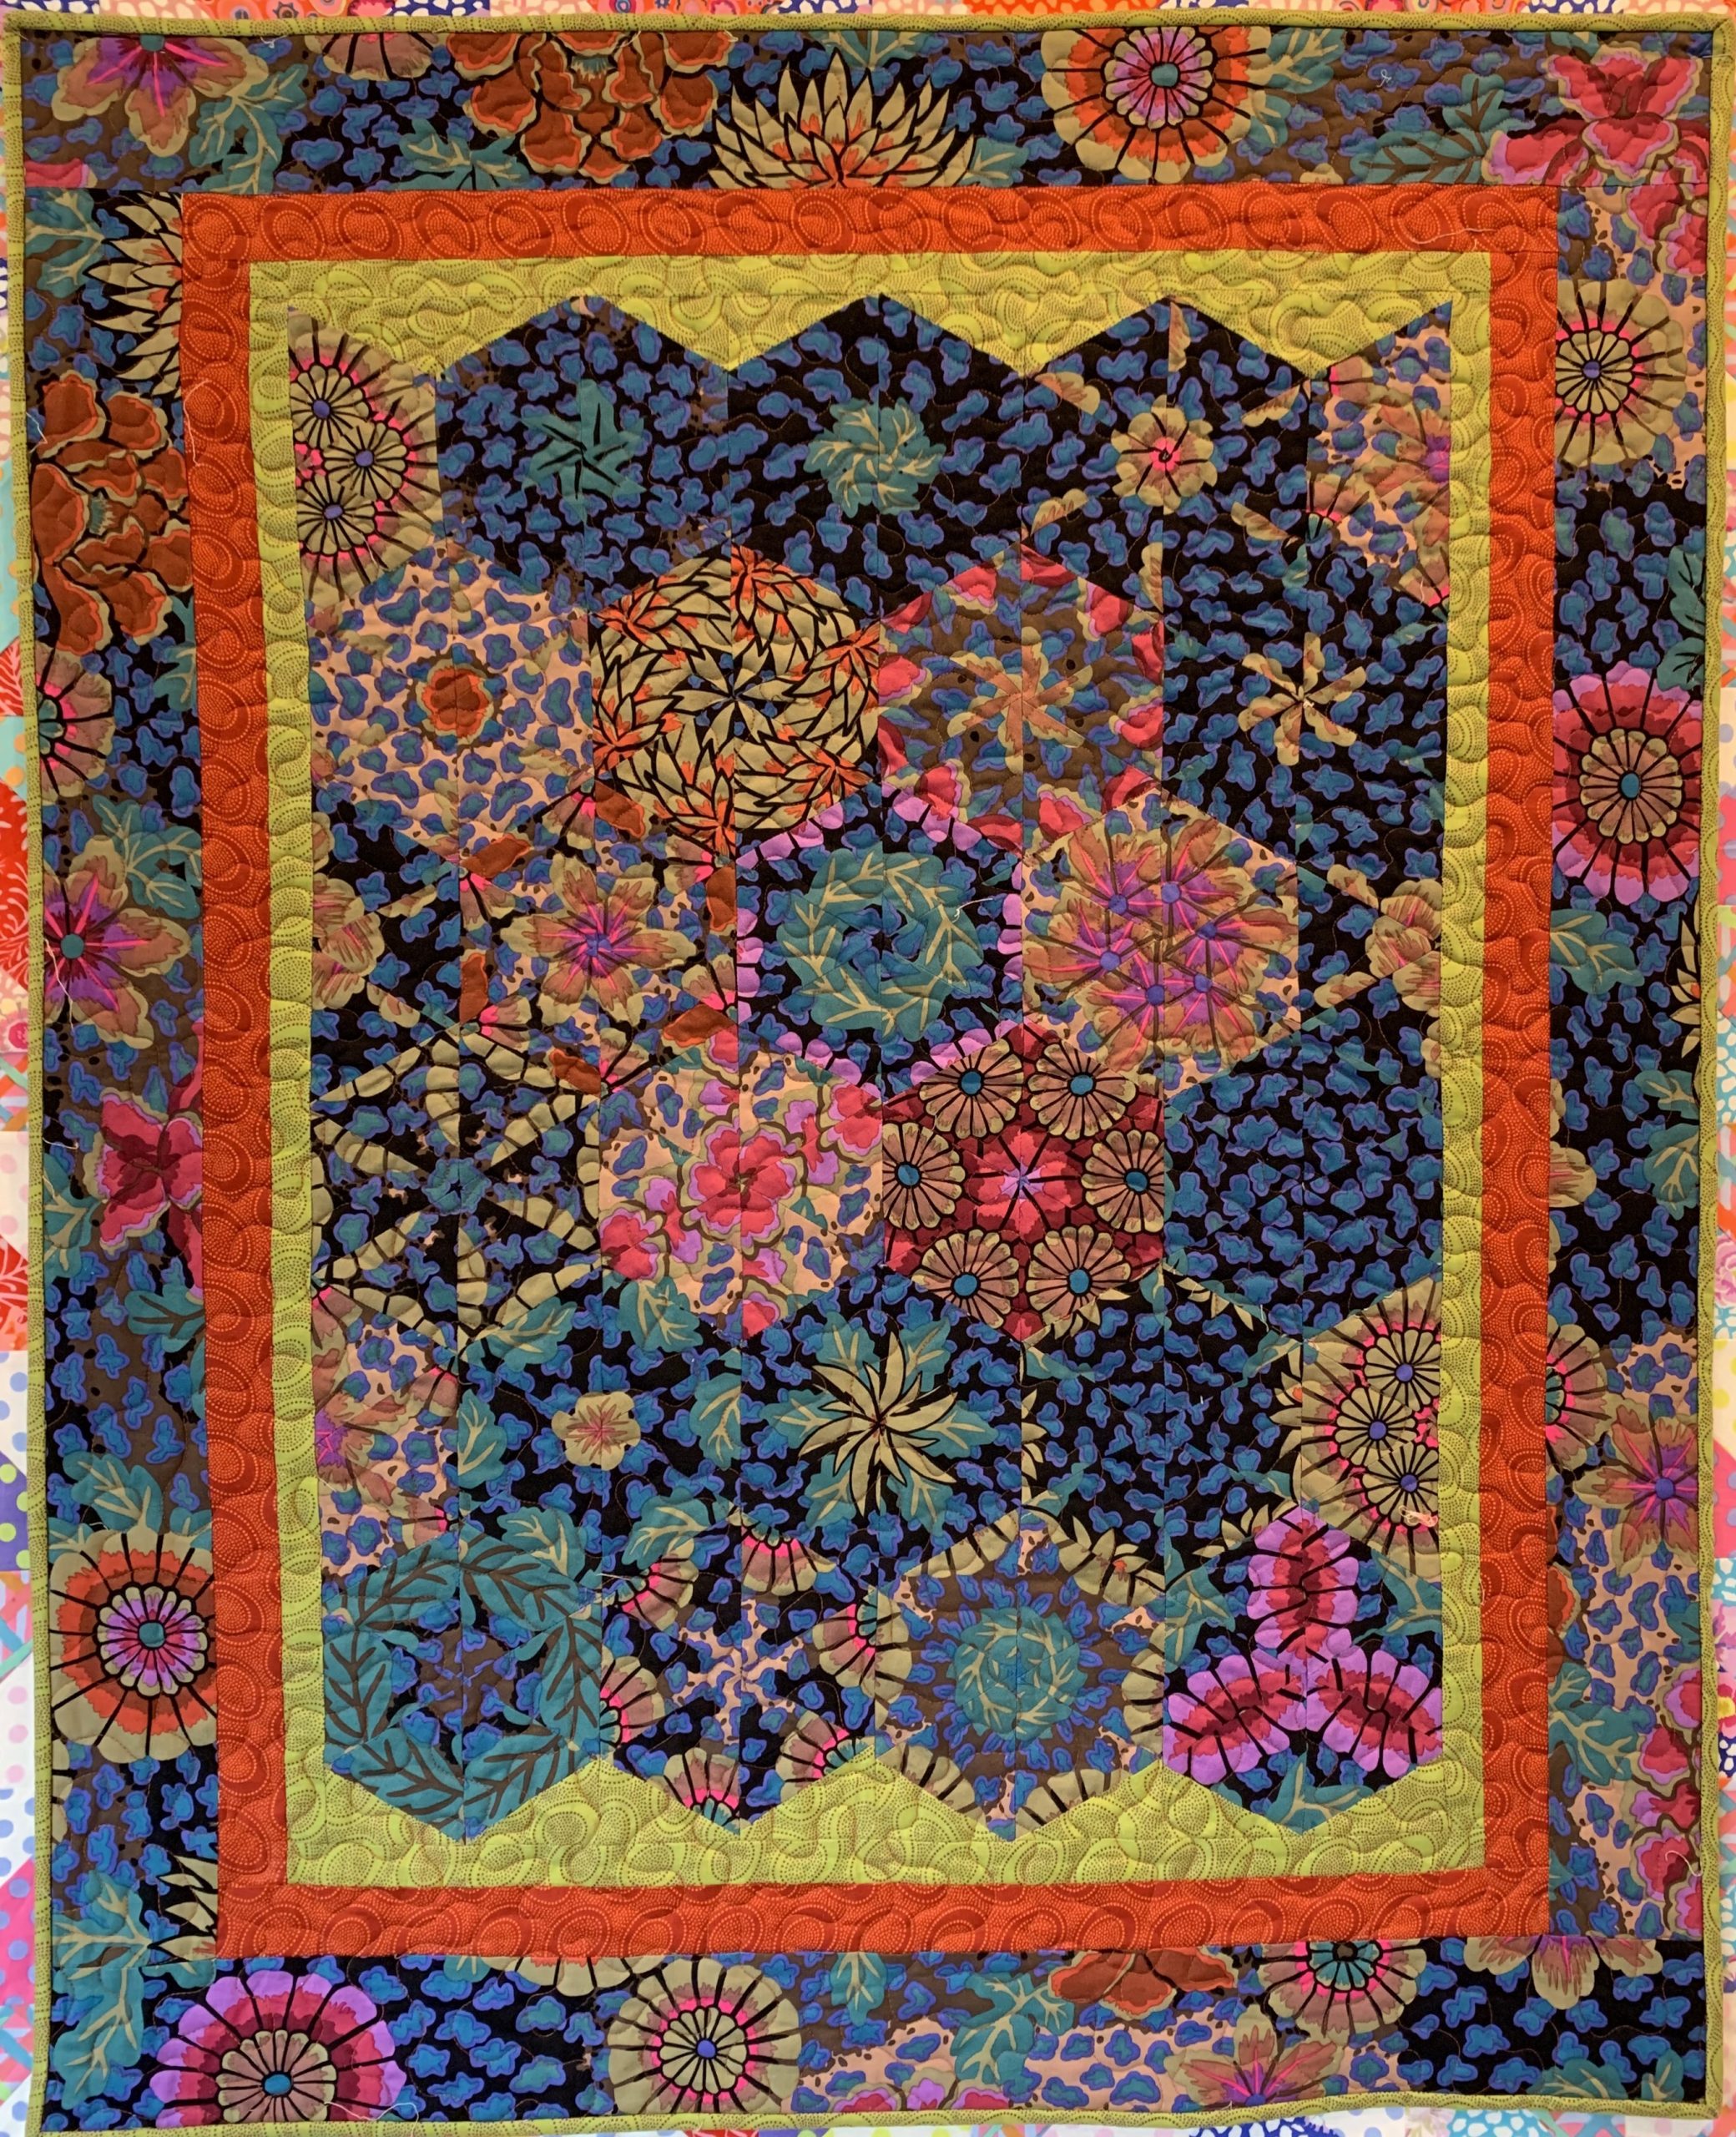
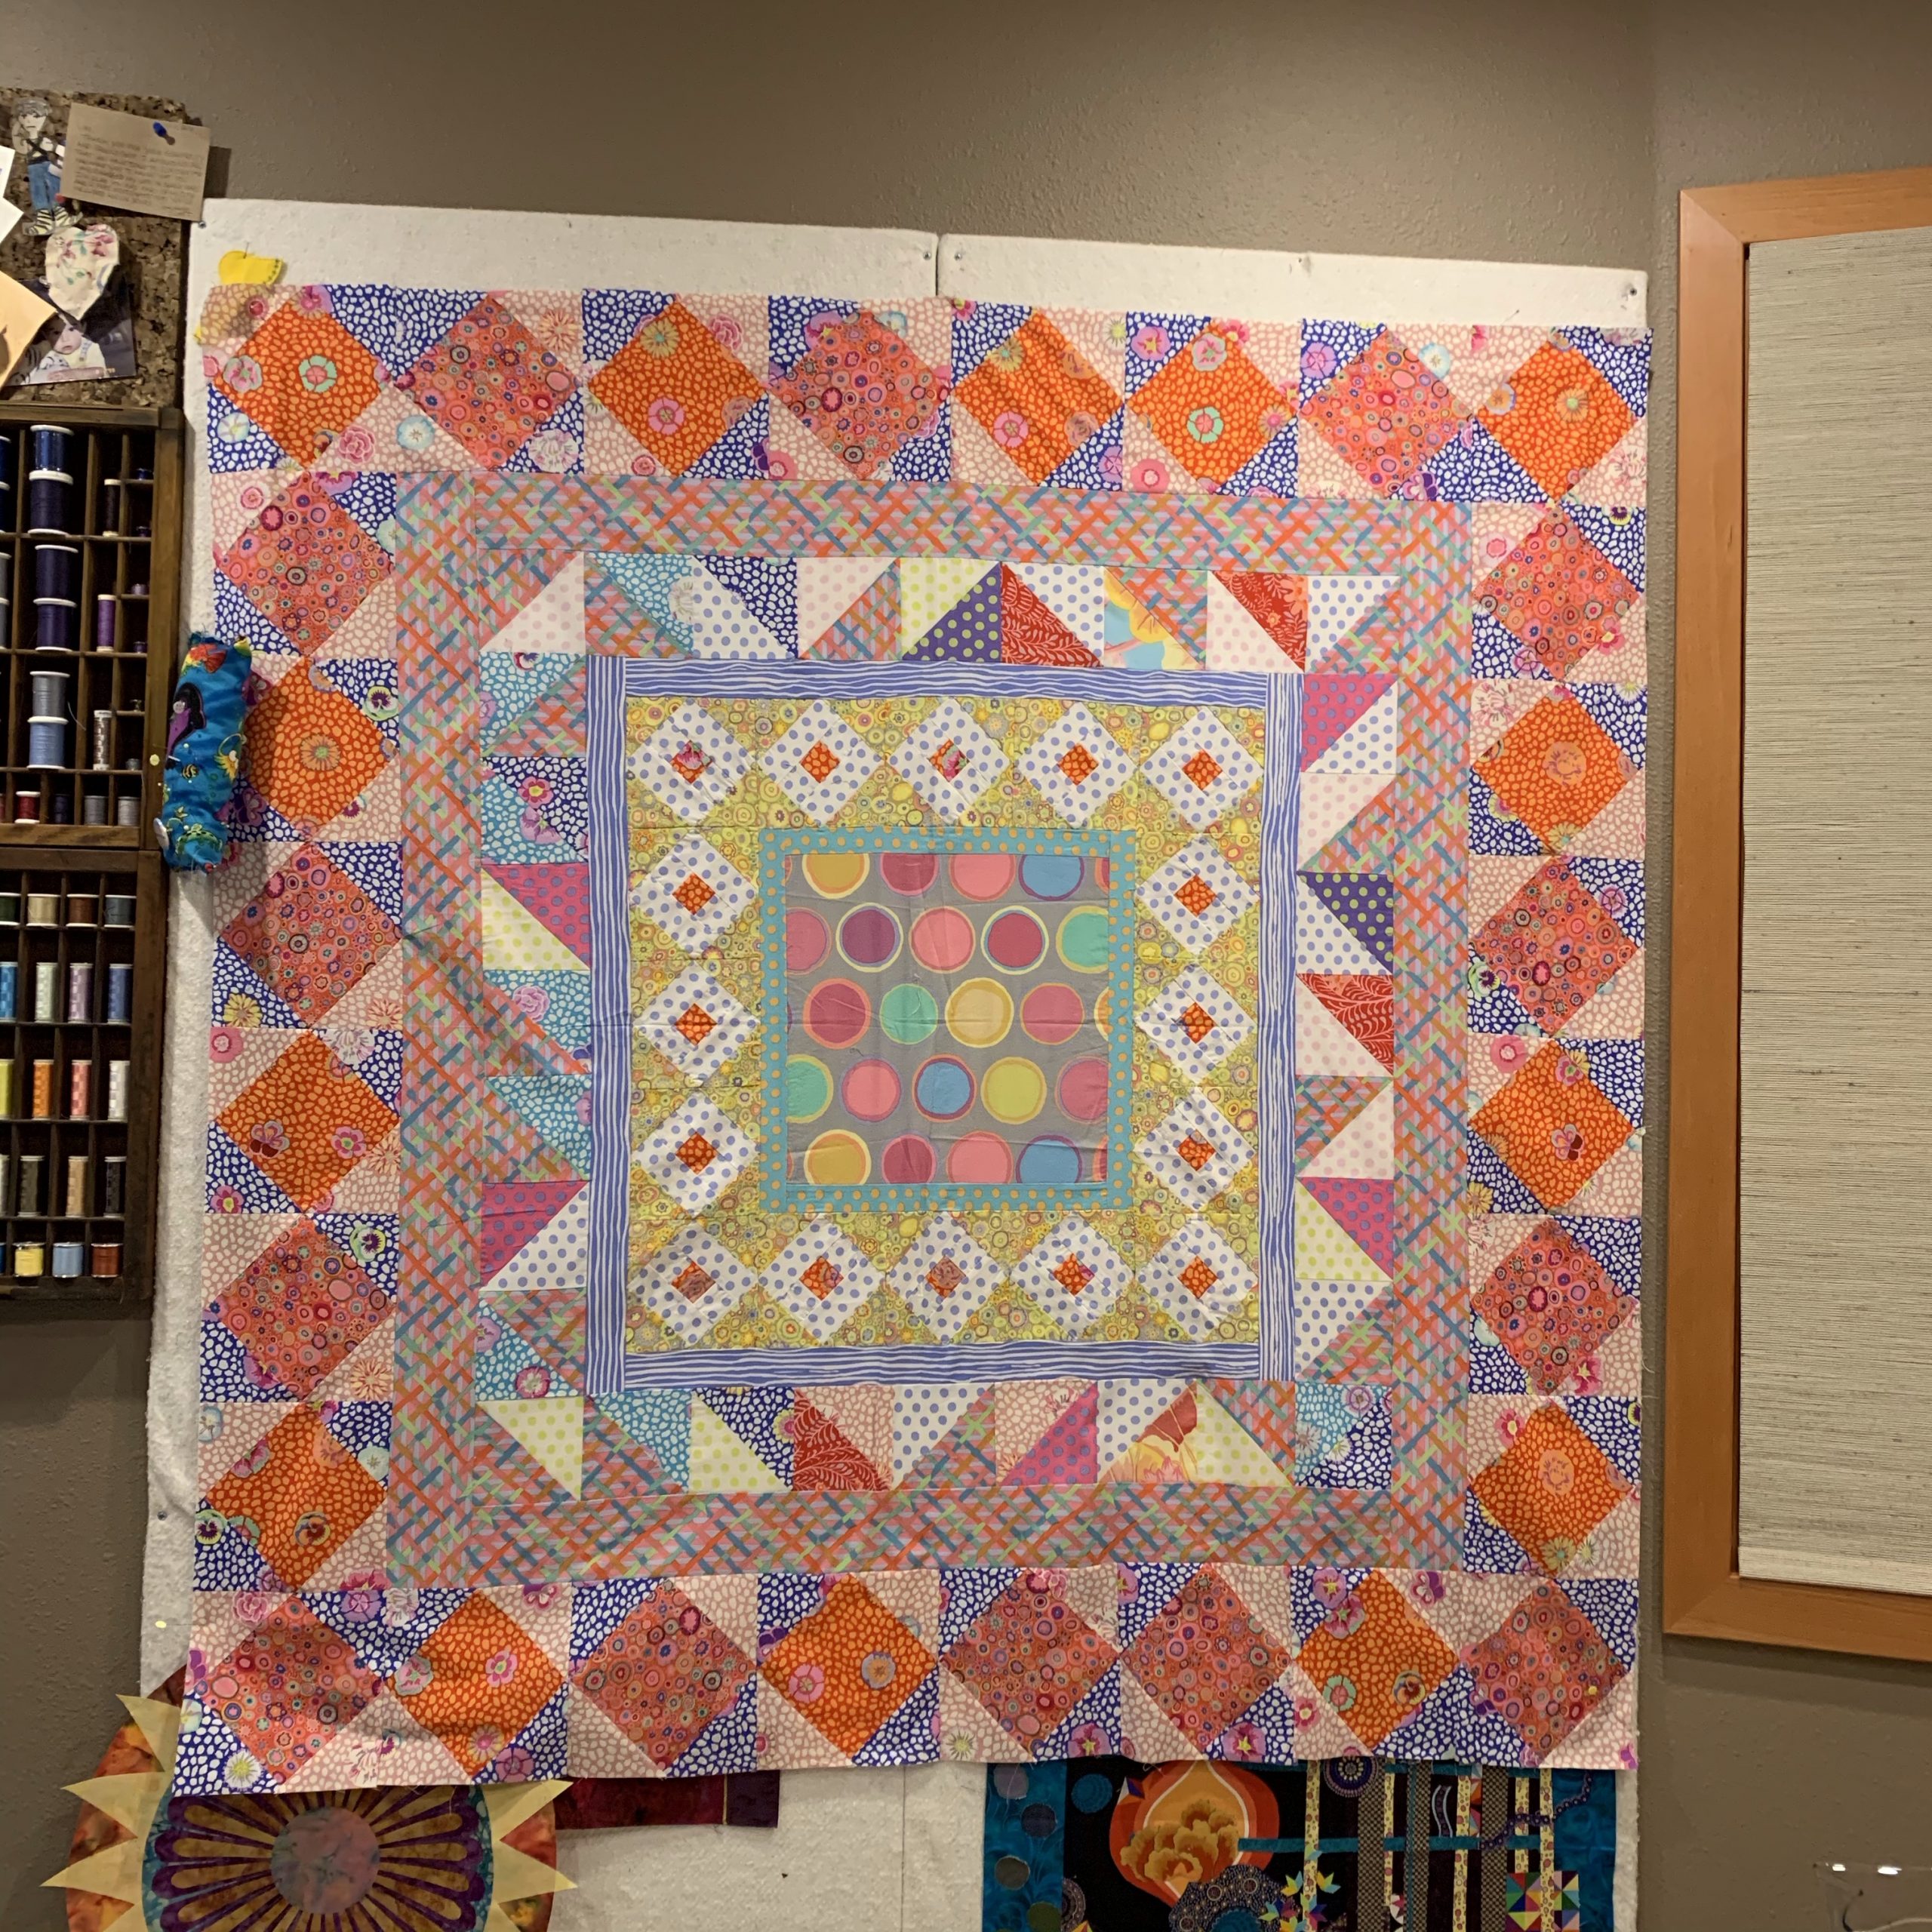
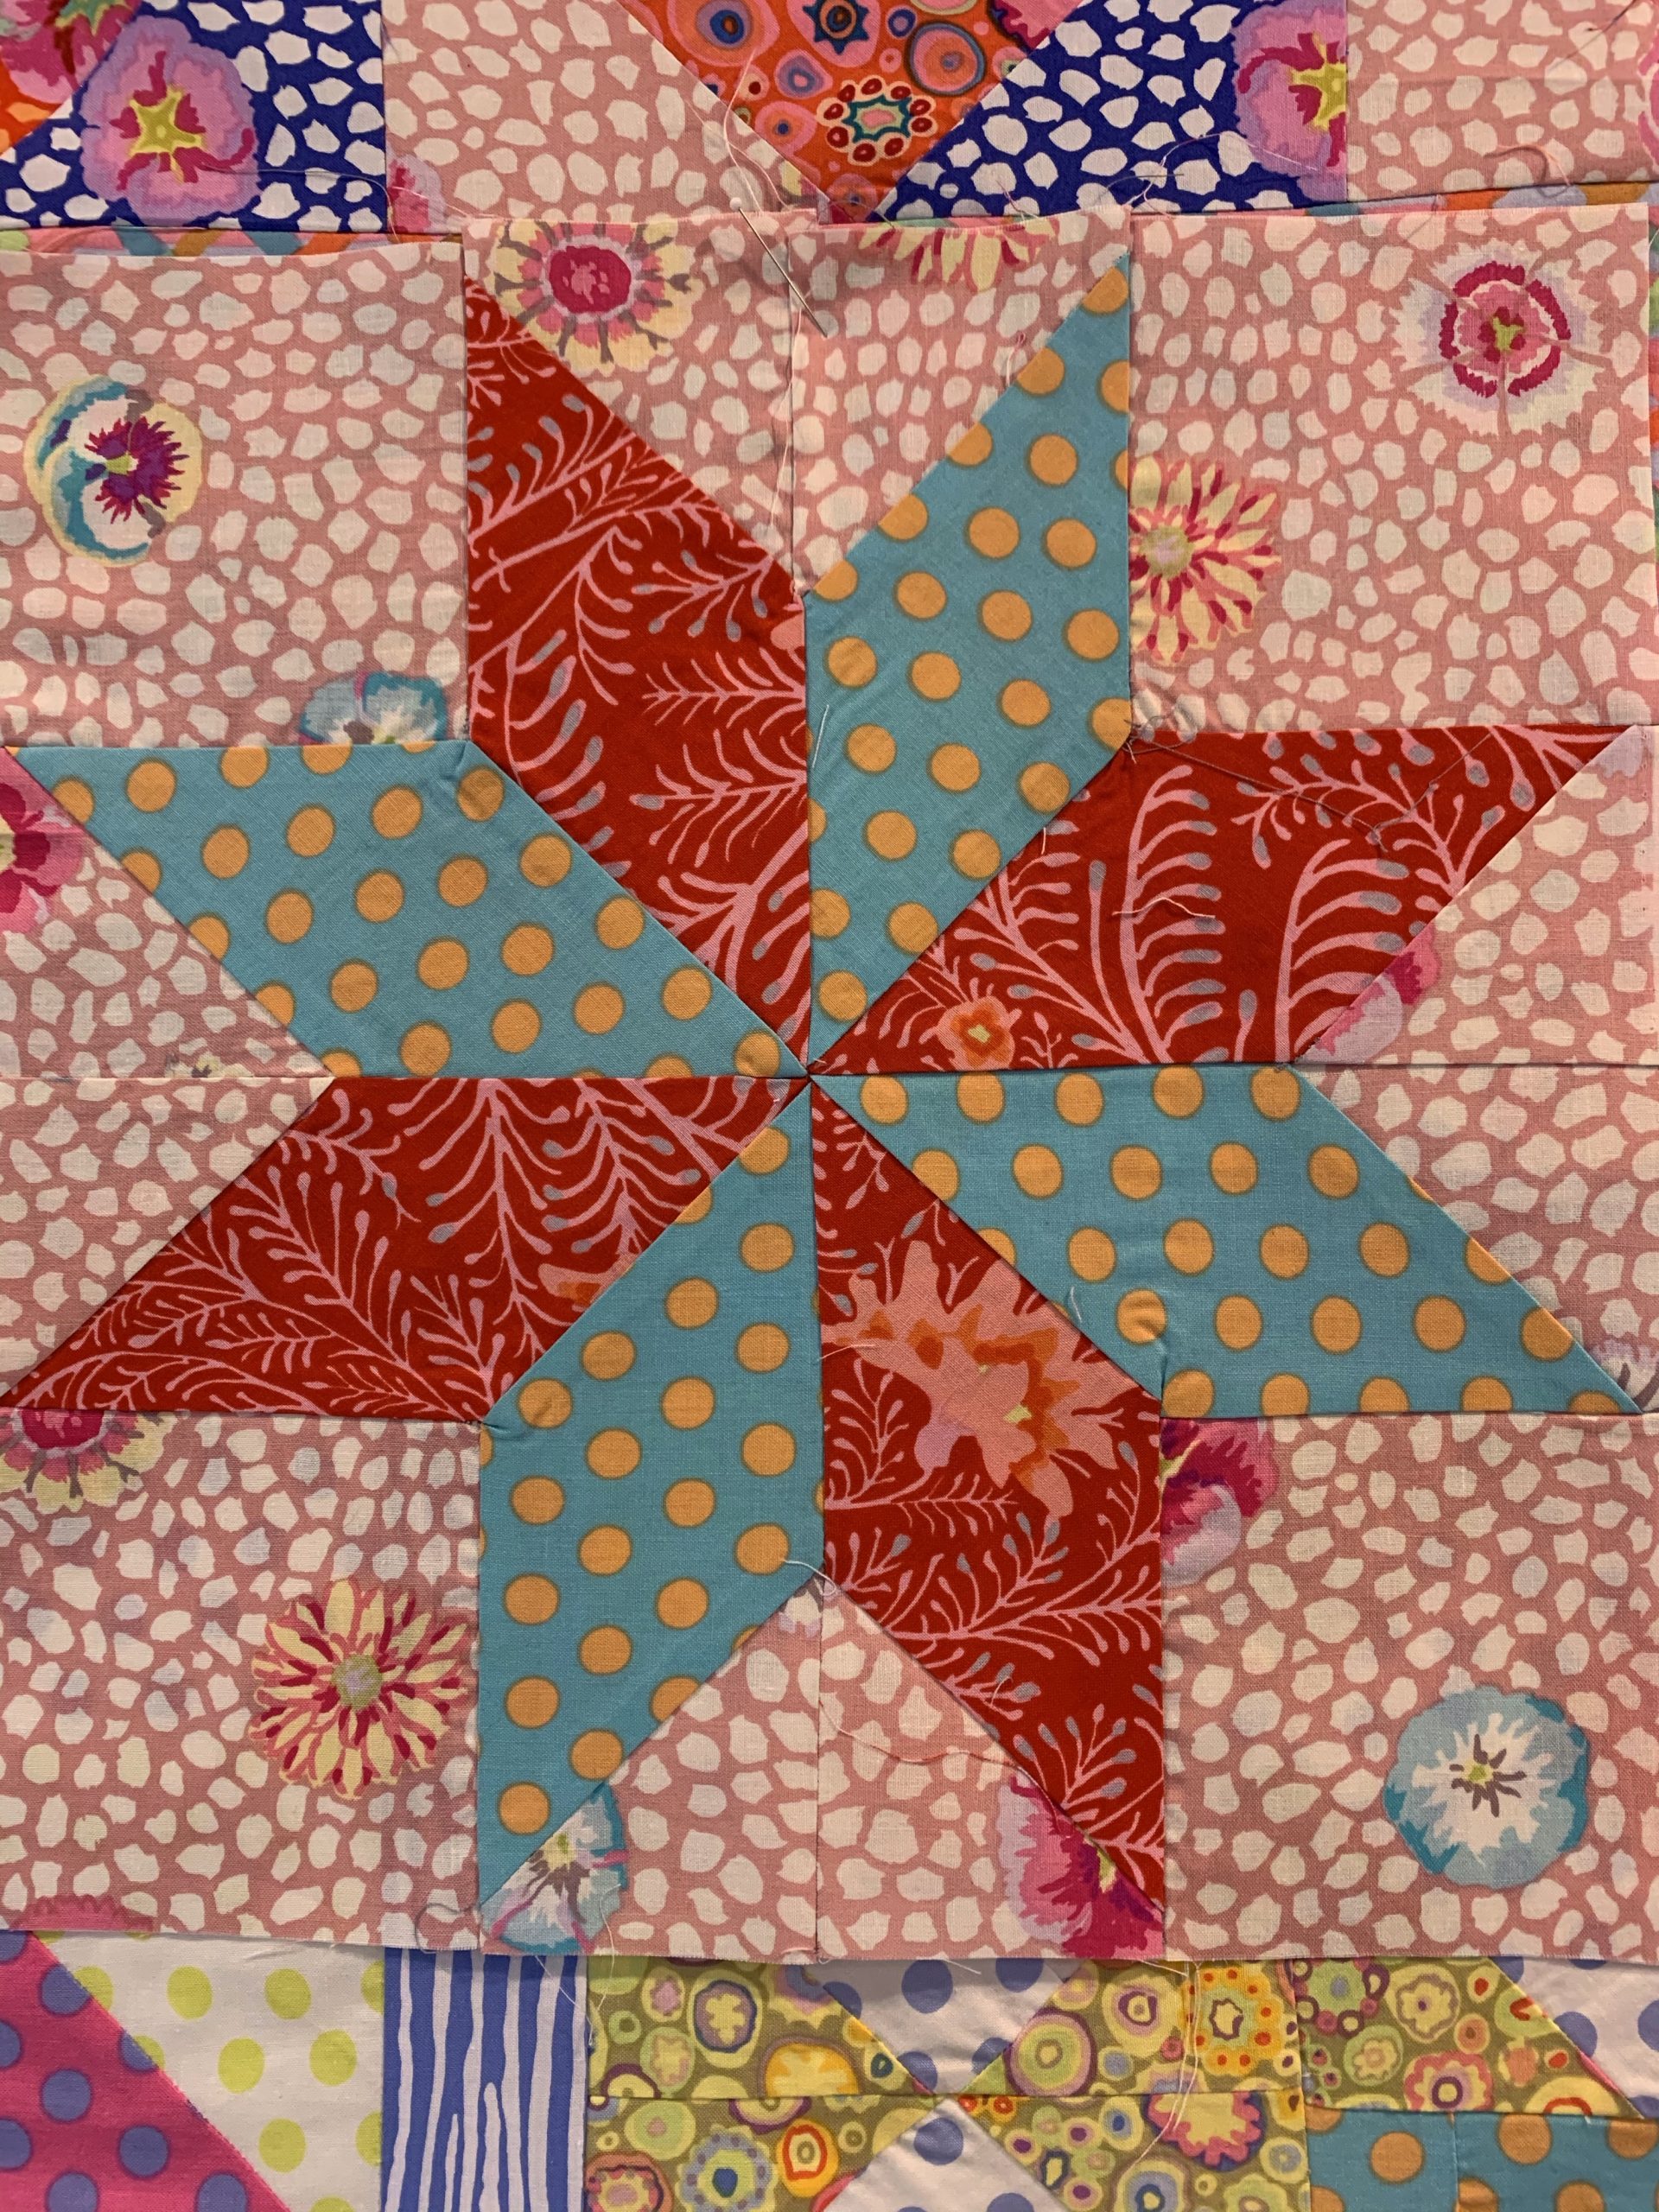
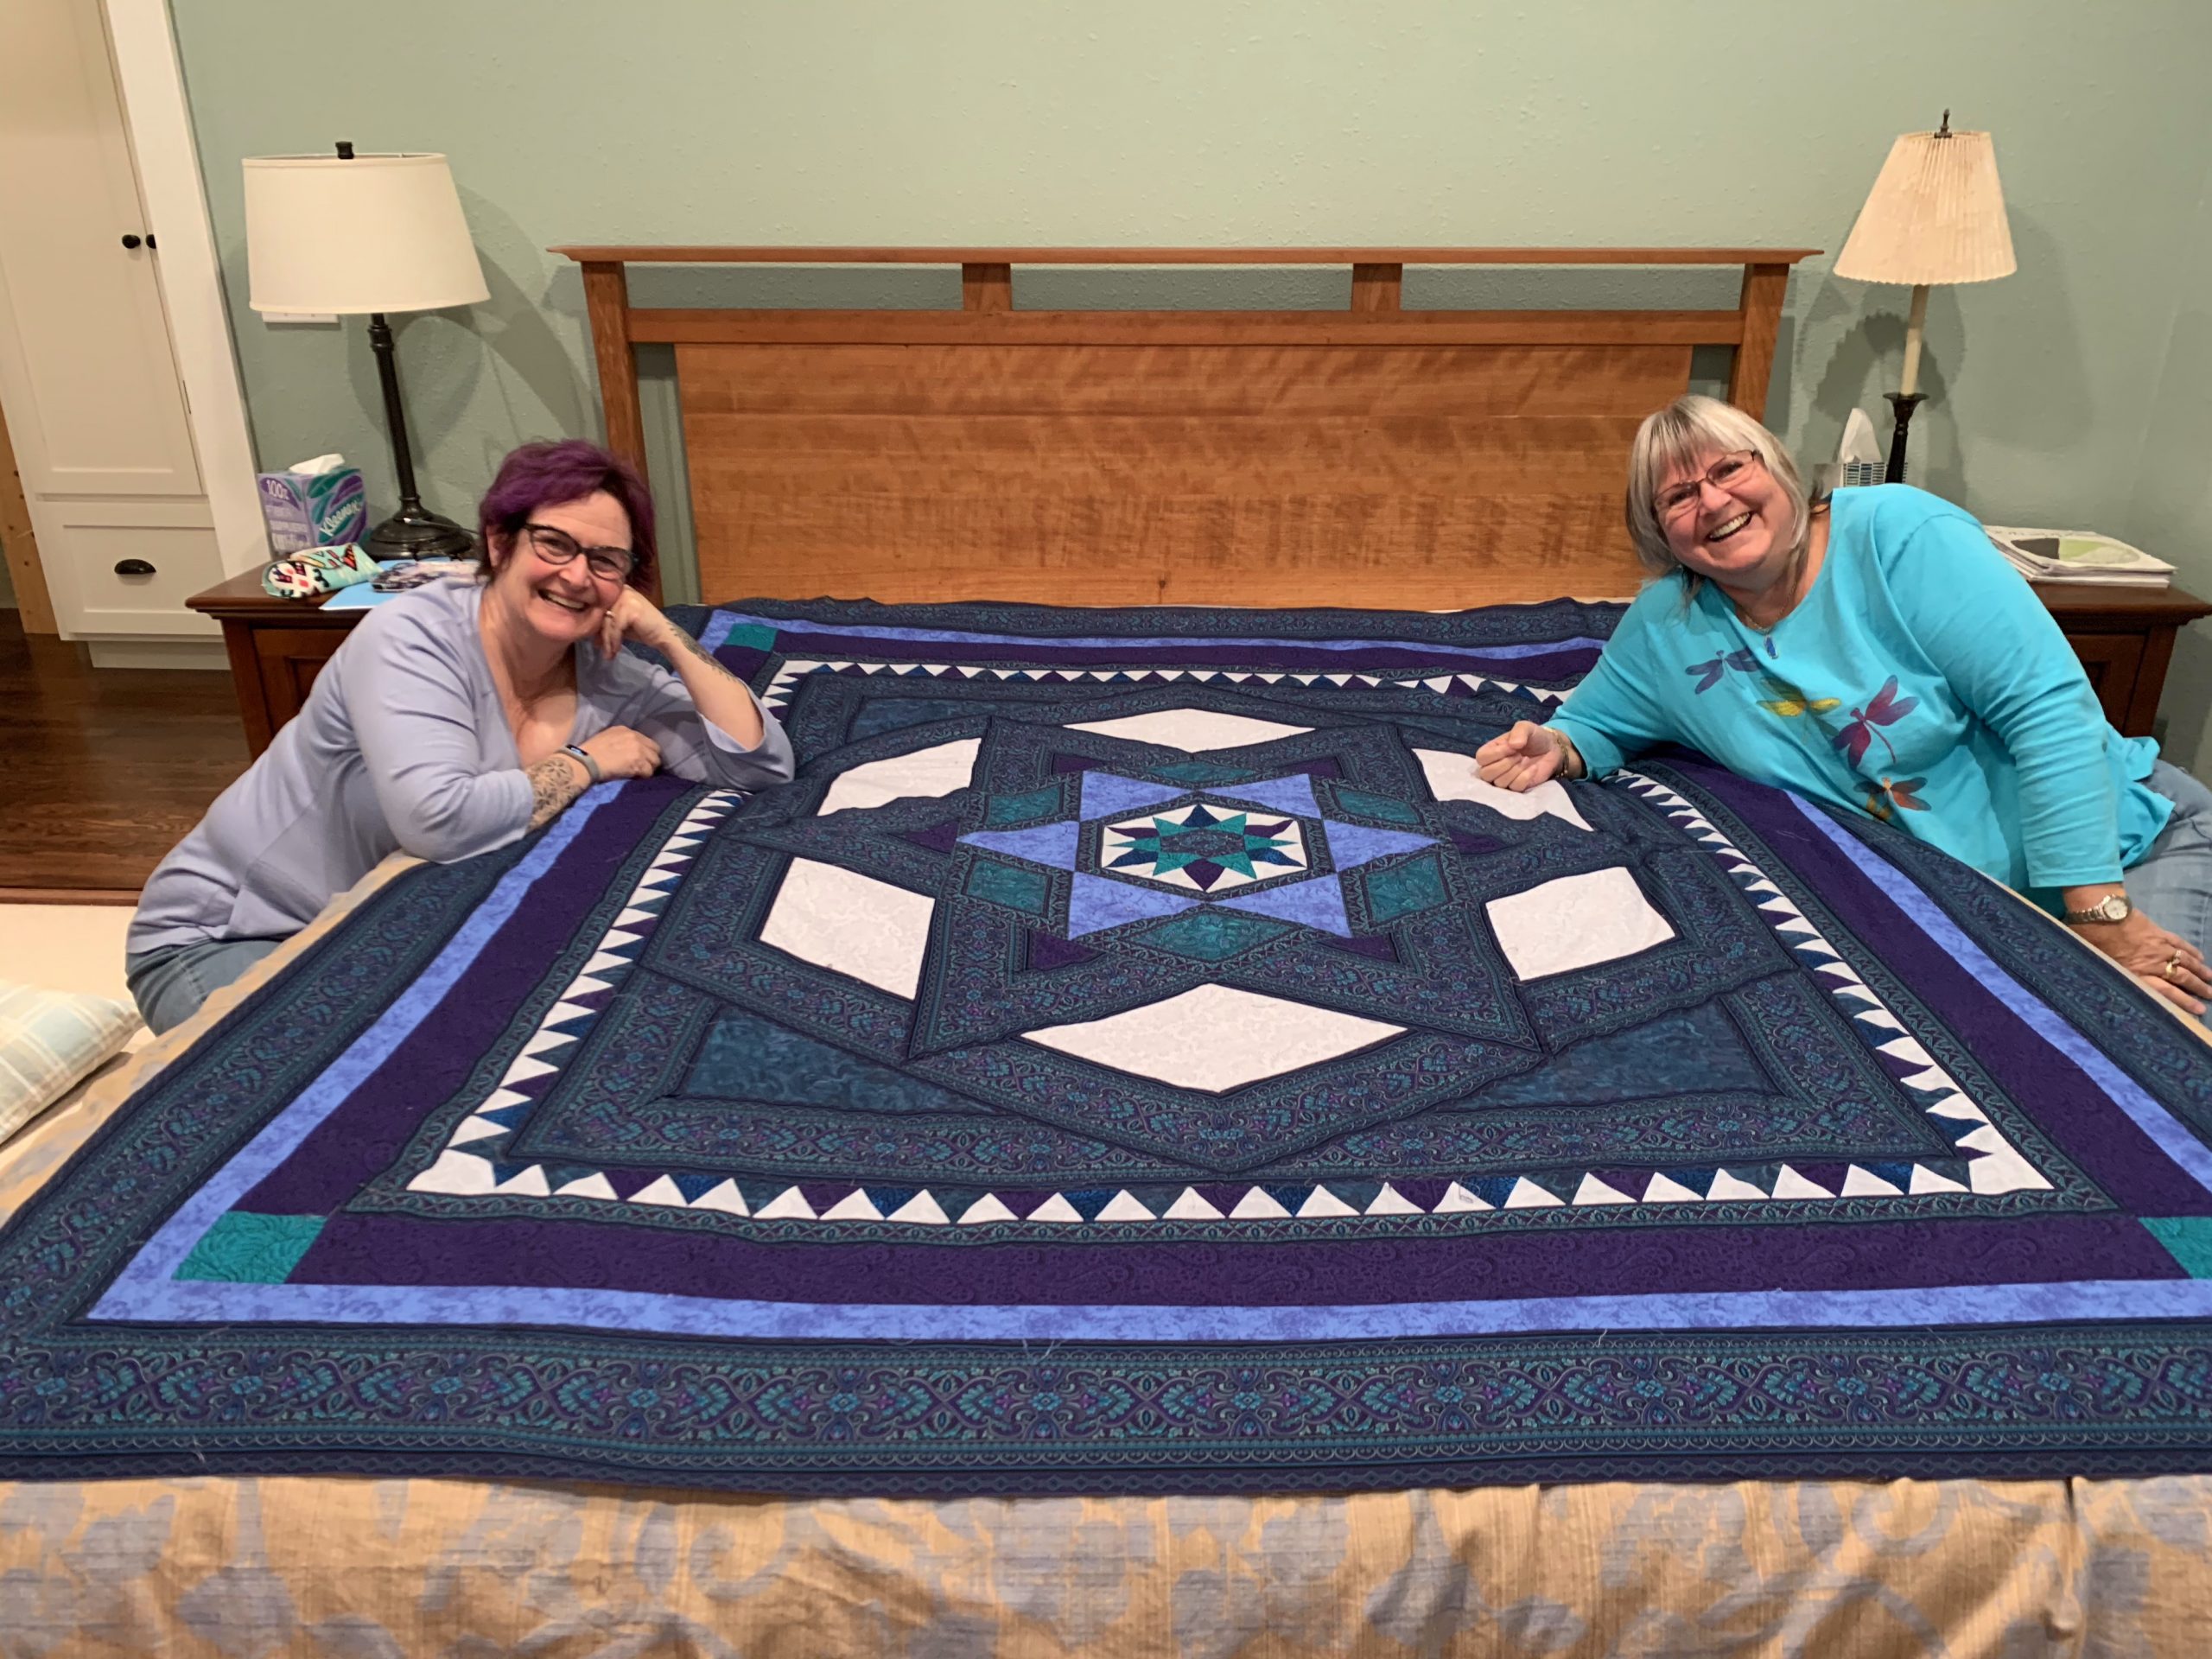
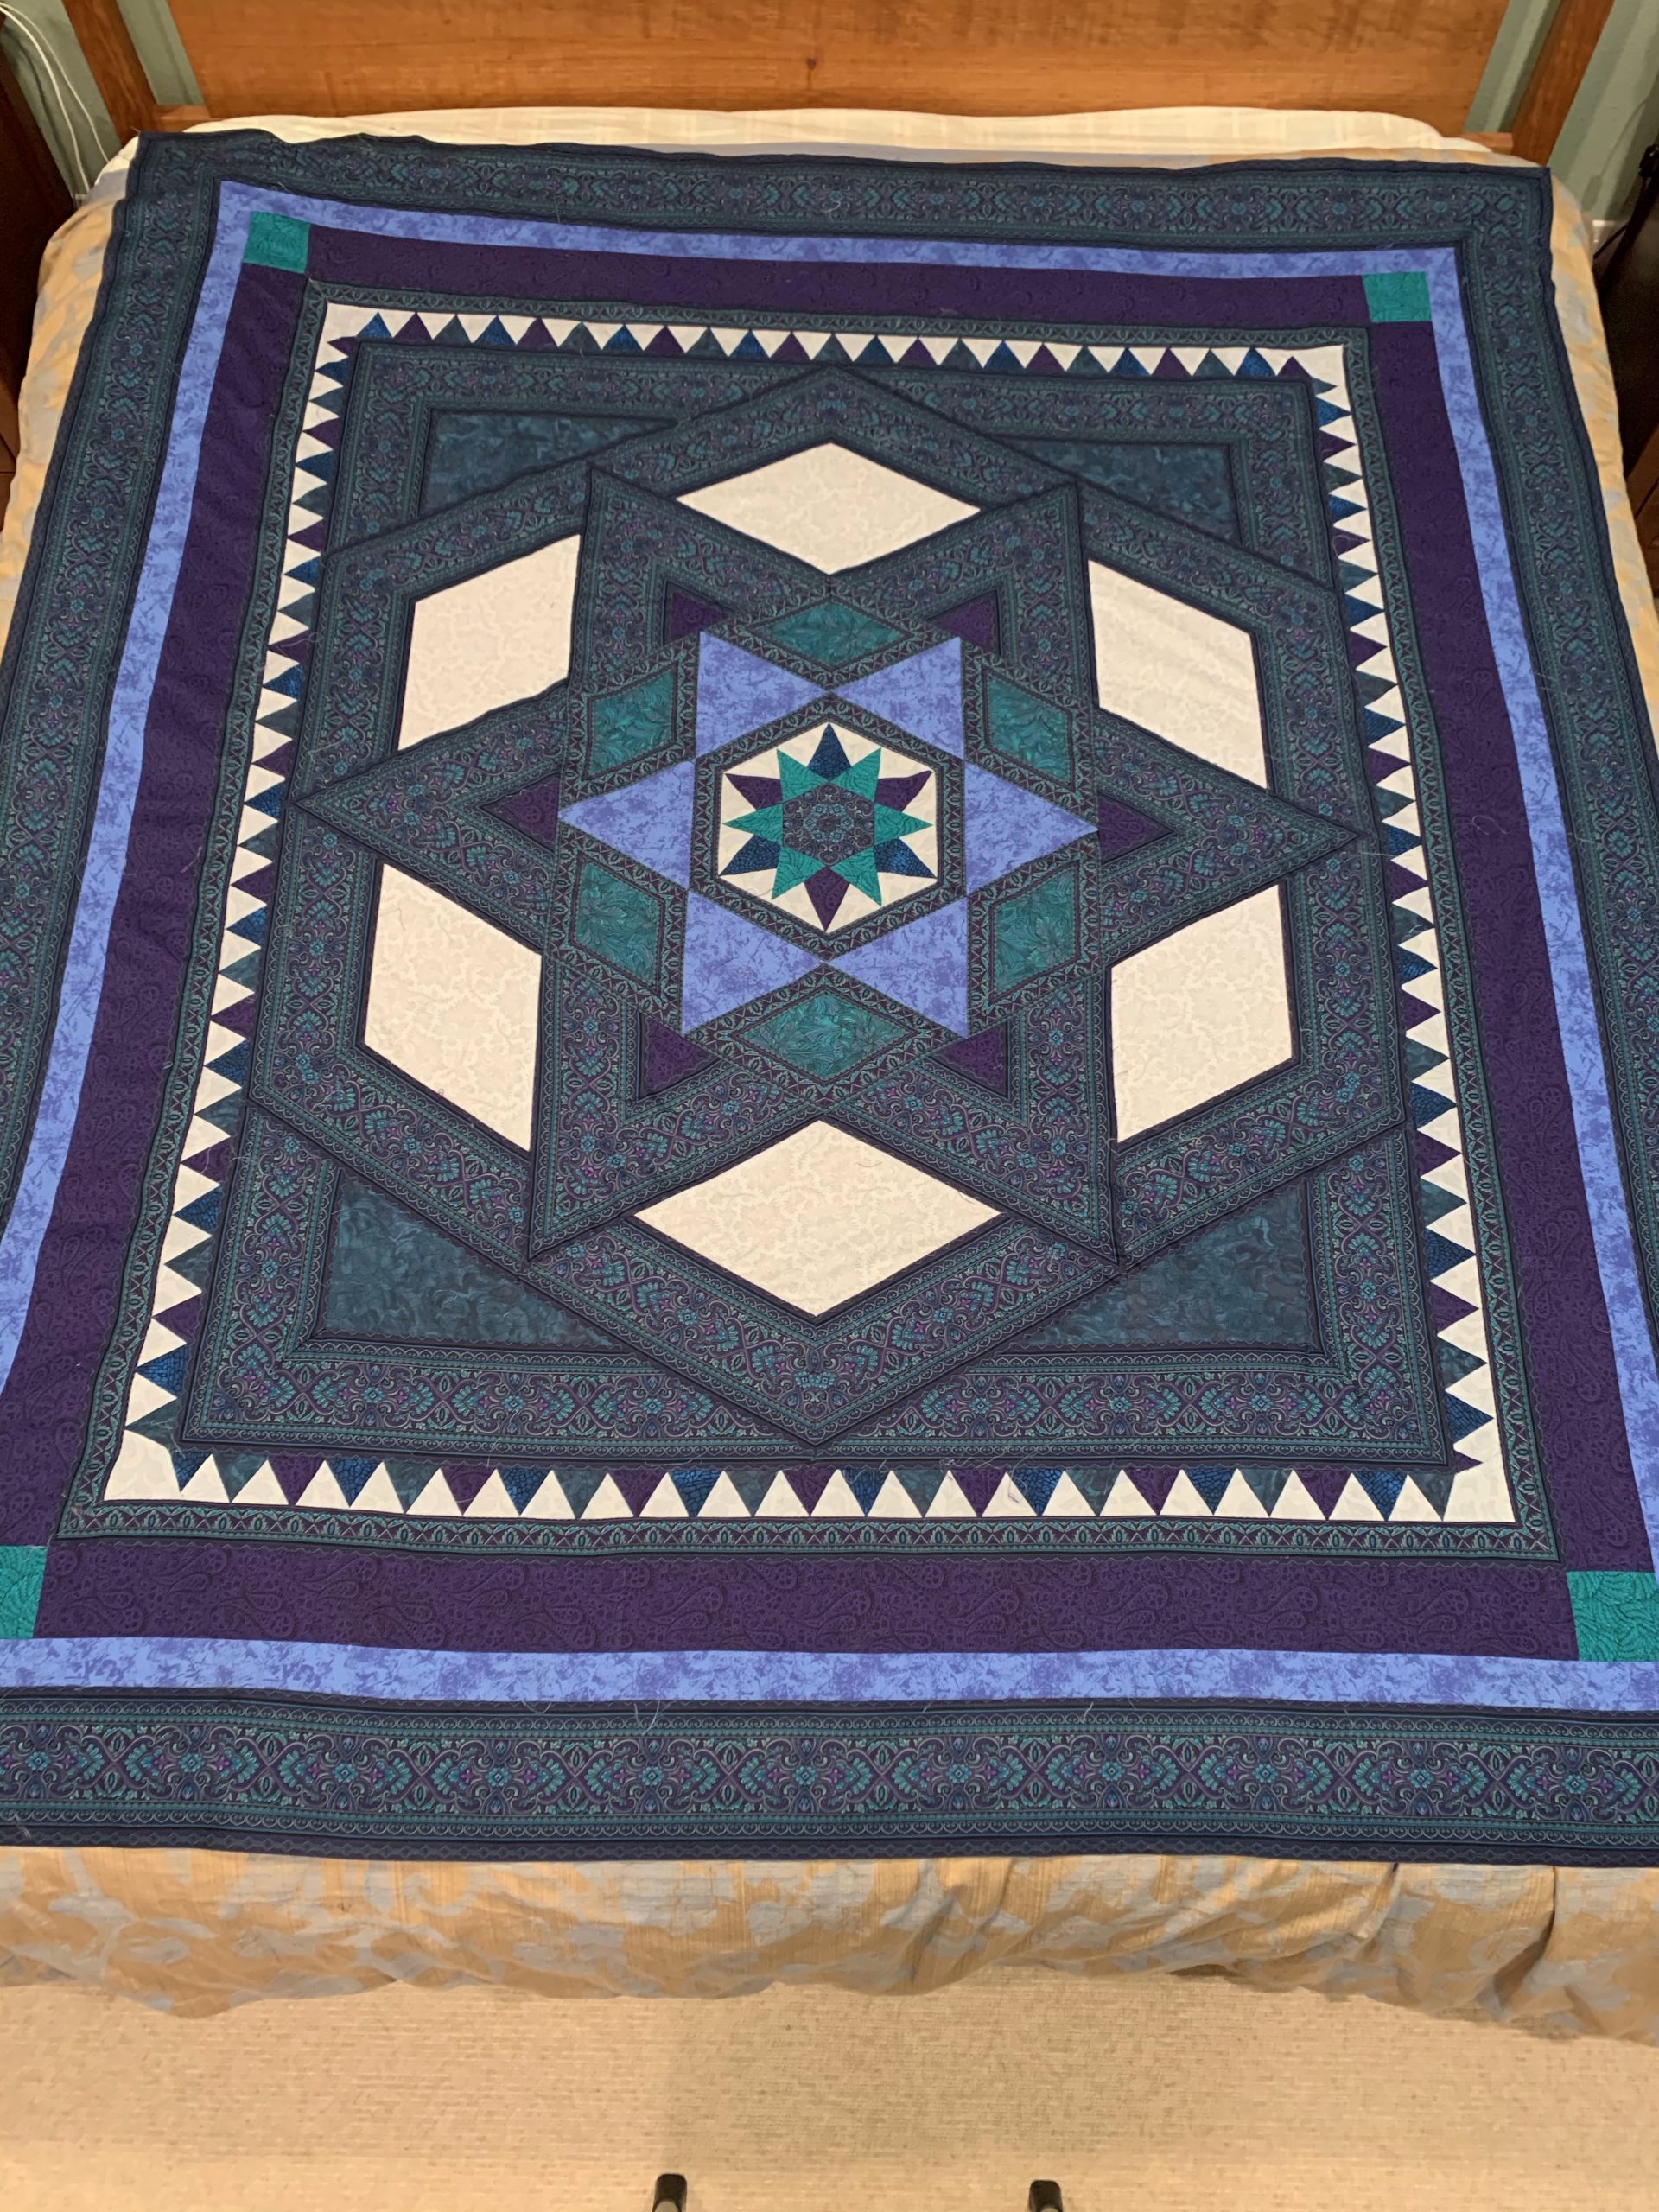
This quilt is called Imari Plate. It was a kit from Kaffe Fassett. I made the sorry mistake of following all of the instructions to make the quilt. It was a mistake because the method described to create the 8 pointed star ended up being so ridiculous (Y seams? really?) that I gave up on the final set of blocks – all the 8 pointed stars. Had I not cut the fabric first, I could have used a much more reasonable technique. But, alas, all that fabric is now cut into diamonds, triangles and squares. I guess I’ll find something to do with them at some point.

The quilt, though, is at the long-armer as we speak. I am going to finish it up and give it to a dear friend who doesn’t know it’s coming her way!

________

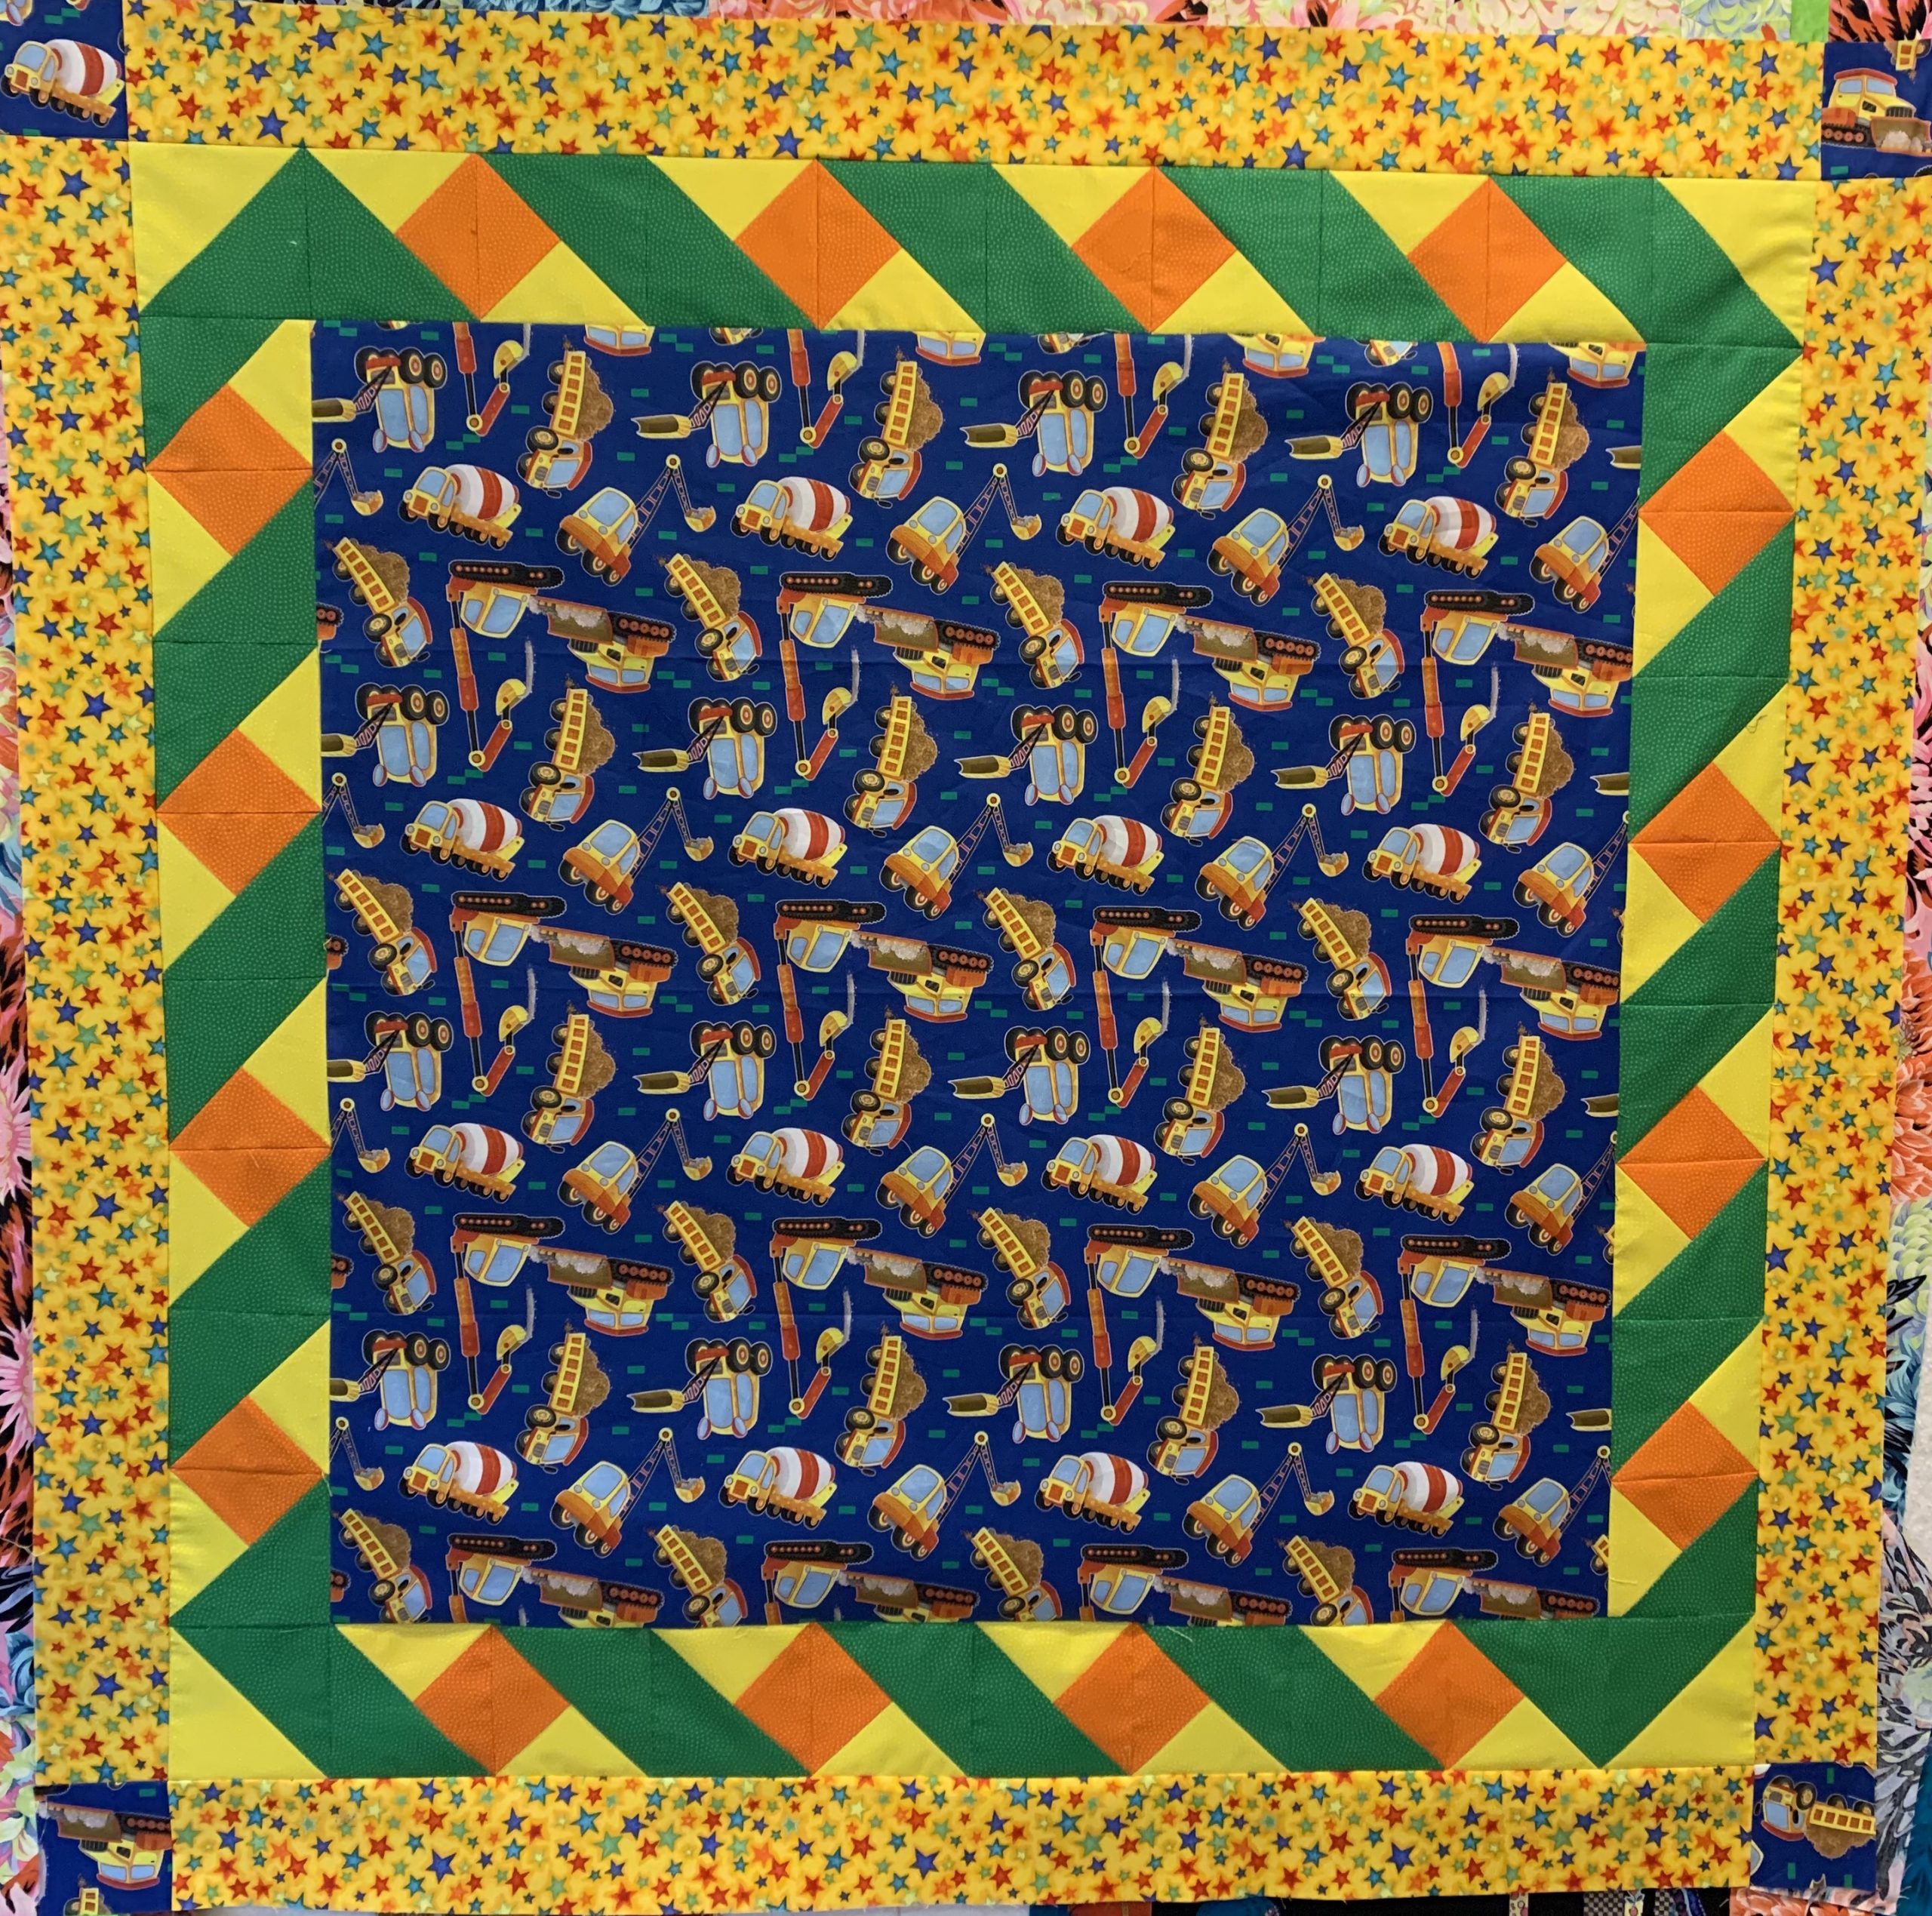
This is a baby quilt that my friend, Janelle, and I made for her grandson, Sebastian. We did this quilt in just a few hours. She was at my house and said she wasn’t leaving until it was done! Luckily, it was easy peasy and fun, too!
________

It took Janelle and me 16 years (YES 16 YEARS) to finish this quilt for her daughter, Novim. In fact, you can see photos of this one from previous blog posts. It was the hardest quilt I have ever made. Lining up and matching all of those border fabrics took a ton of concentration. It was one of those “Rip 2 seams for every 1 I sewed” quilt. It is spectacular. And I’m sure I won’t attempt this one again.

________

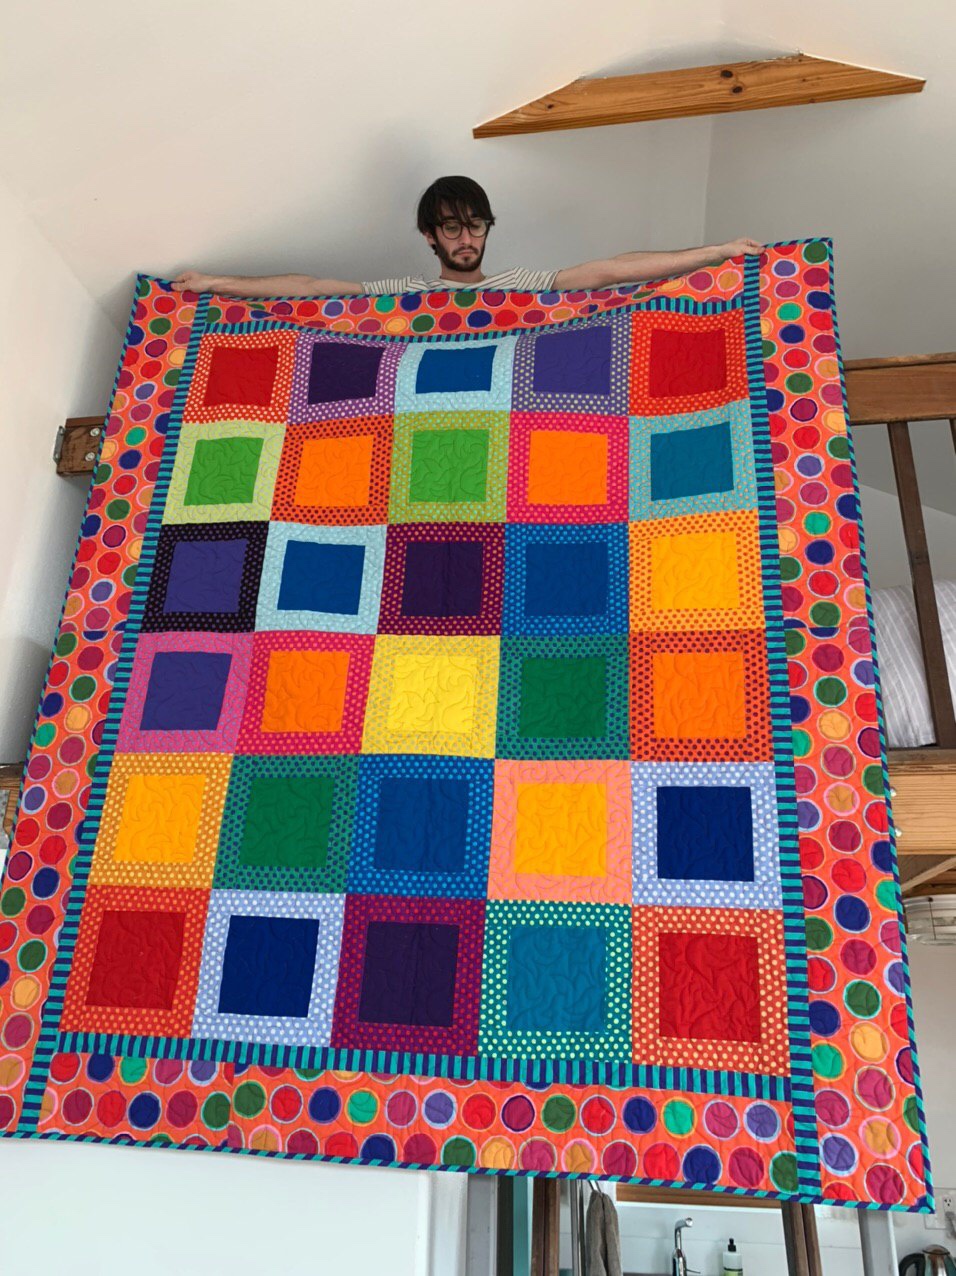
This is a super fun and easy quilt I made for my younger son, Max. I used a couple of layer cakes and some really fun Tula Pink and Kaffe Fassett patterns. I’m particularly tickled by the bias striped binding. This one was completed in very early 2020.

________

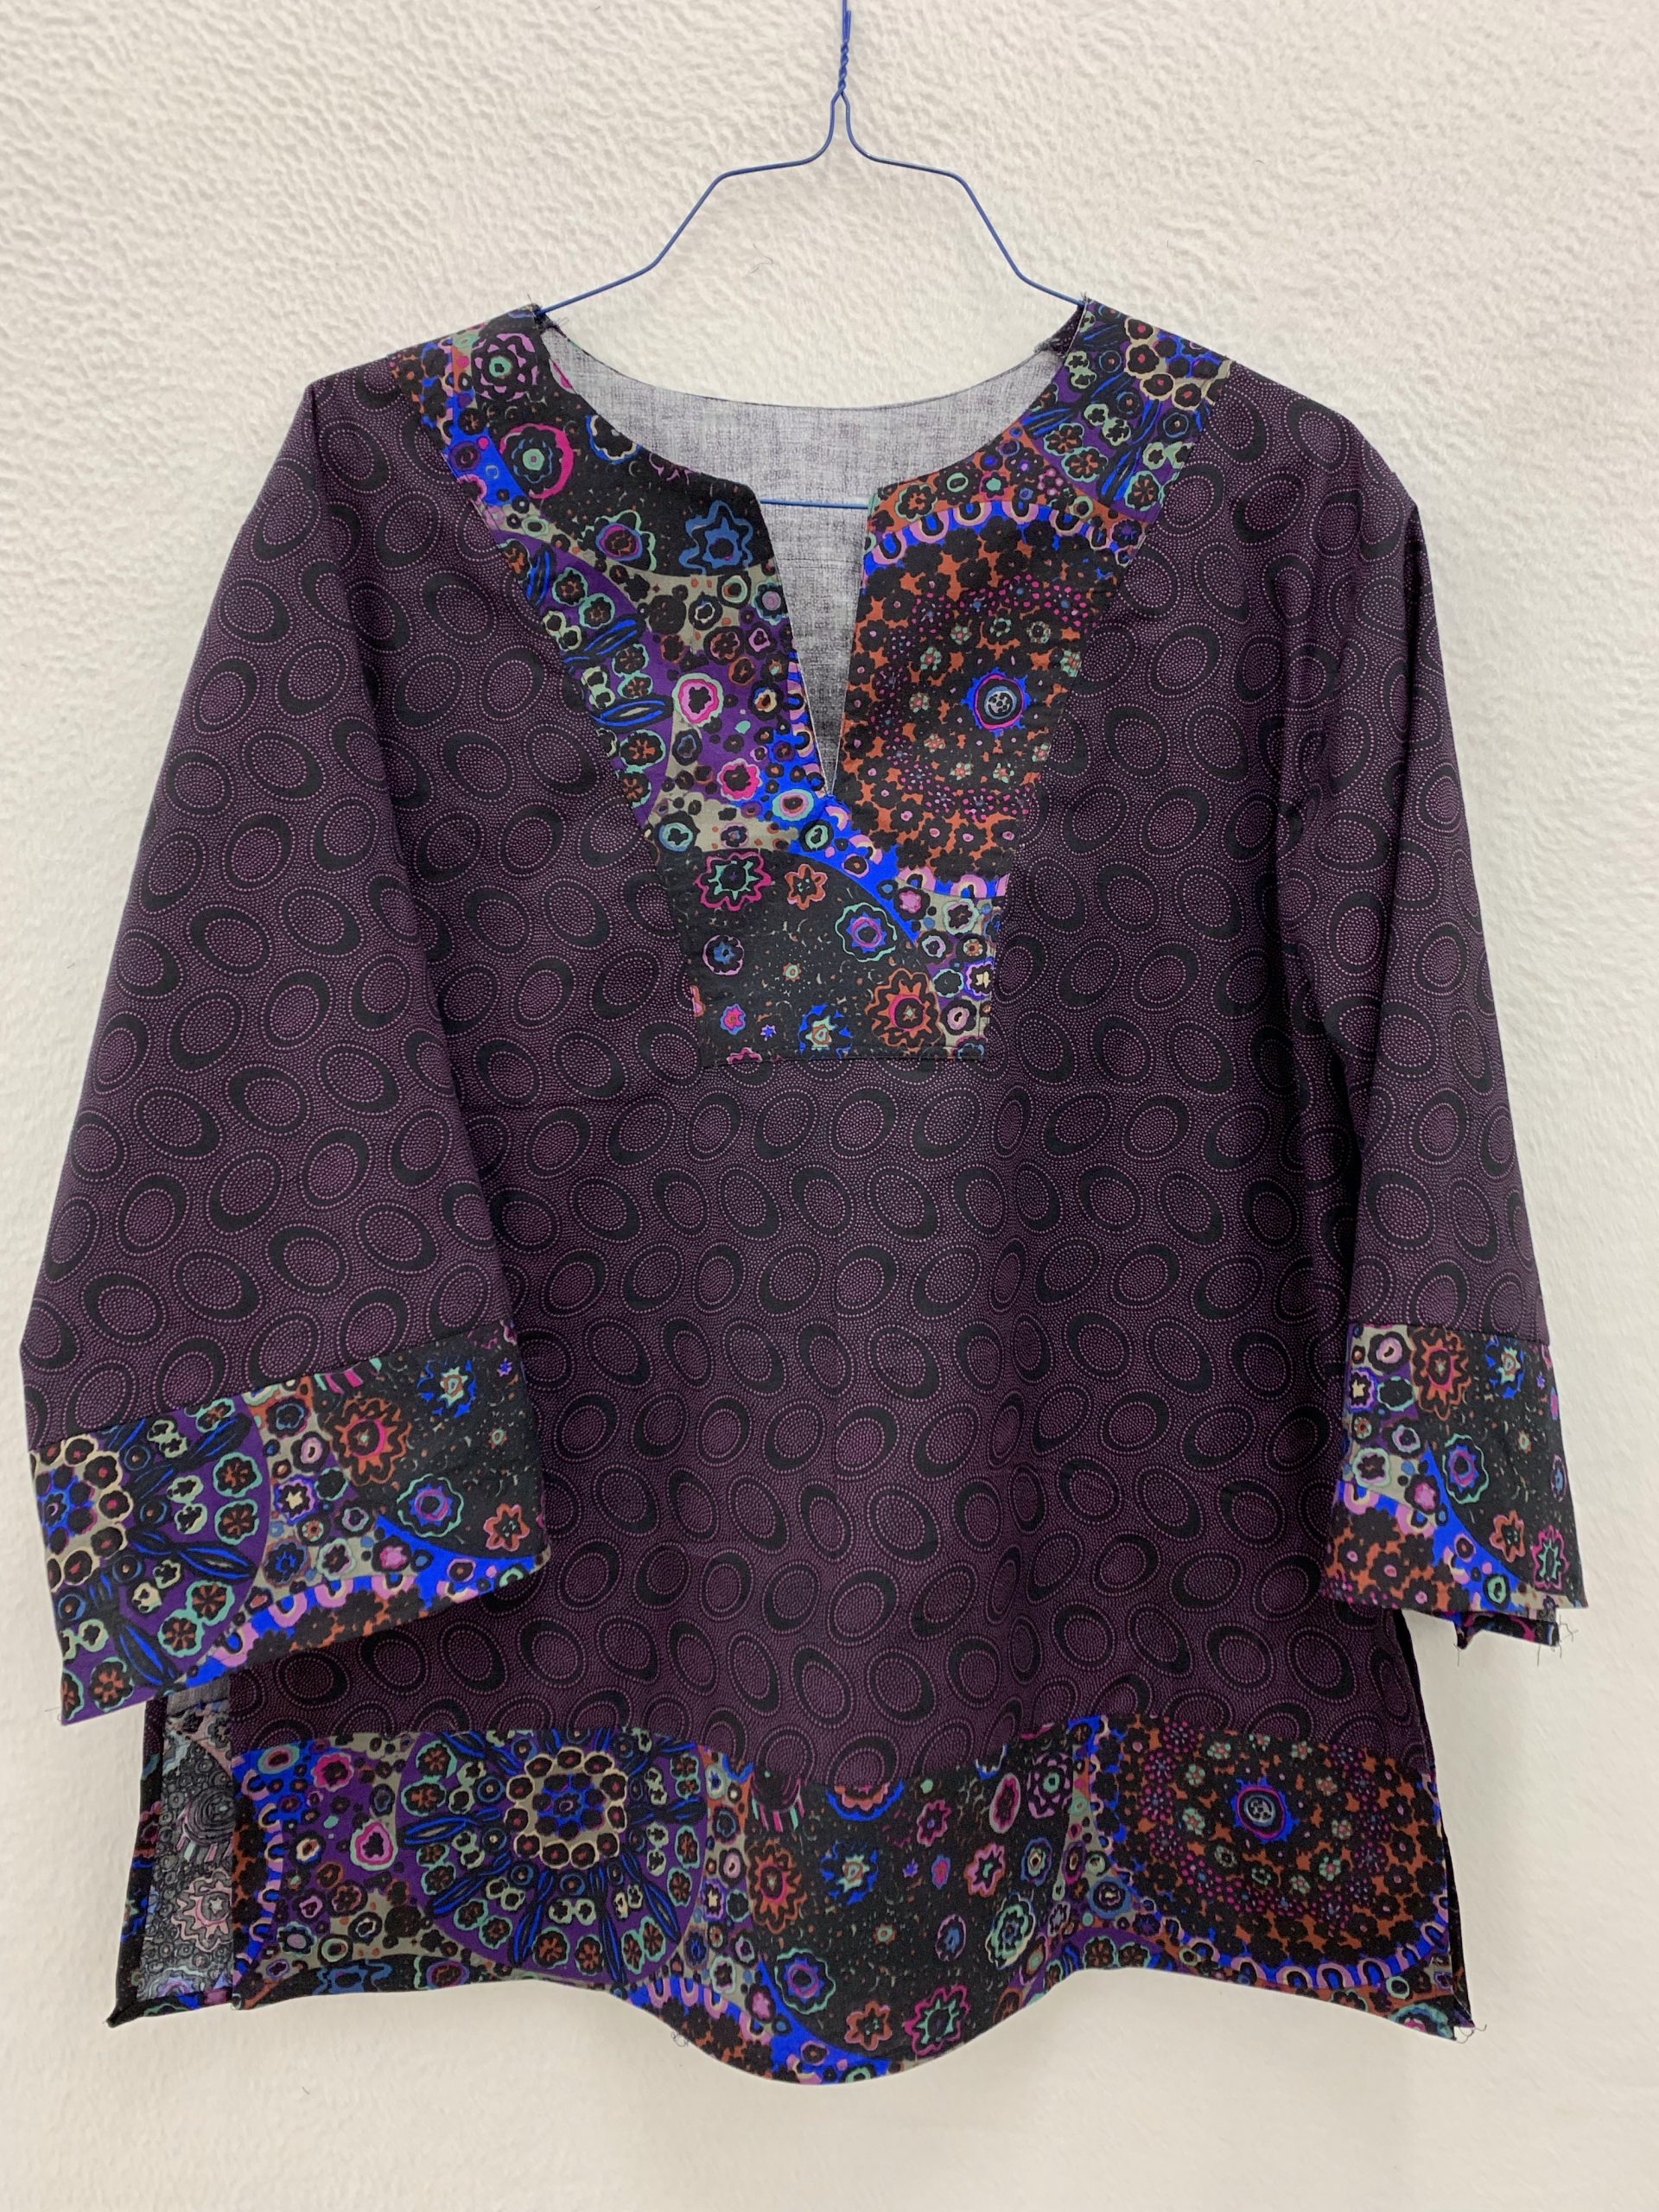
Someplace along the line, I started sewing just a few items of clothing. This is the fifth tunic using this pattern. I used Kaffe Fassett fabric. Lots of fun.

________

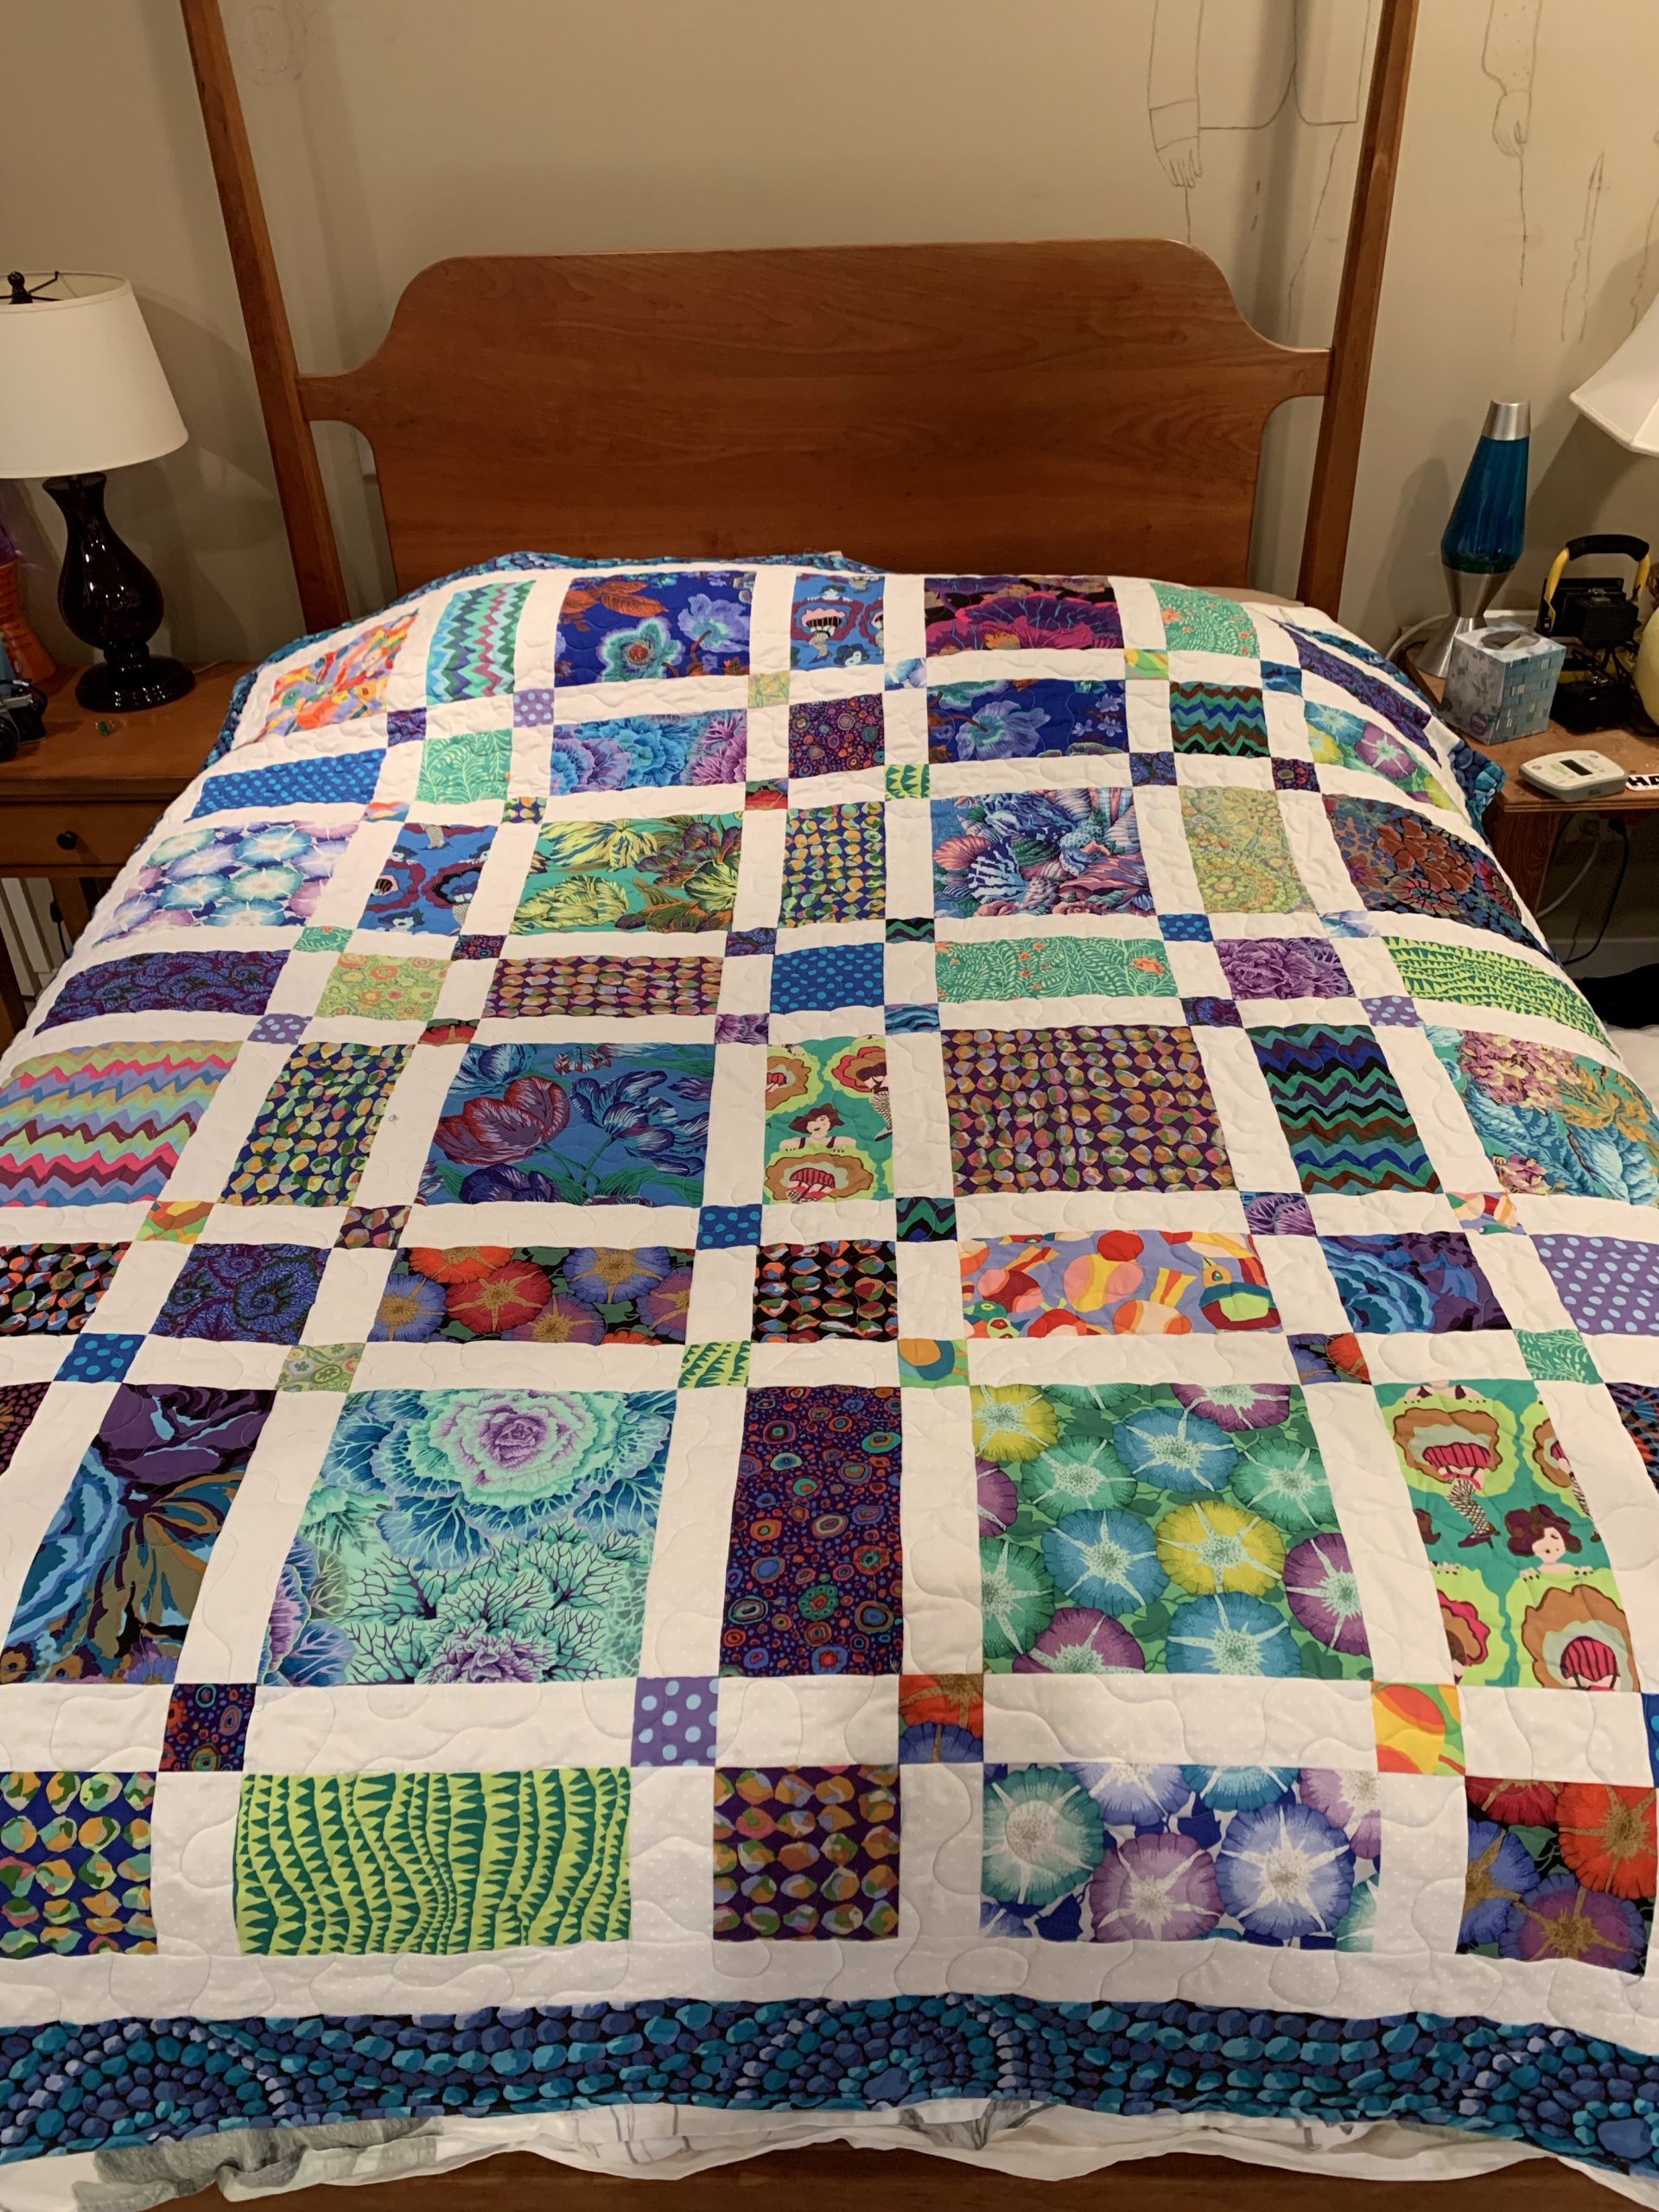
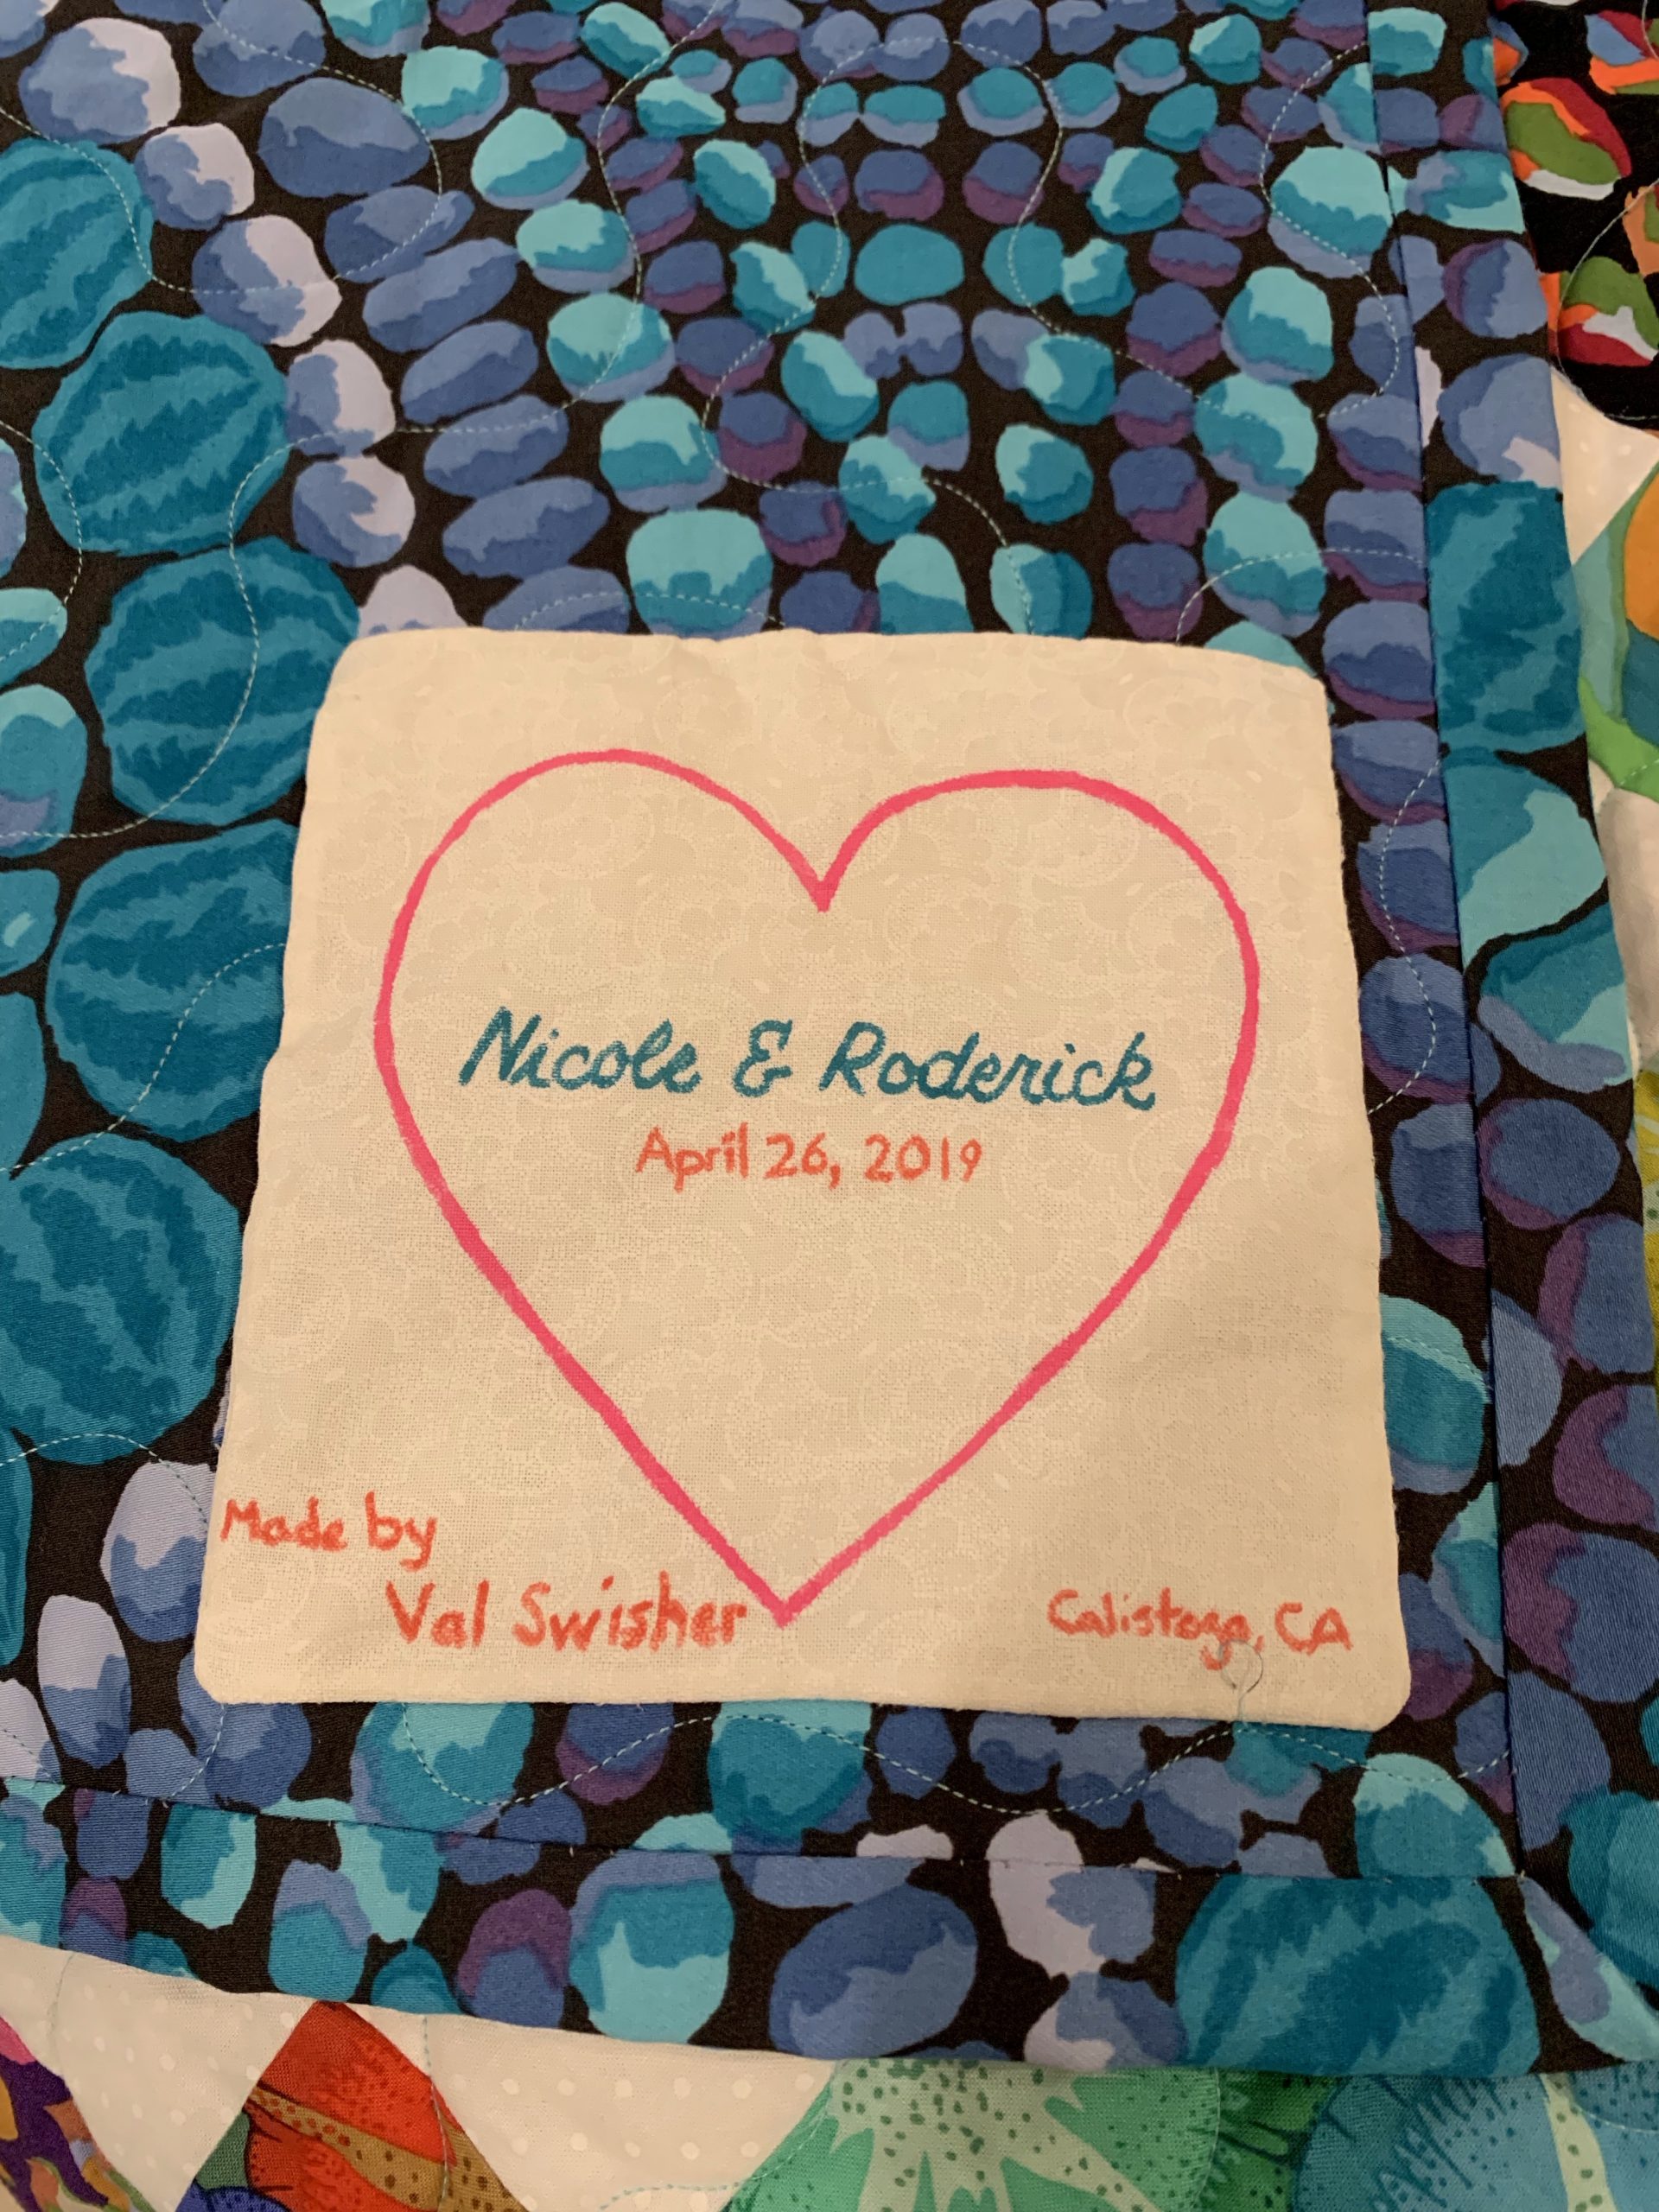
Nicky and Roderick got married in 2019. So, I made this wedding quilt for them. Aren’t they adorable?

________

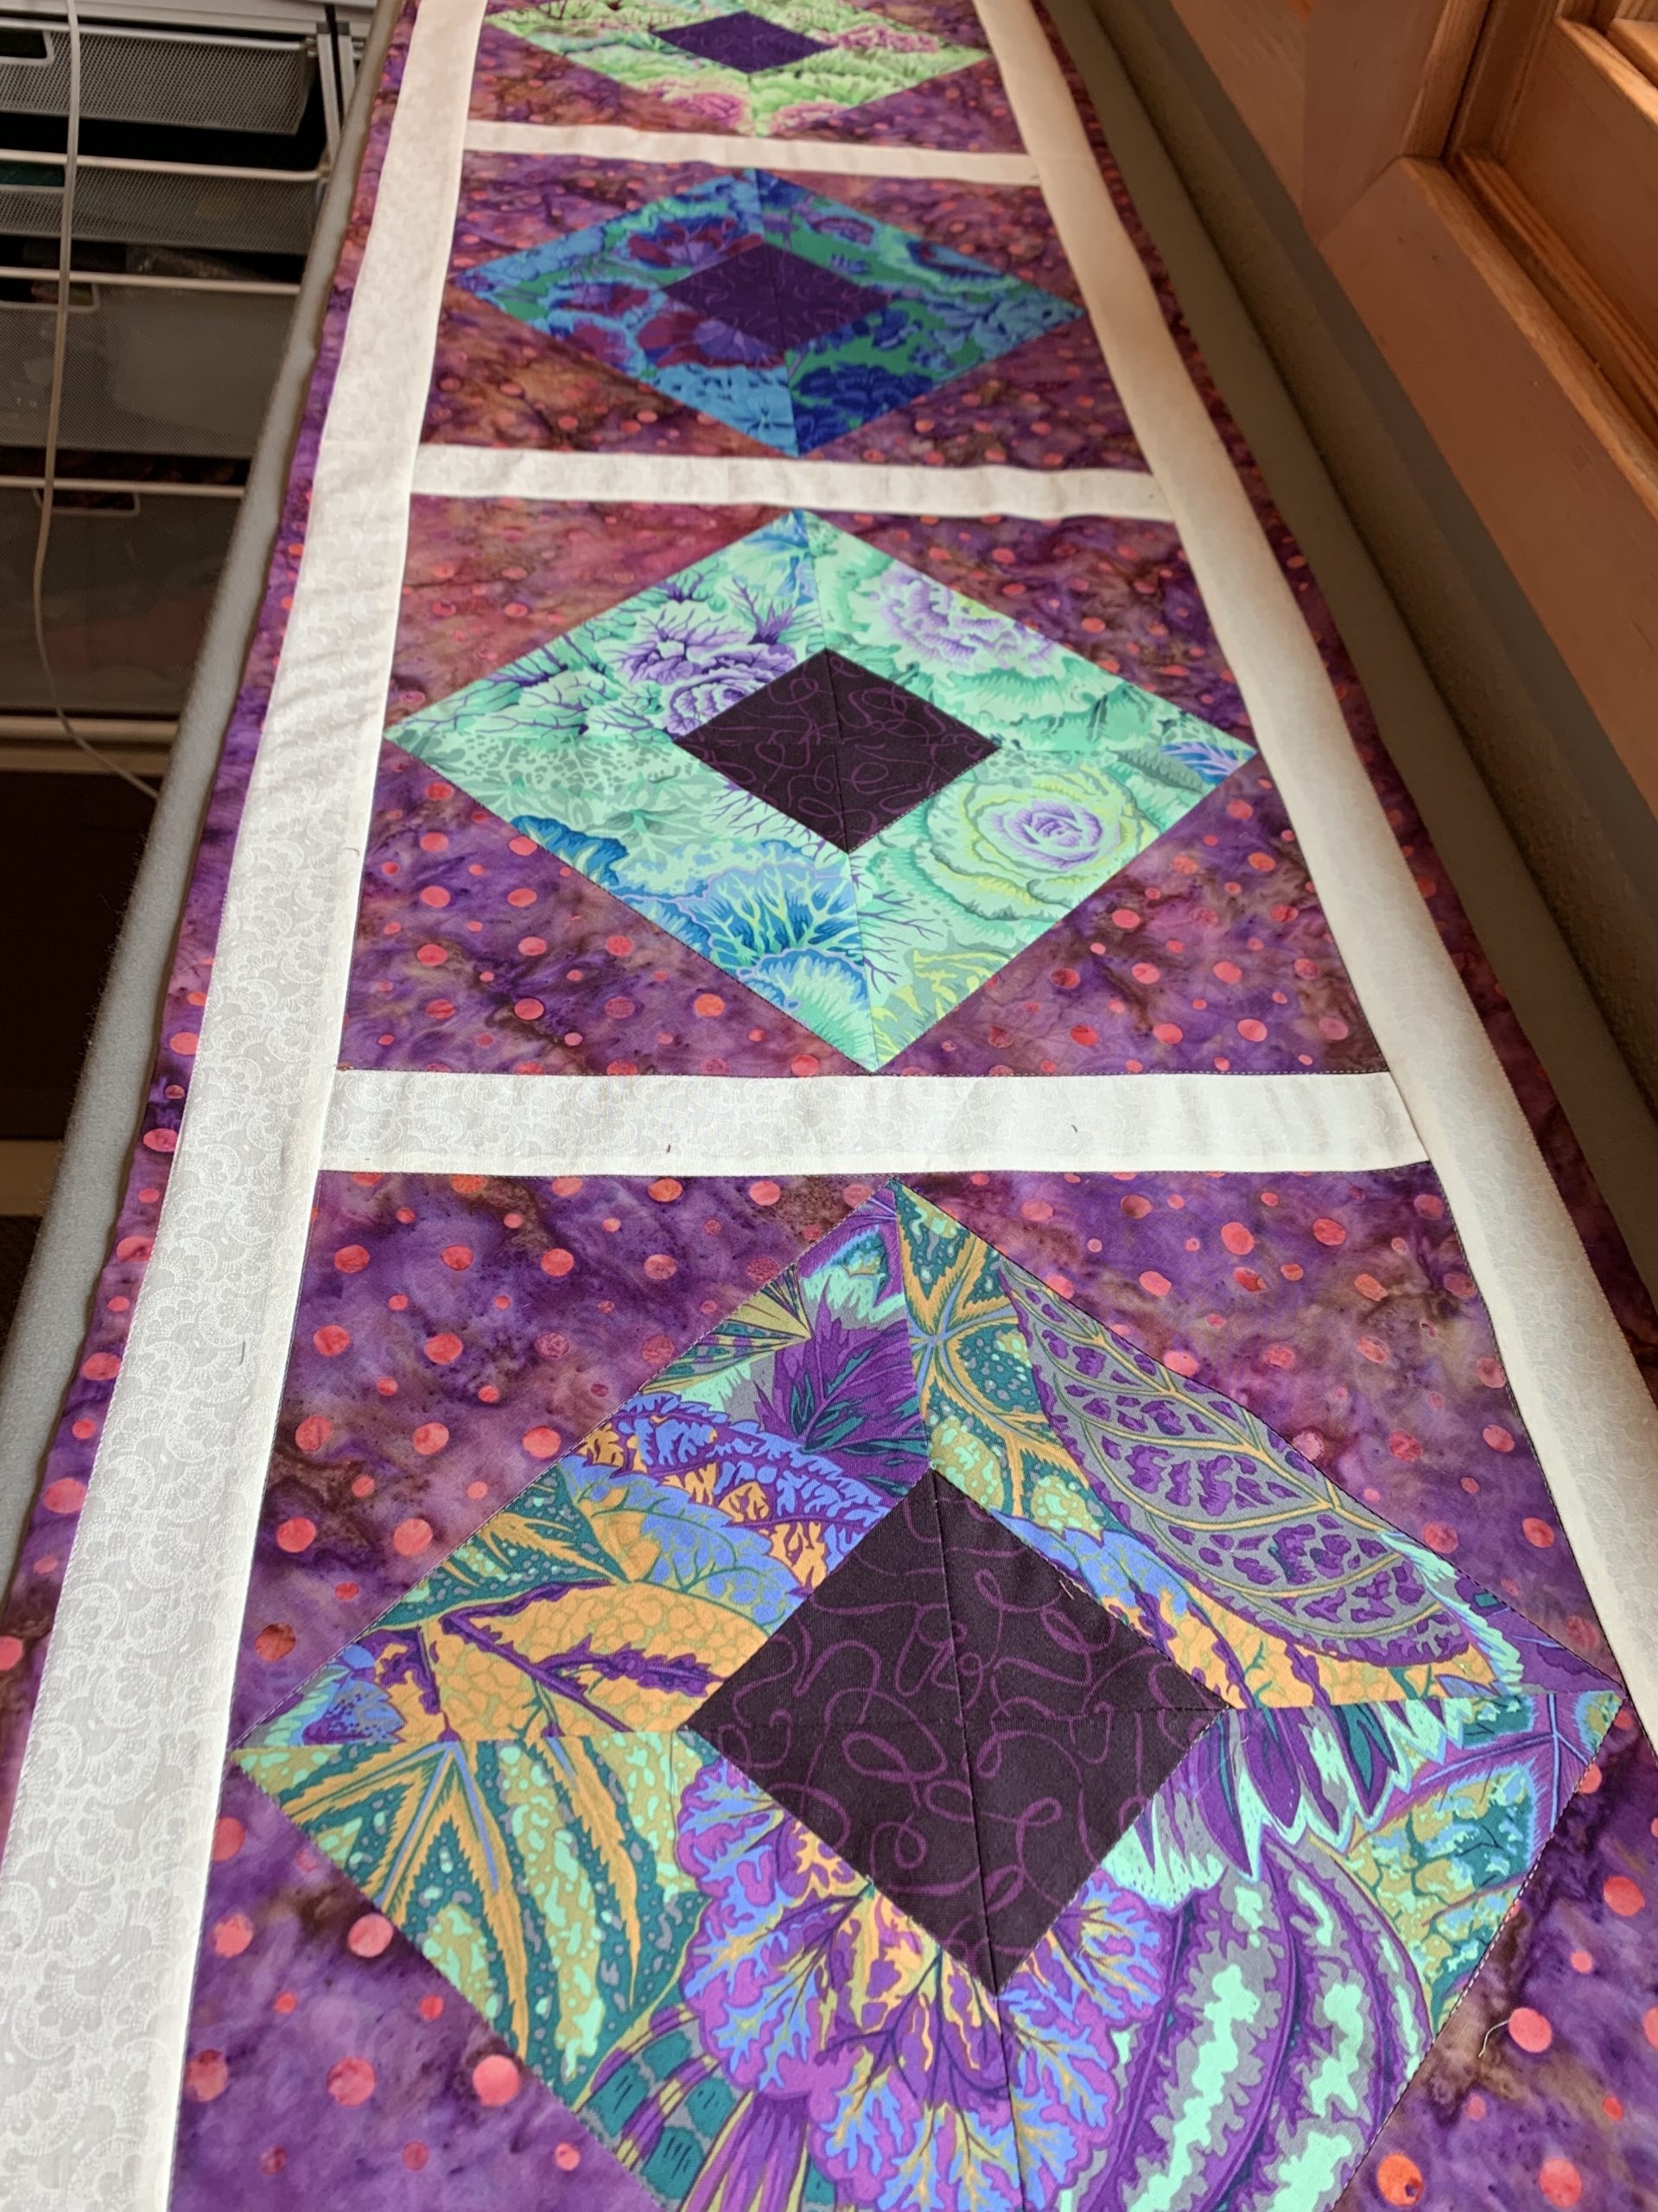
I needed a table runner for a kitchen table. So I whipped this one up very quickly. Kaffe Fassett fabric and some batiks too. Next time, I won’t use white for the lattice. Spills happen.

________

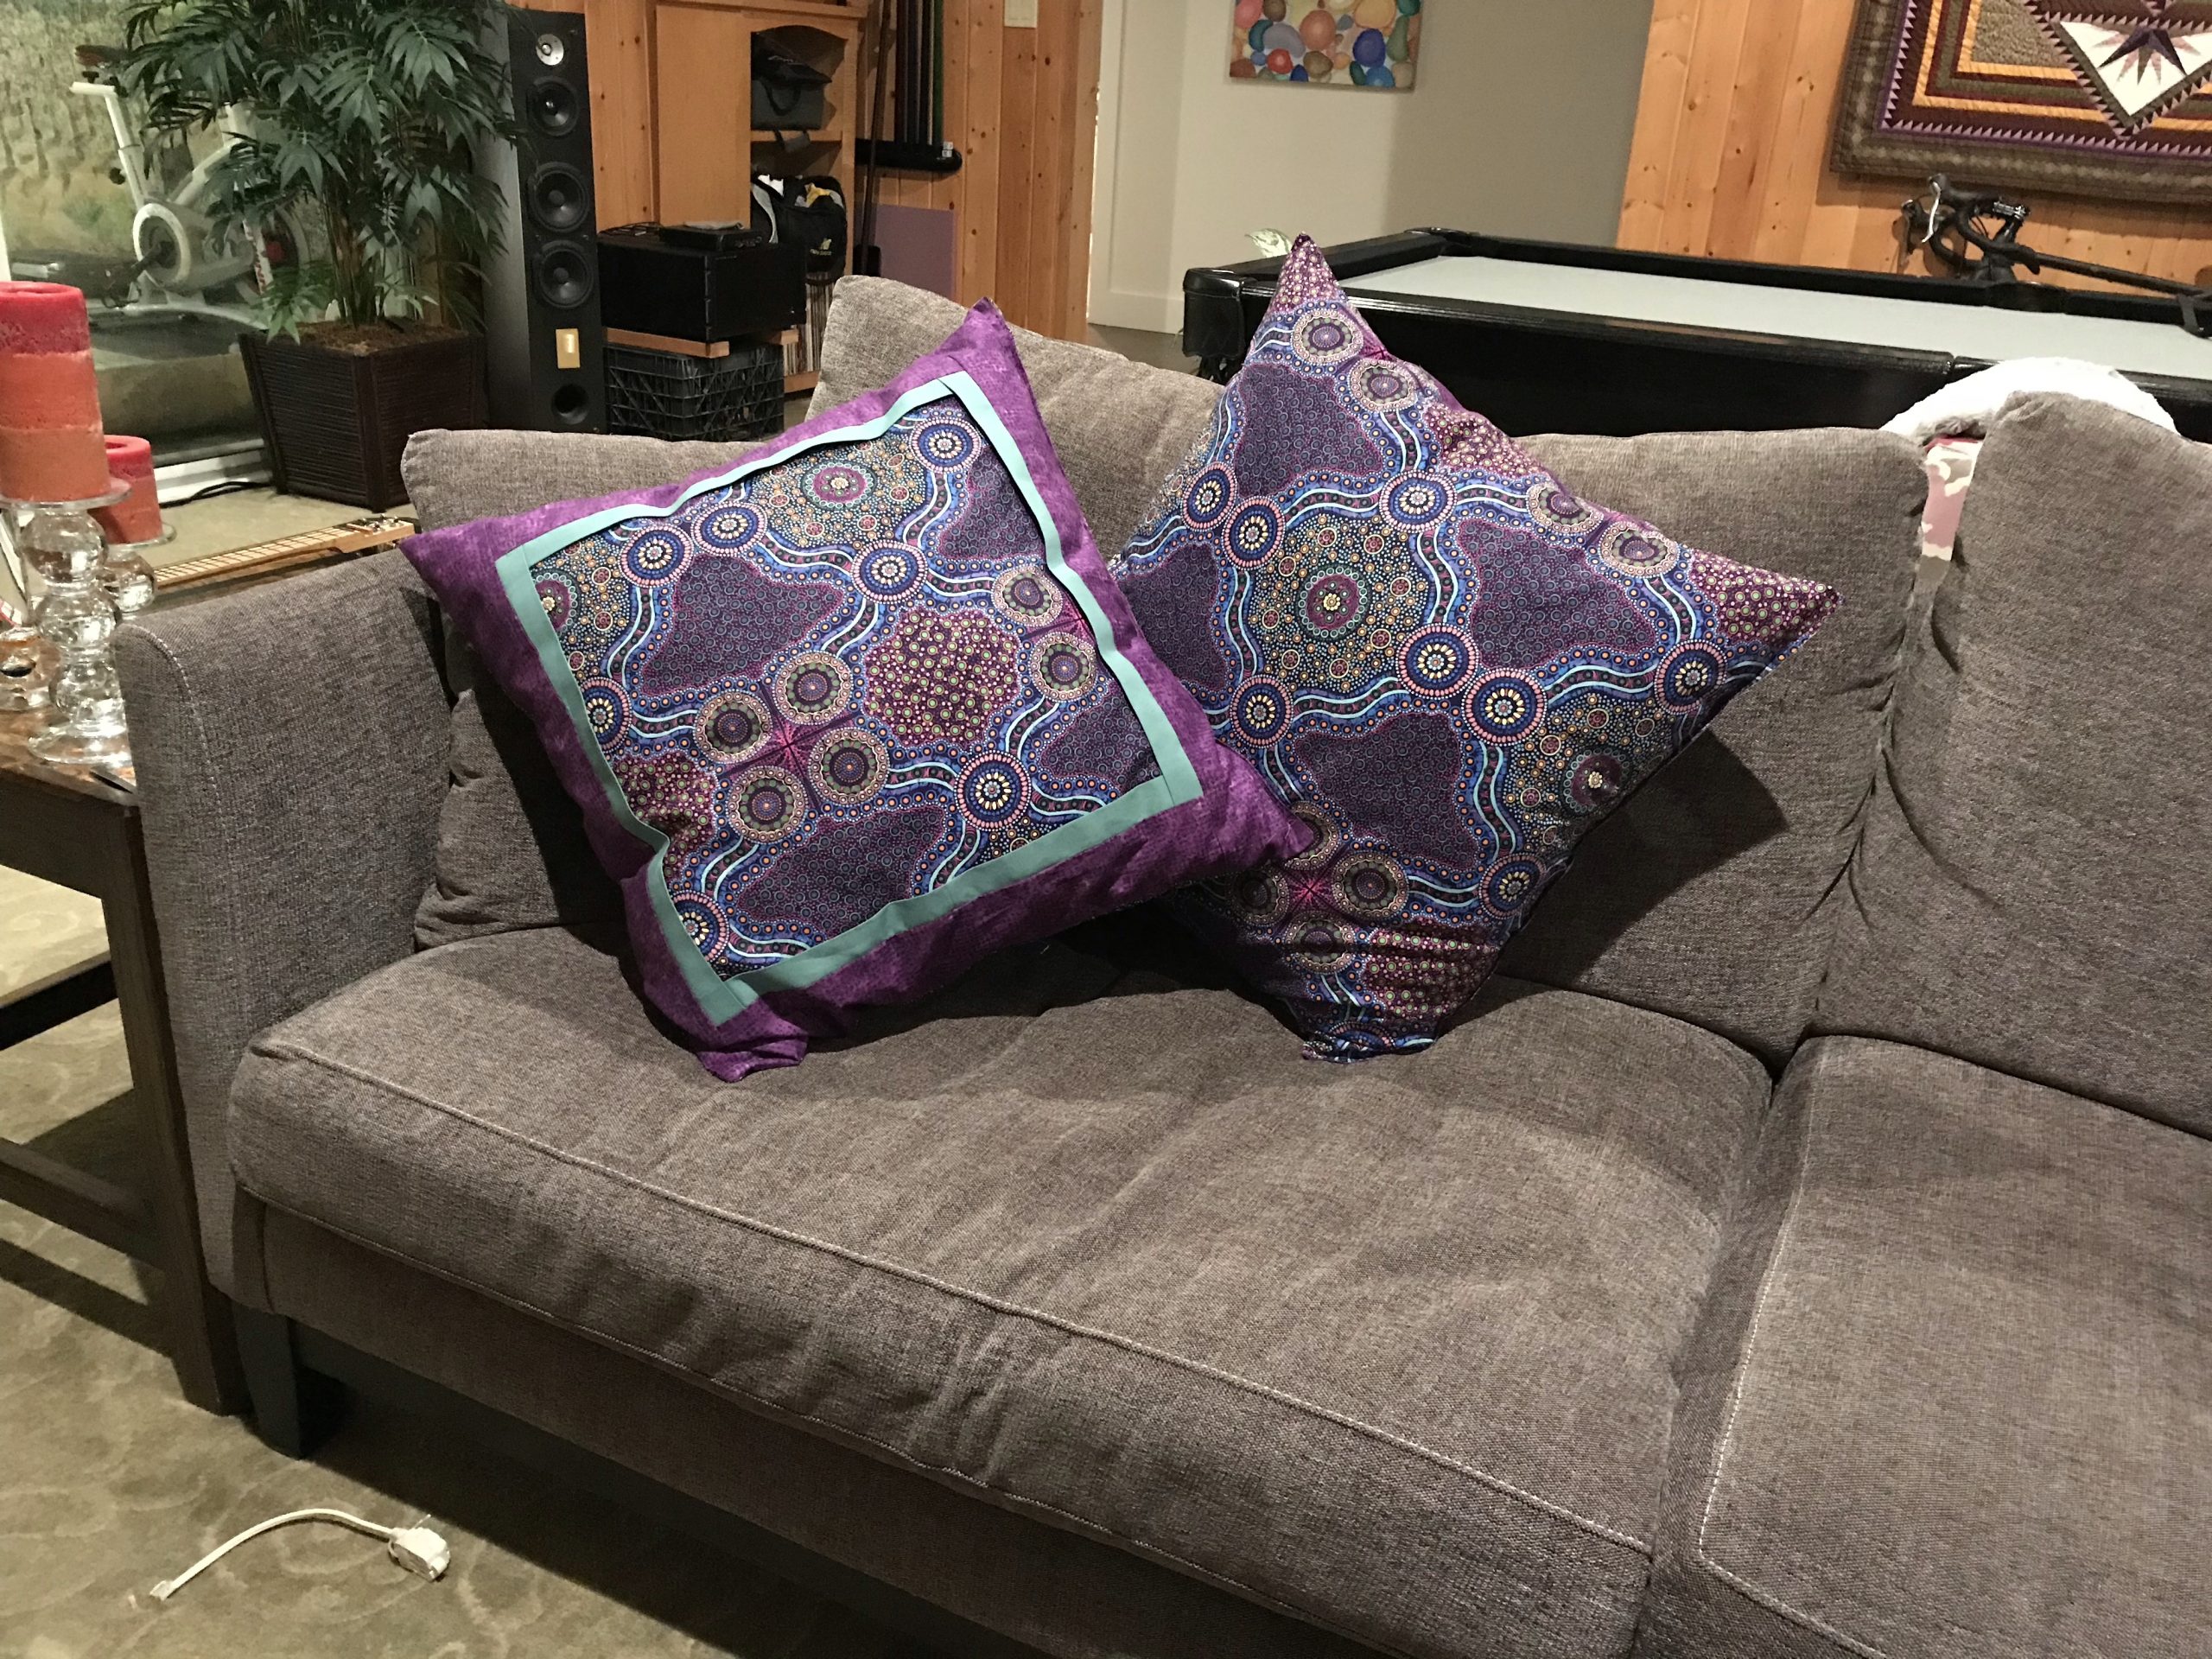
Made these two pillows for “The Biffle,” my best friend, Viv. This is an aboriginal print that I simply LOVE. I also like the flange treatment, too.
________

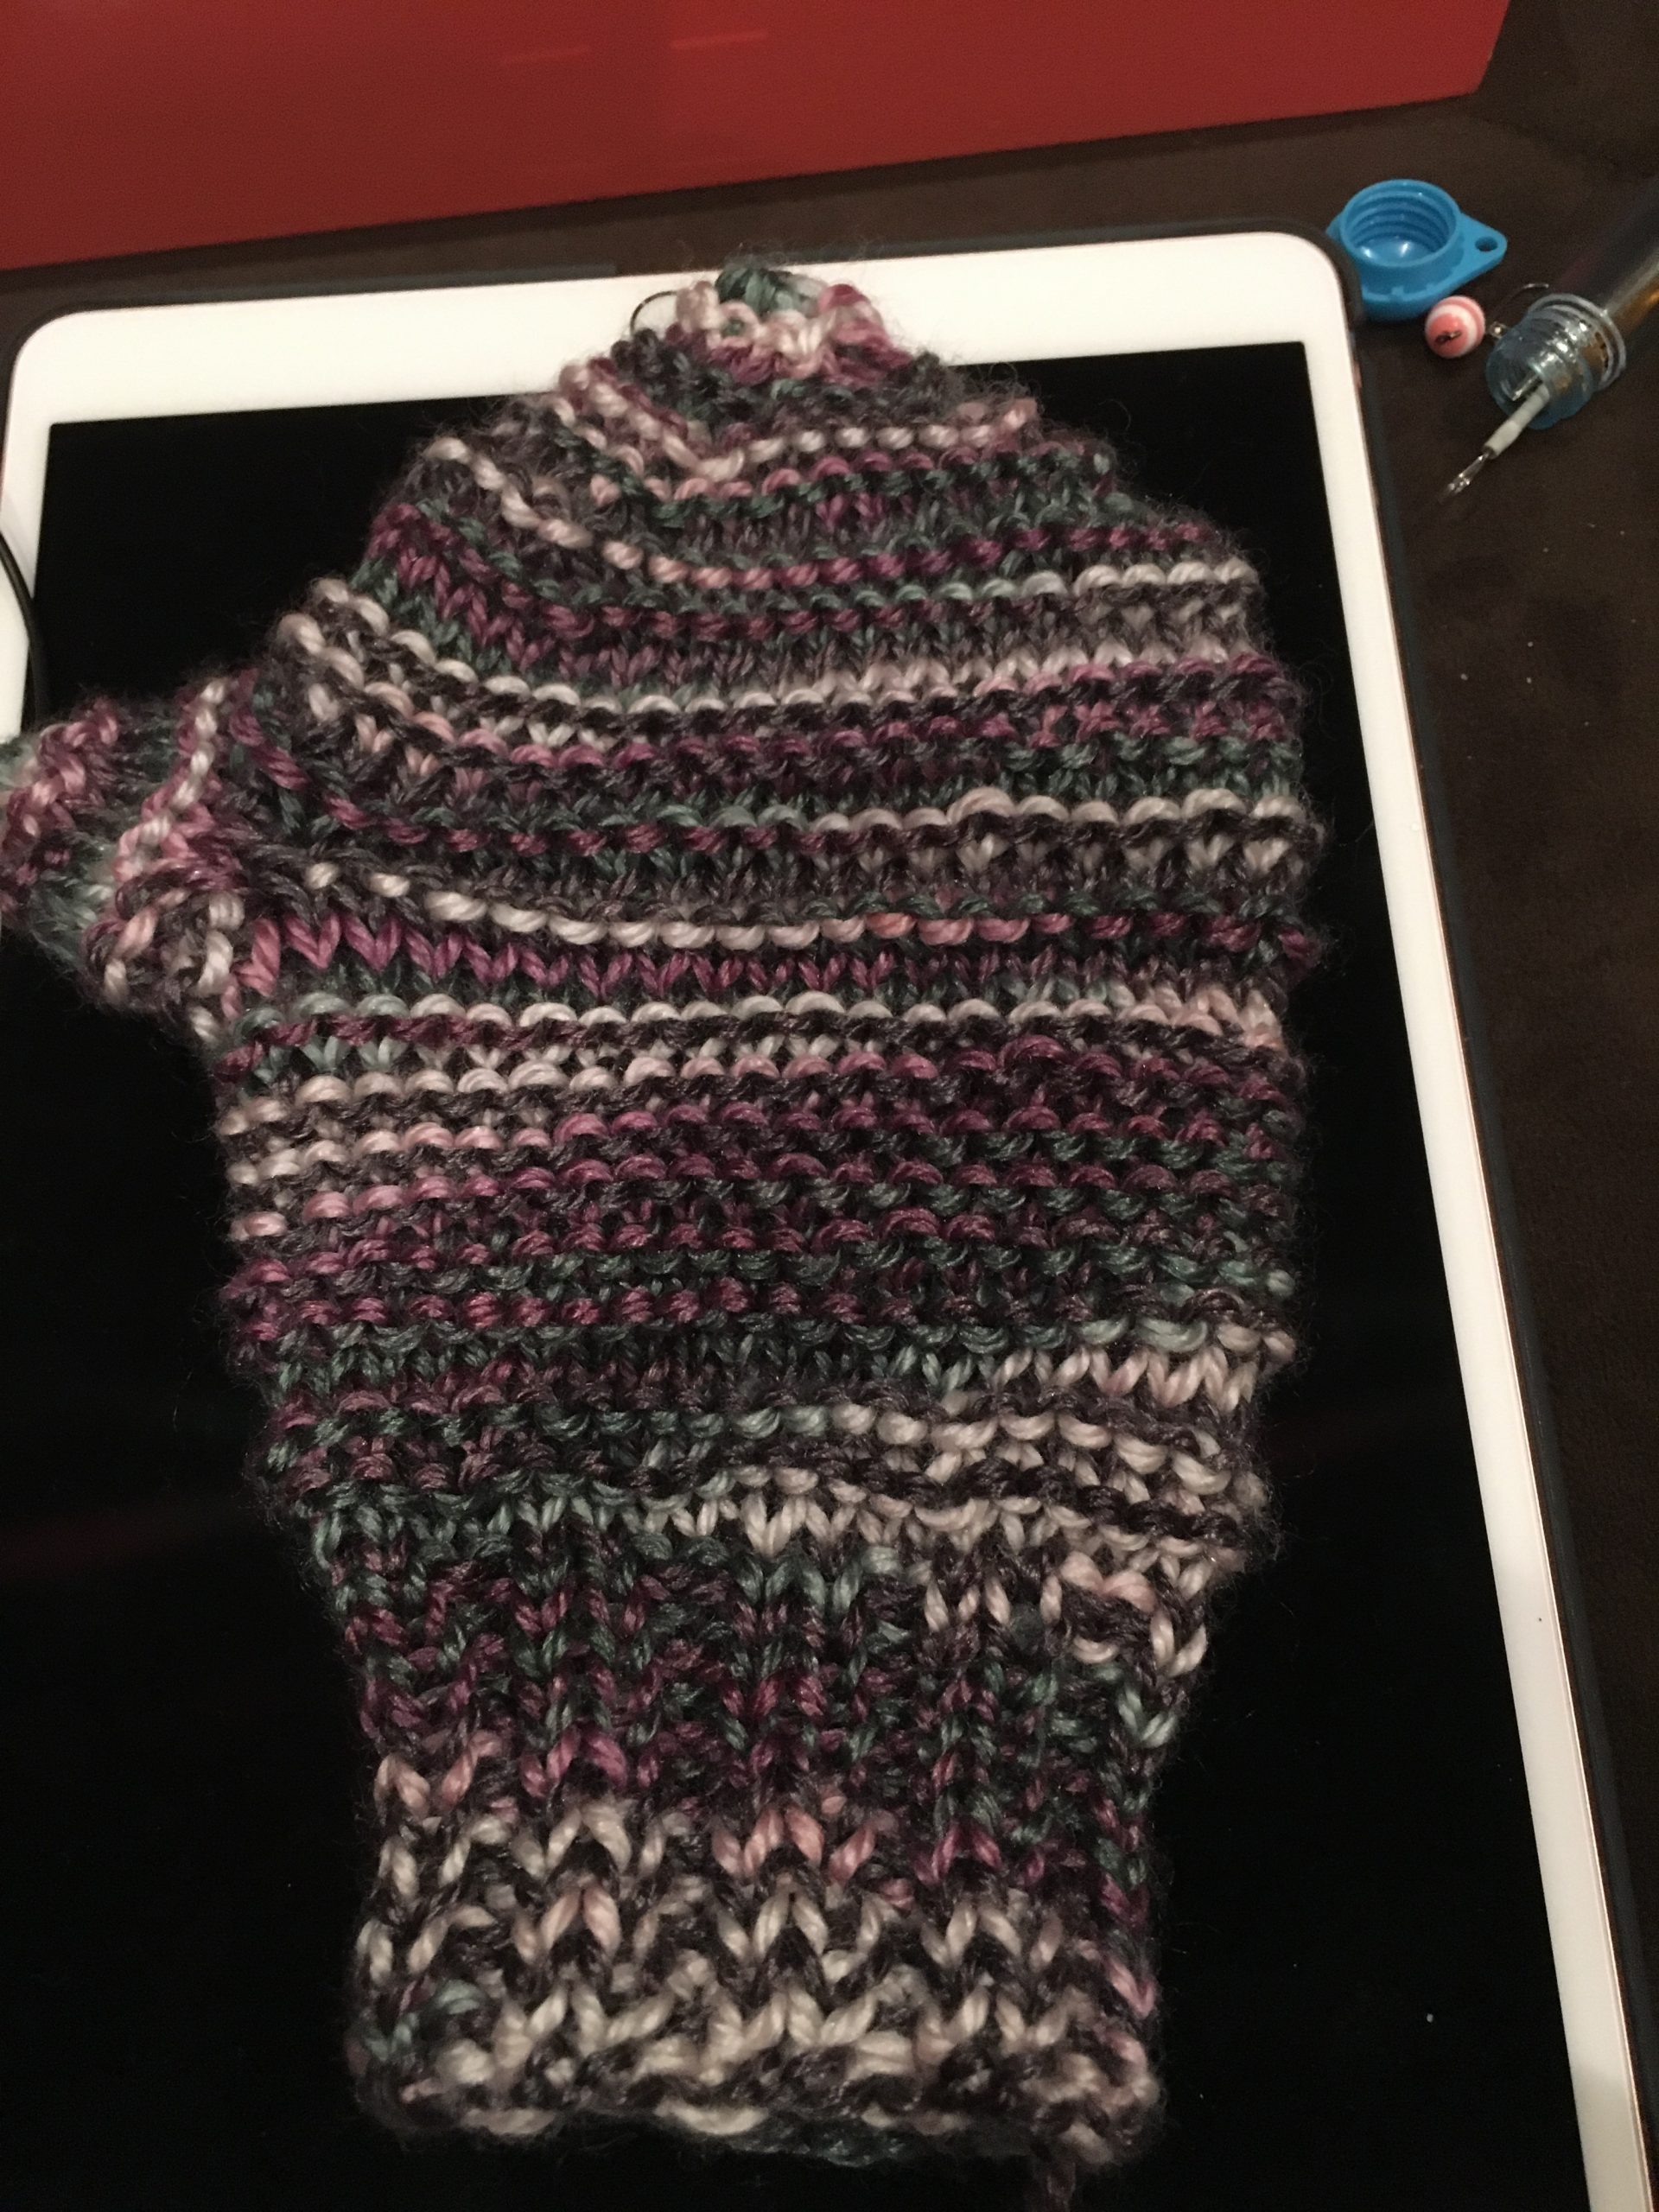
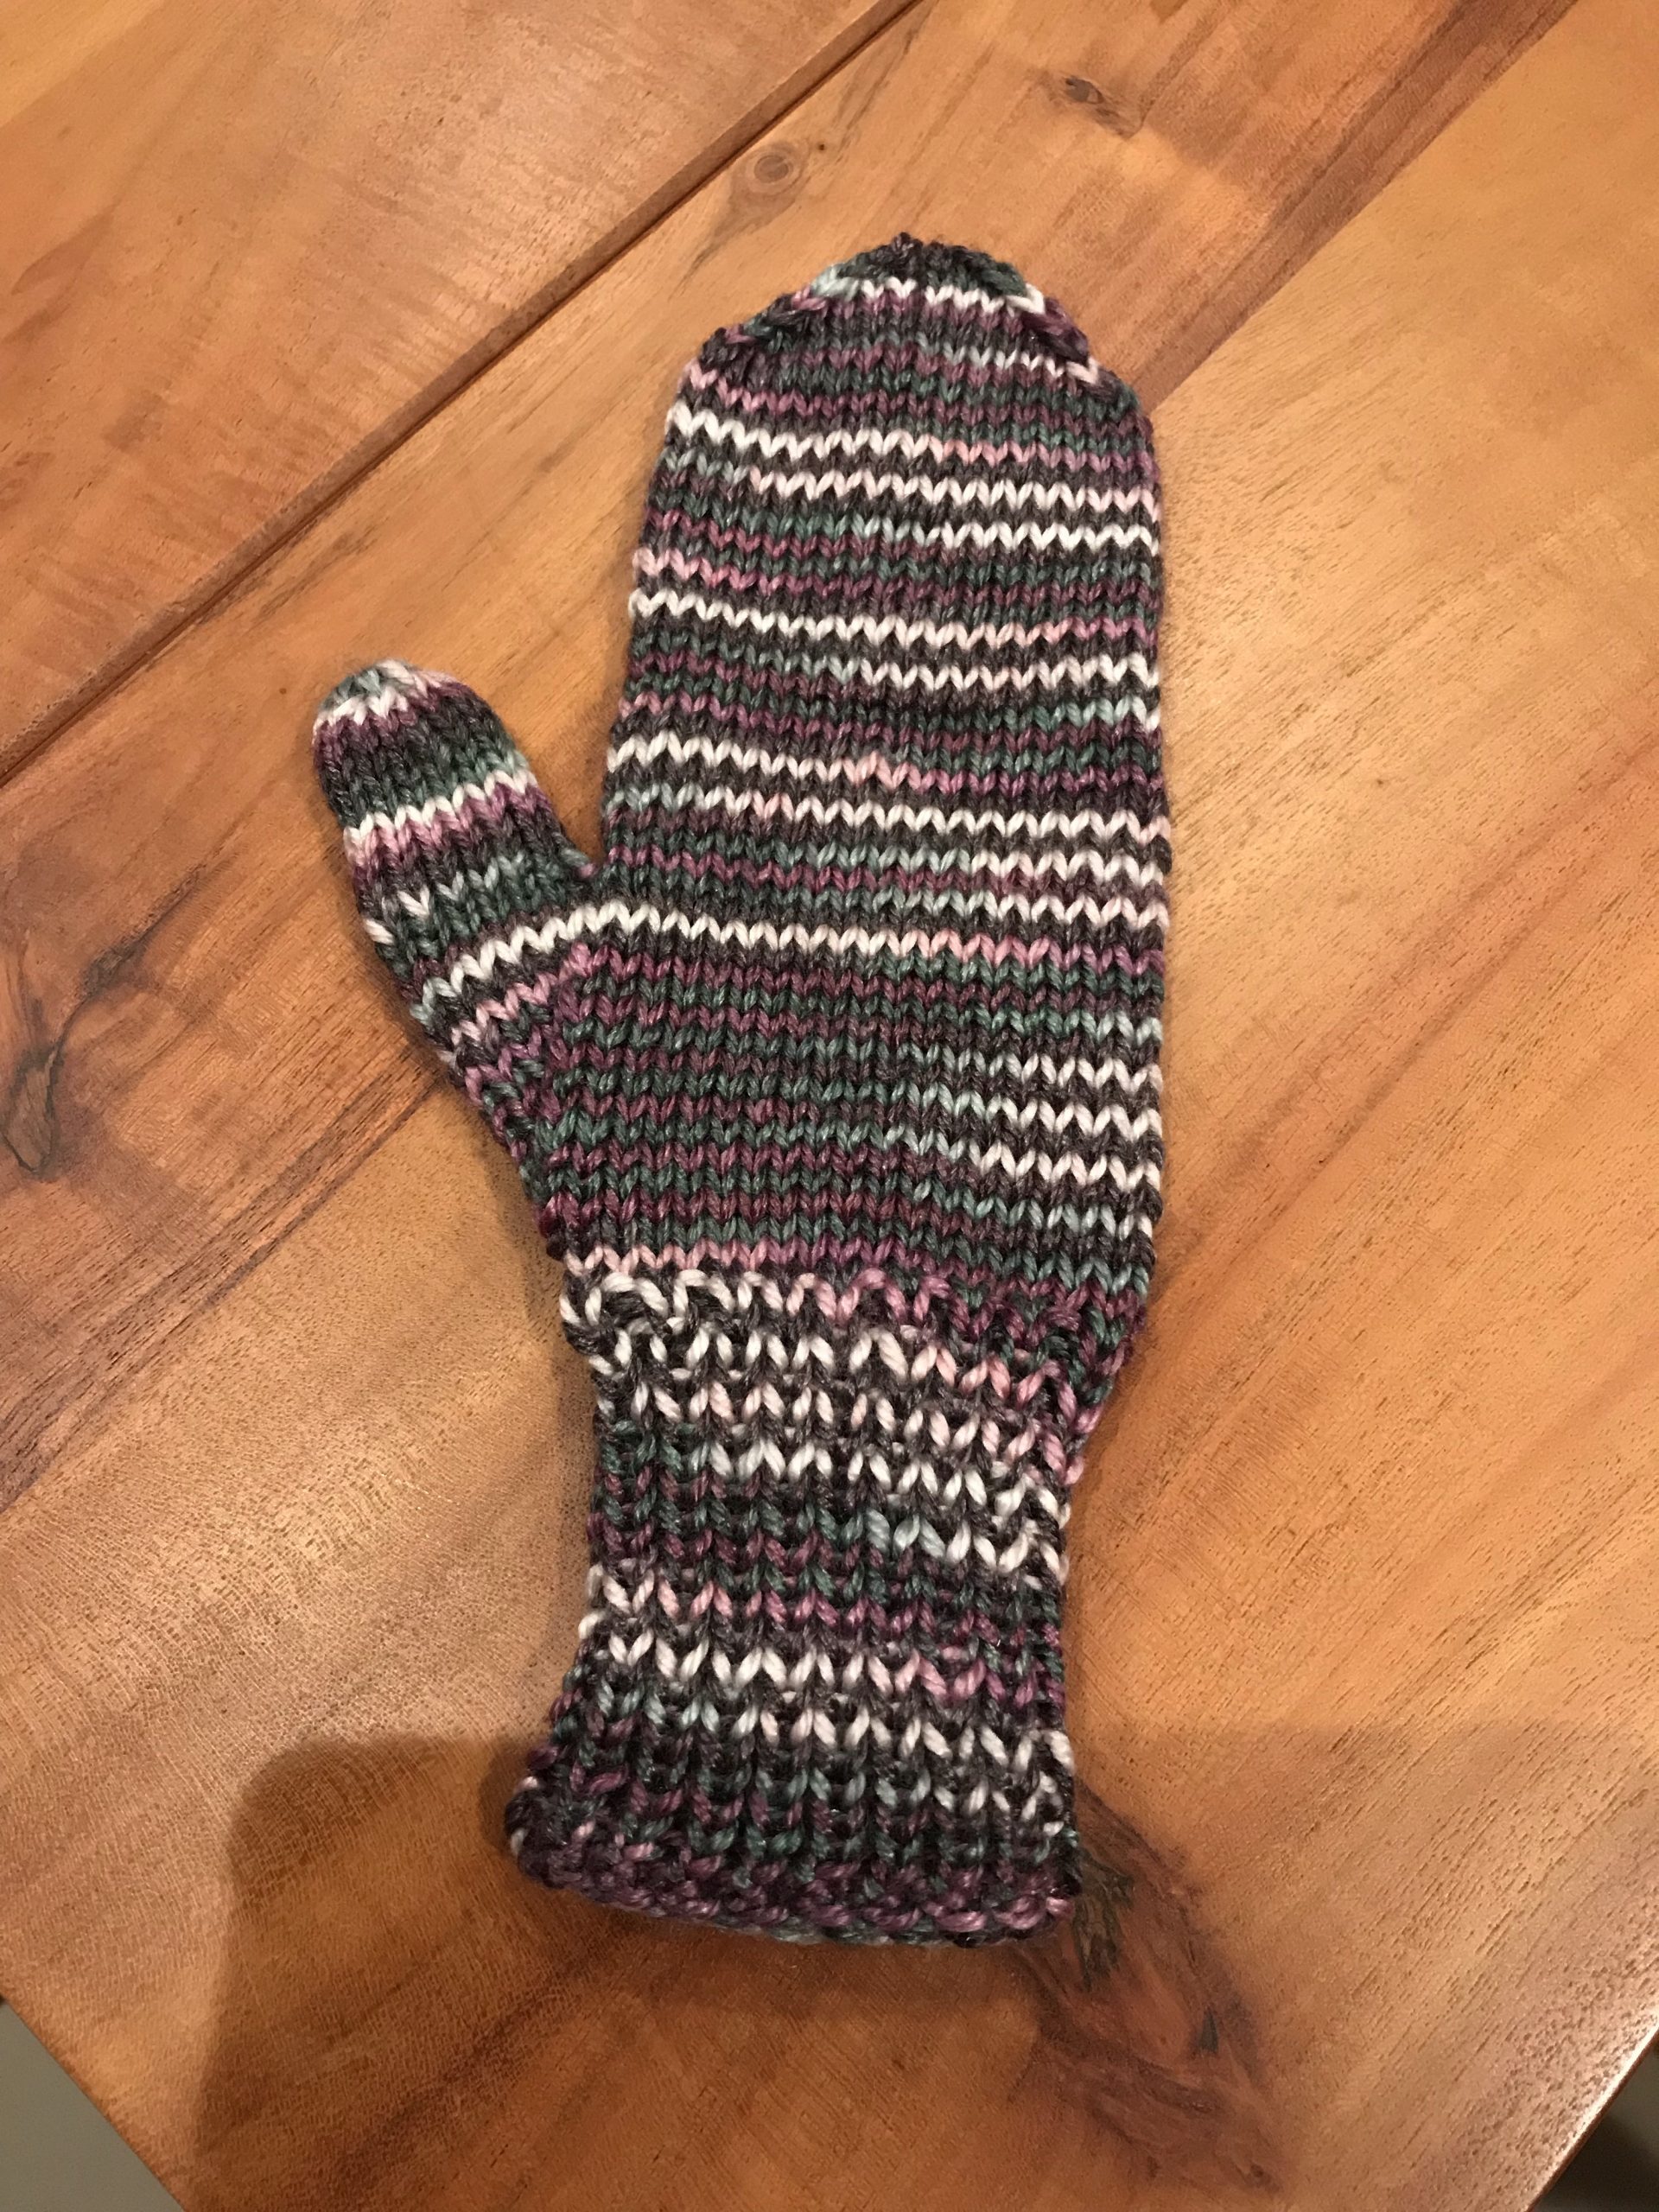
So I promised The Biffle some mittens. The top is my first attempt. They, obviously, I had to rip rip rip it all out. My second attempt came out much better!

________

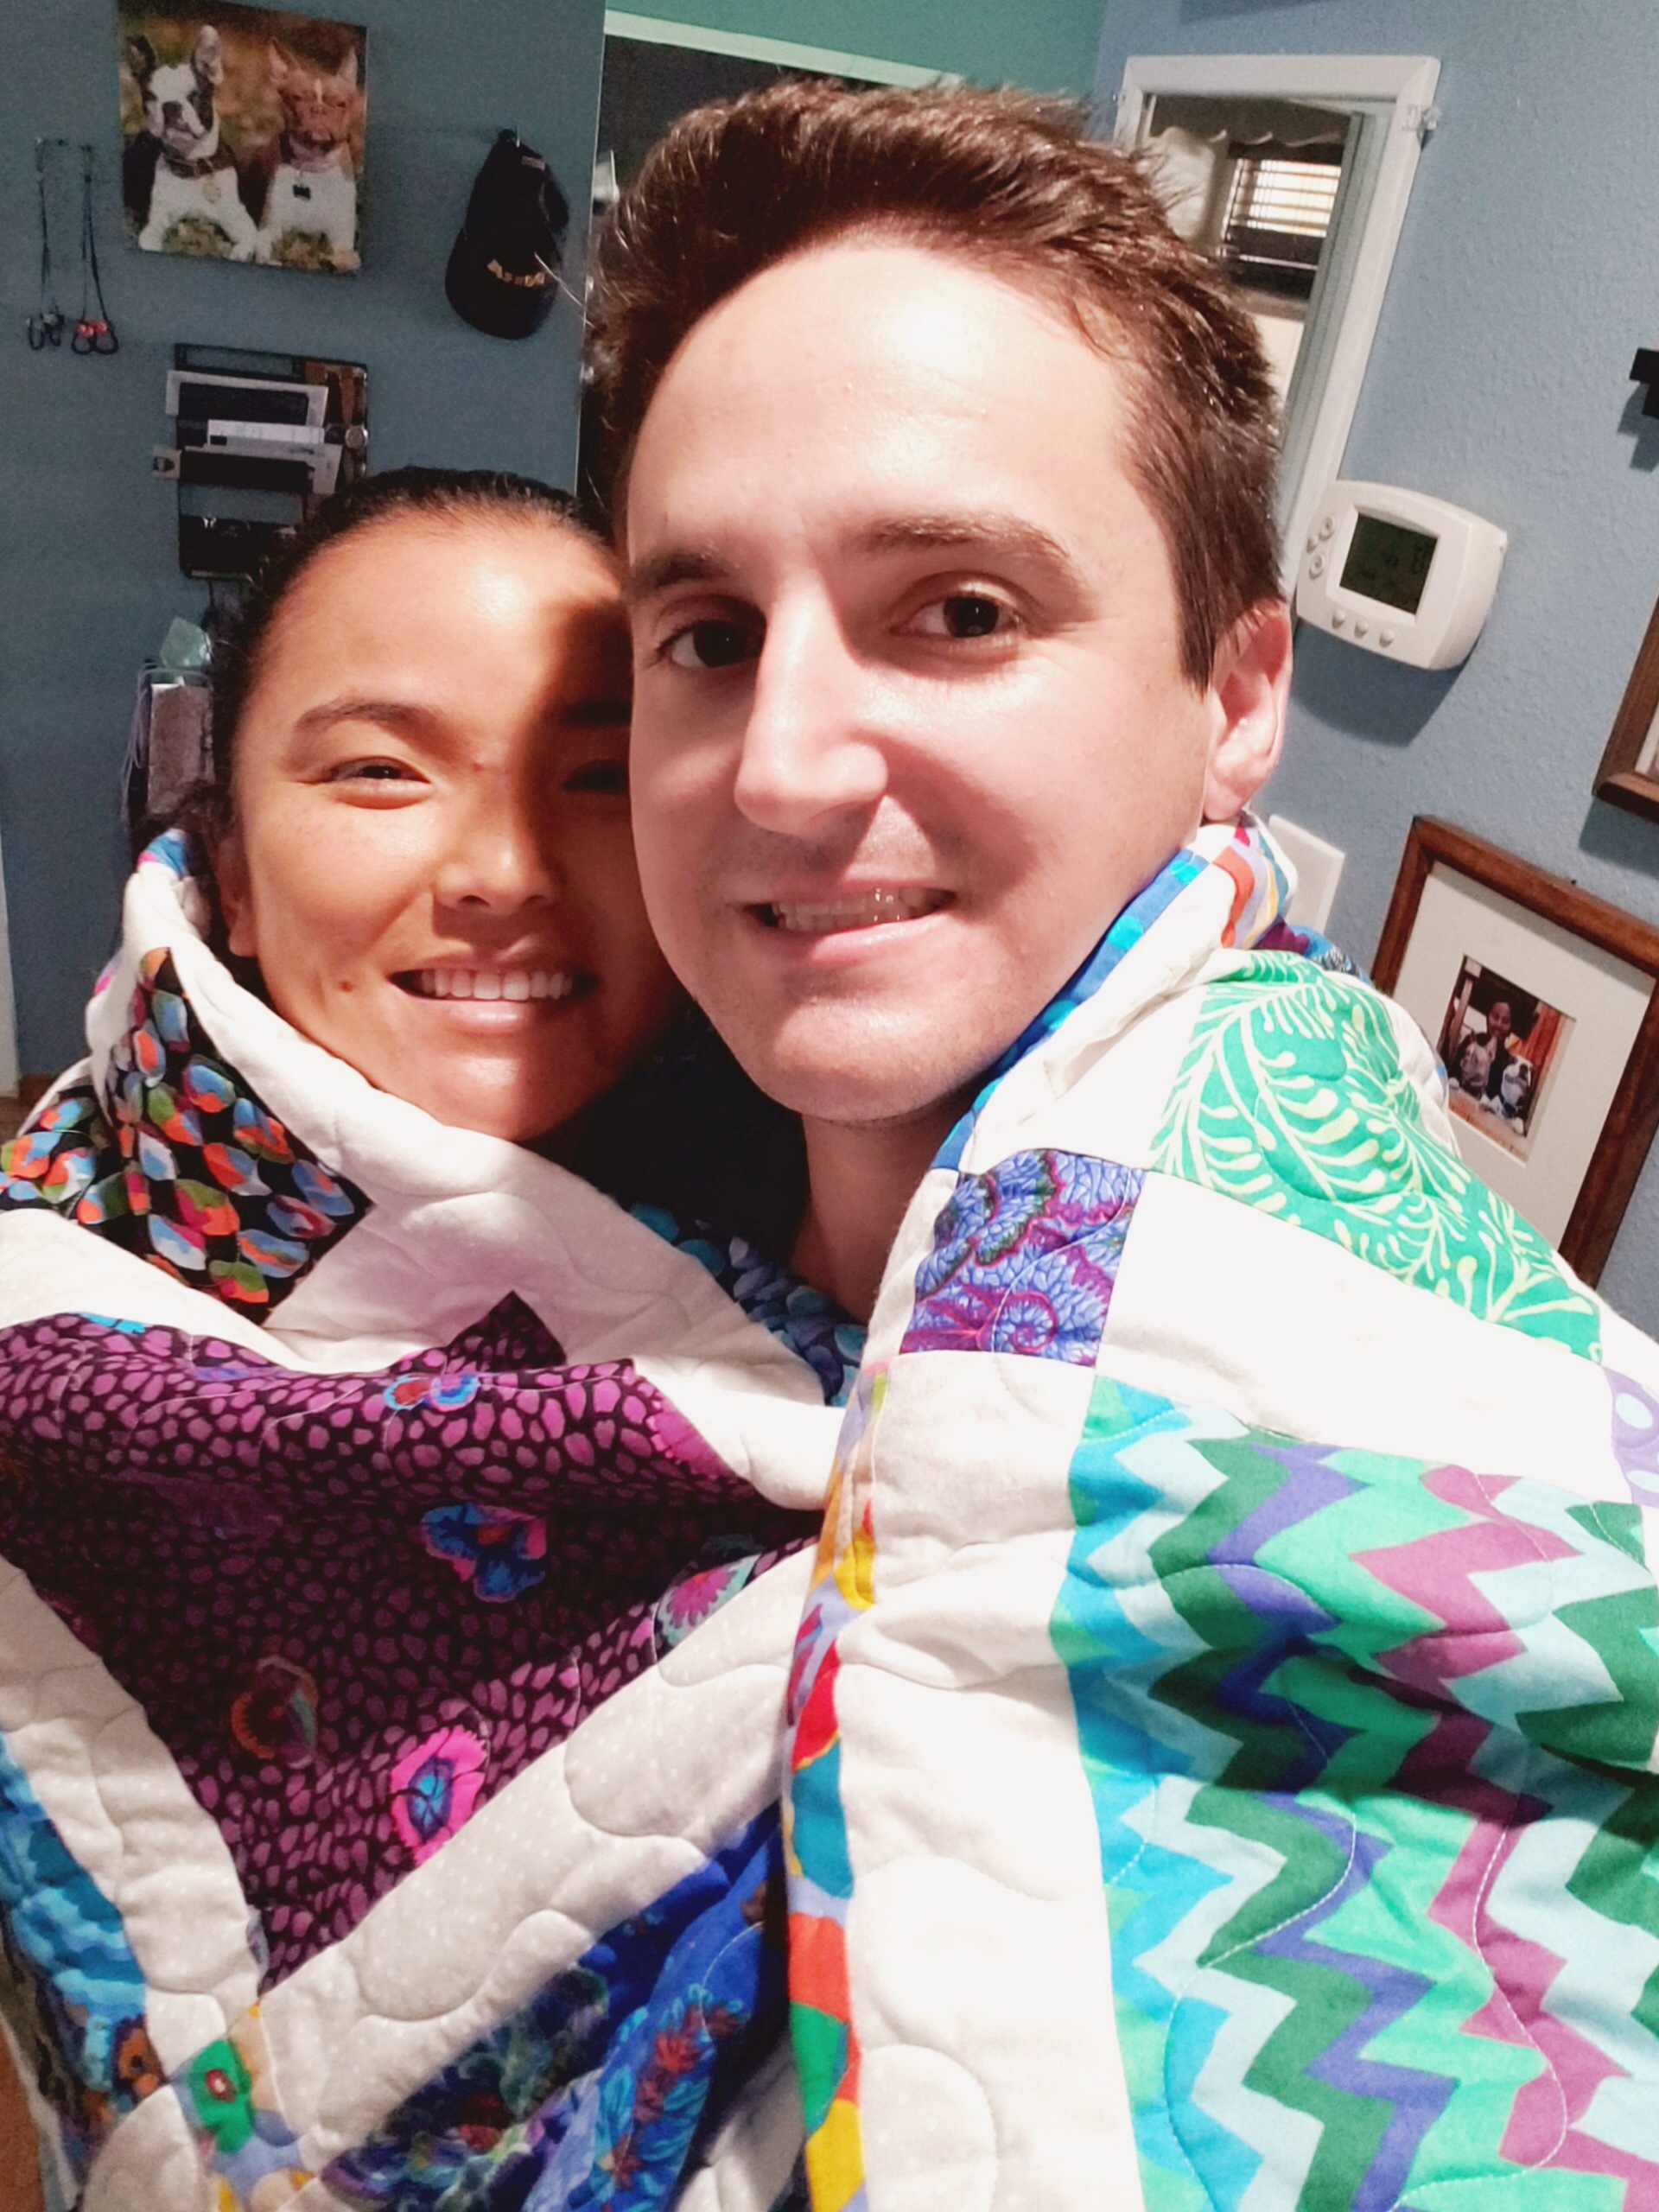
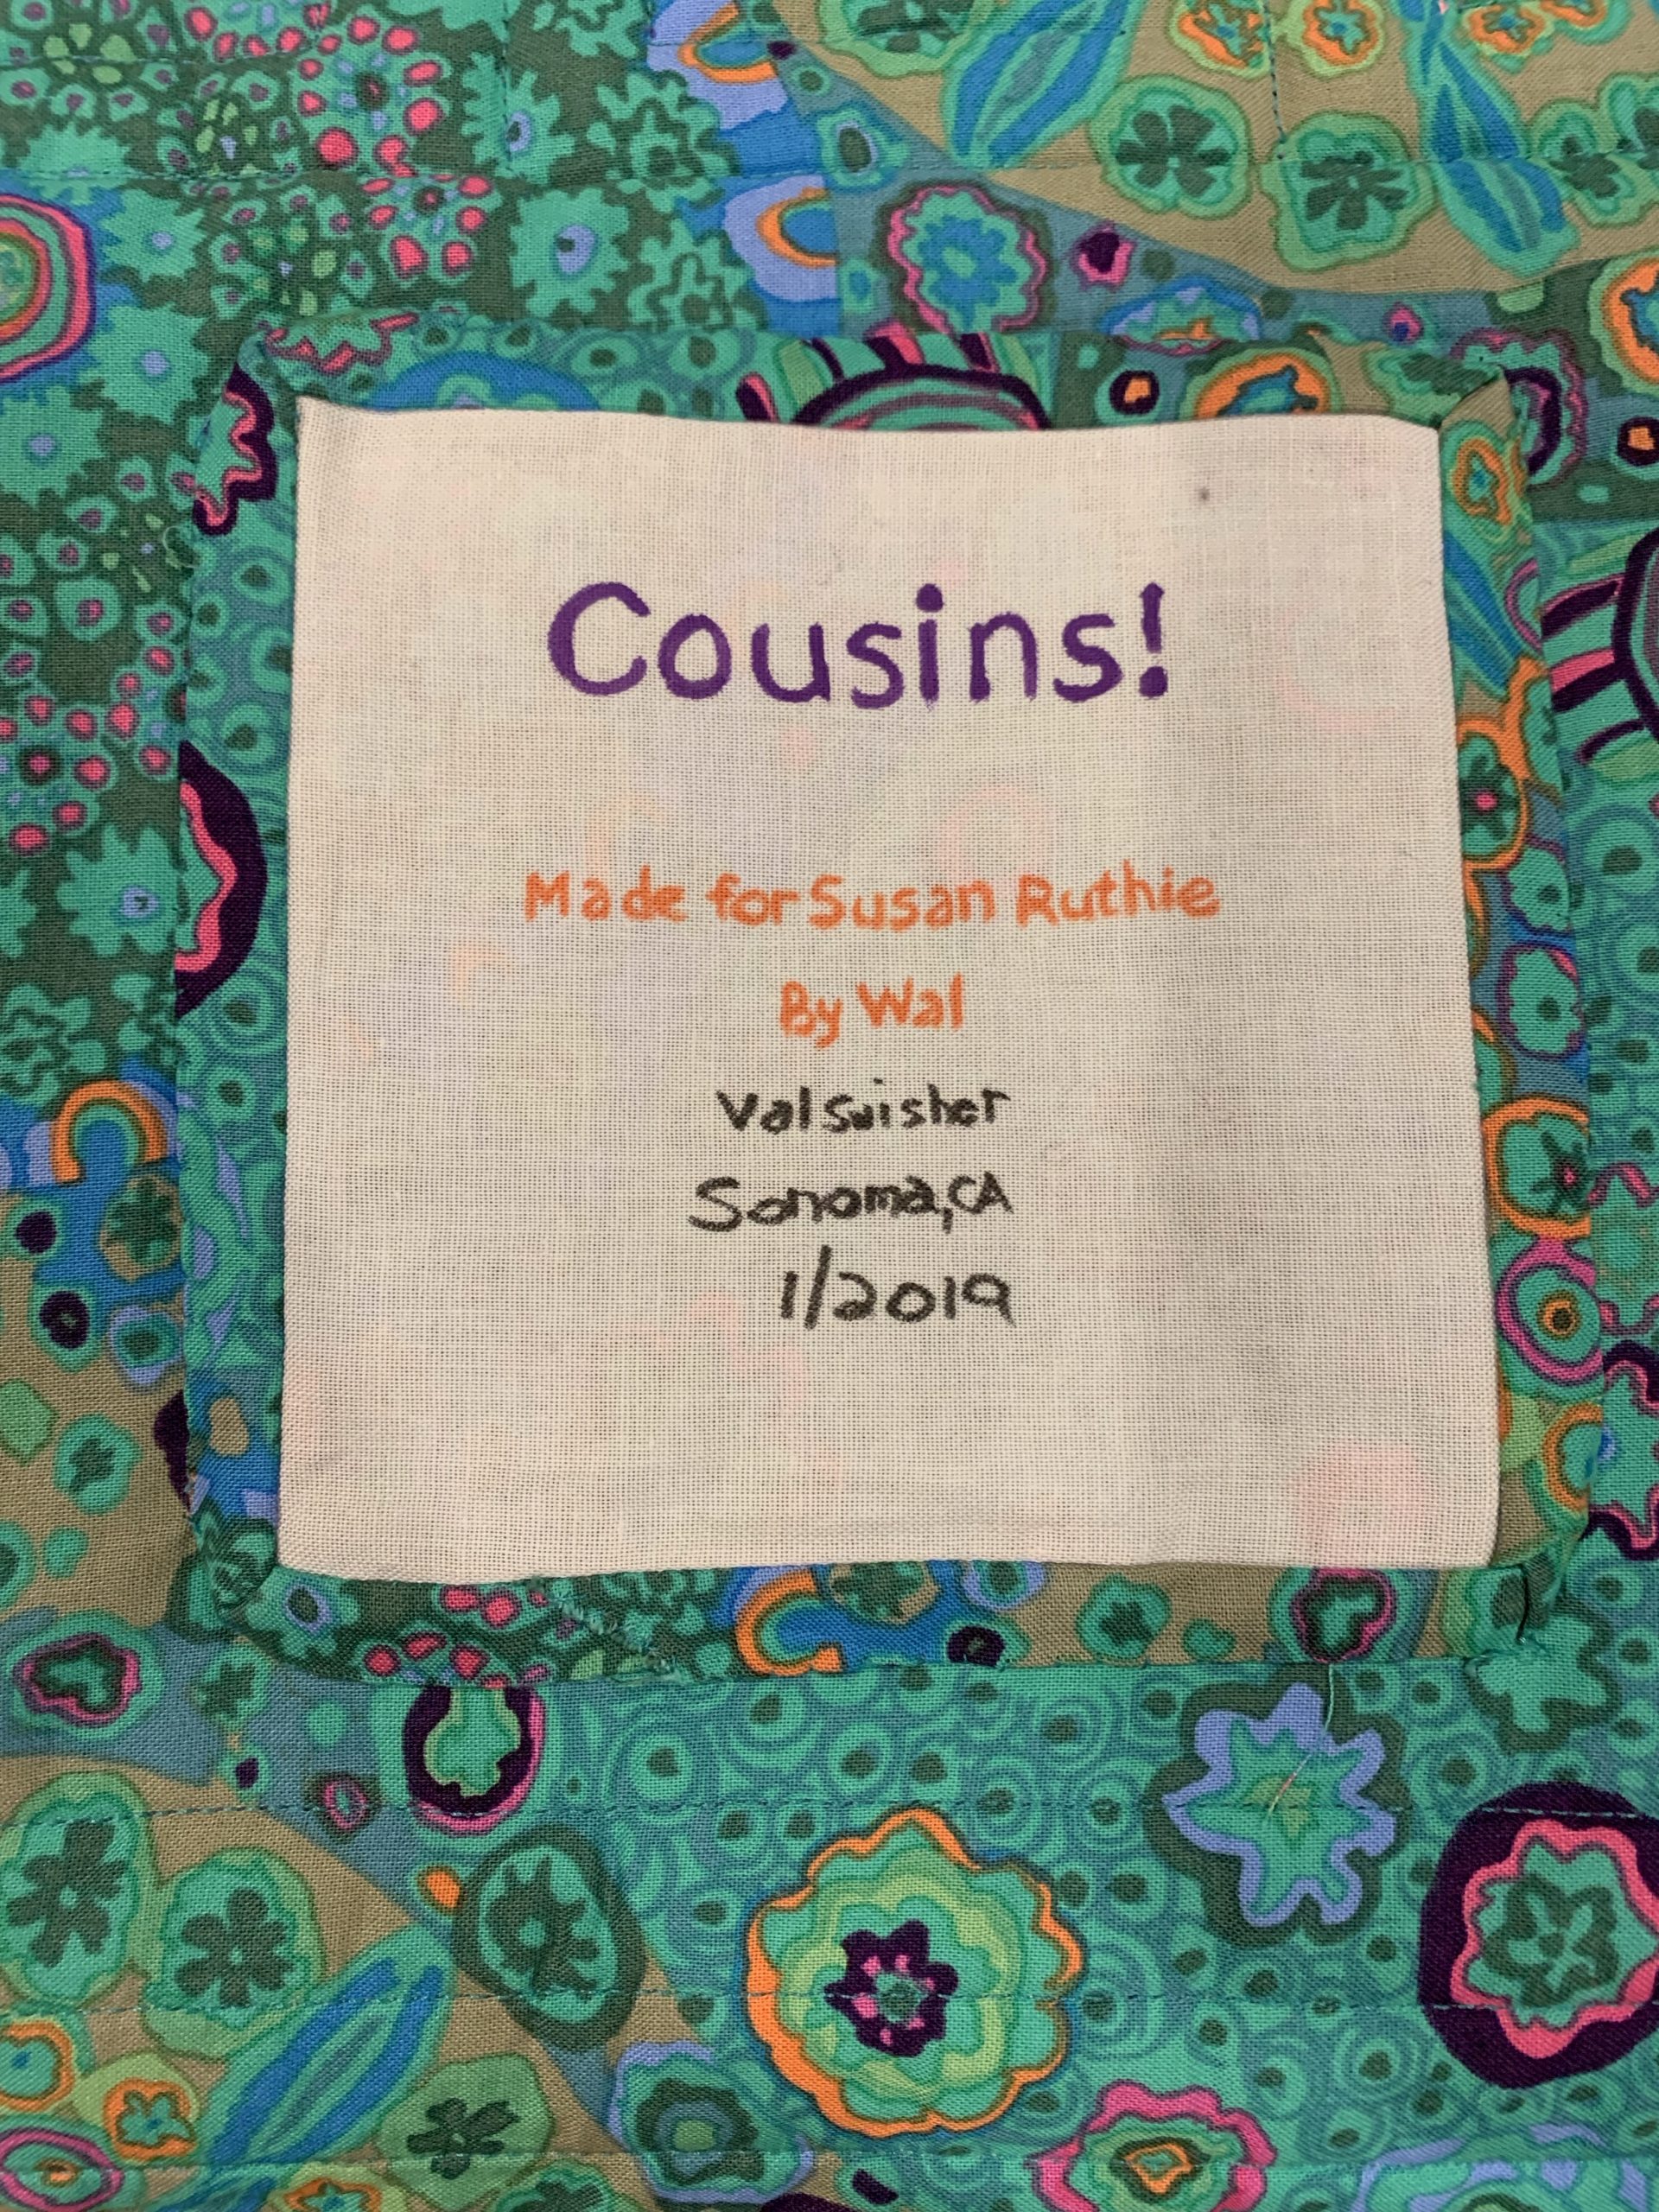
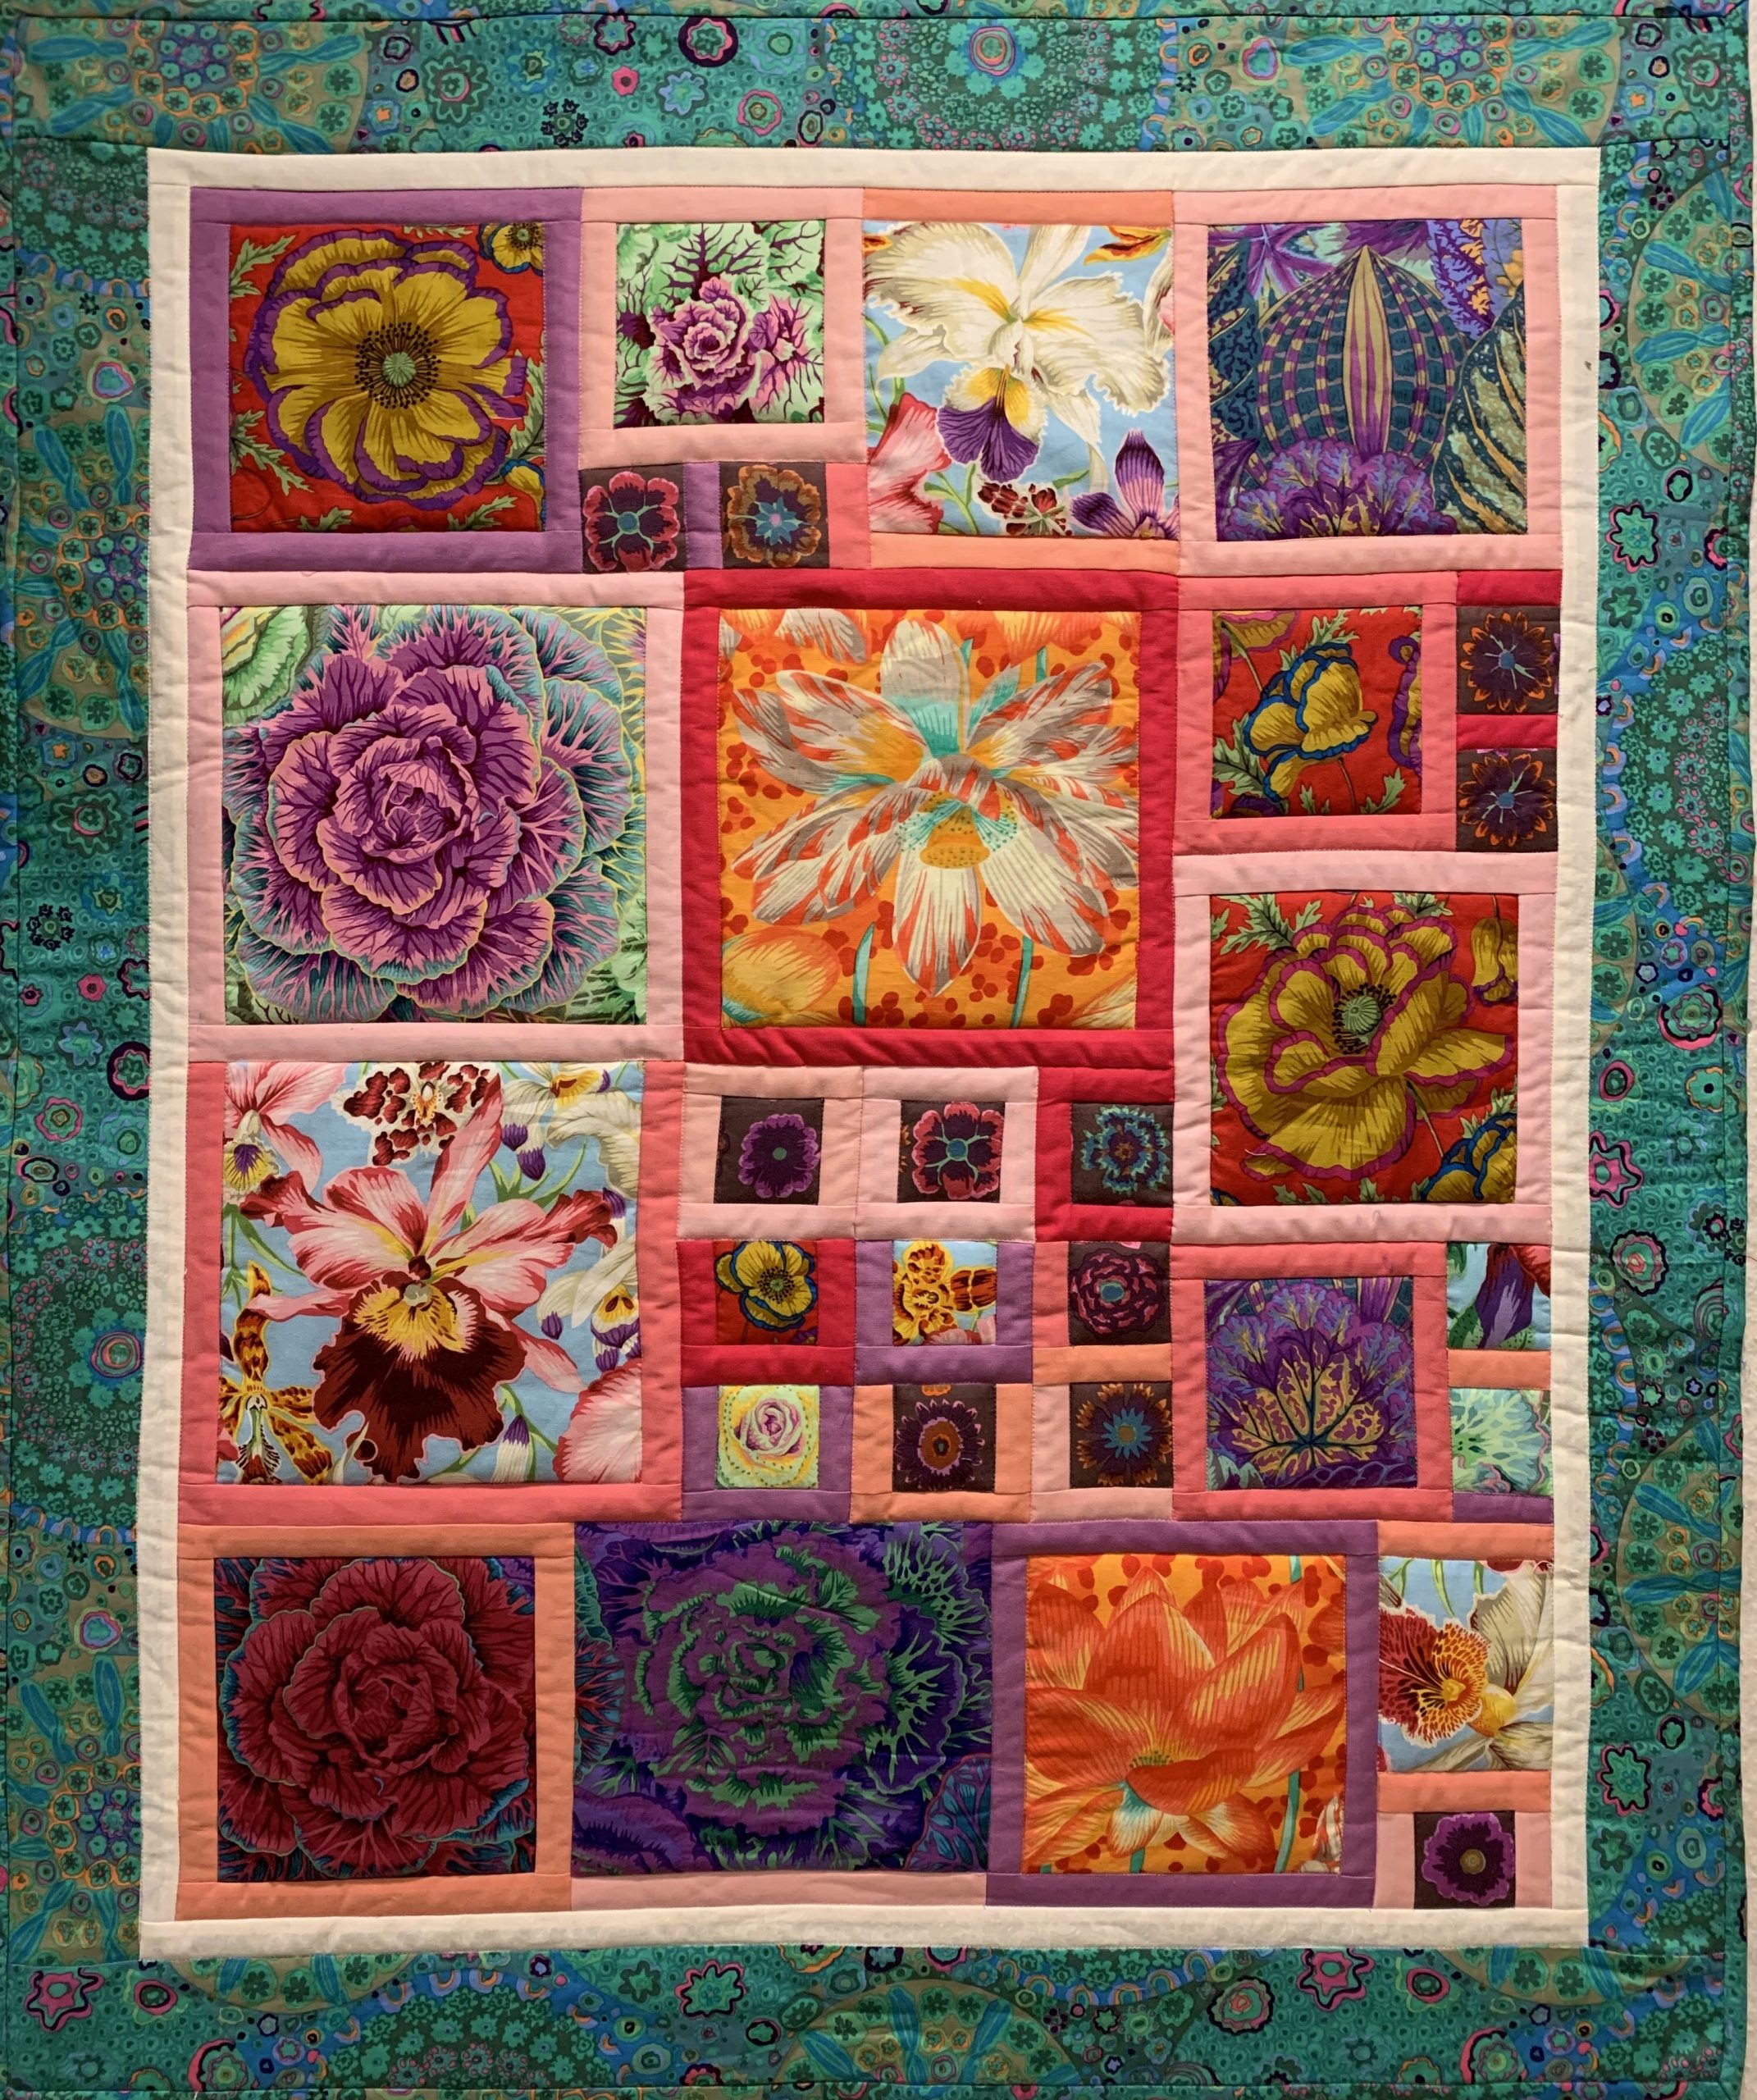
Here is a quilt I made for my cousin, Susan, in January of 2019. Yeah, I have an affinity for Kaffe Fassett fabric these days.

________

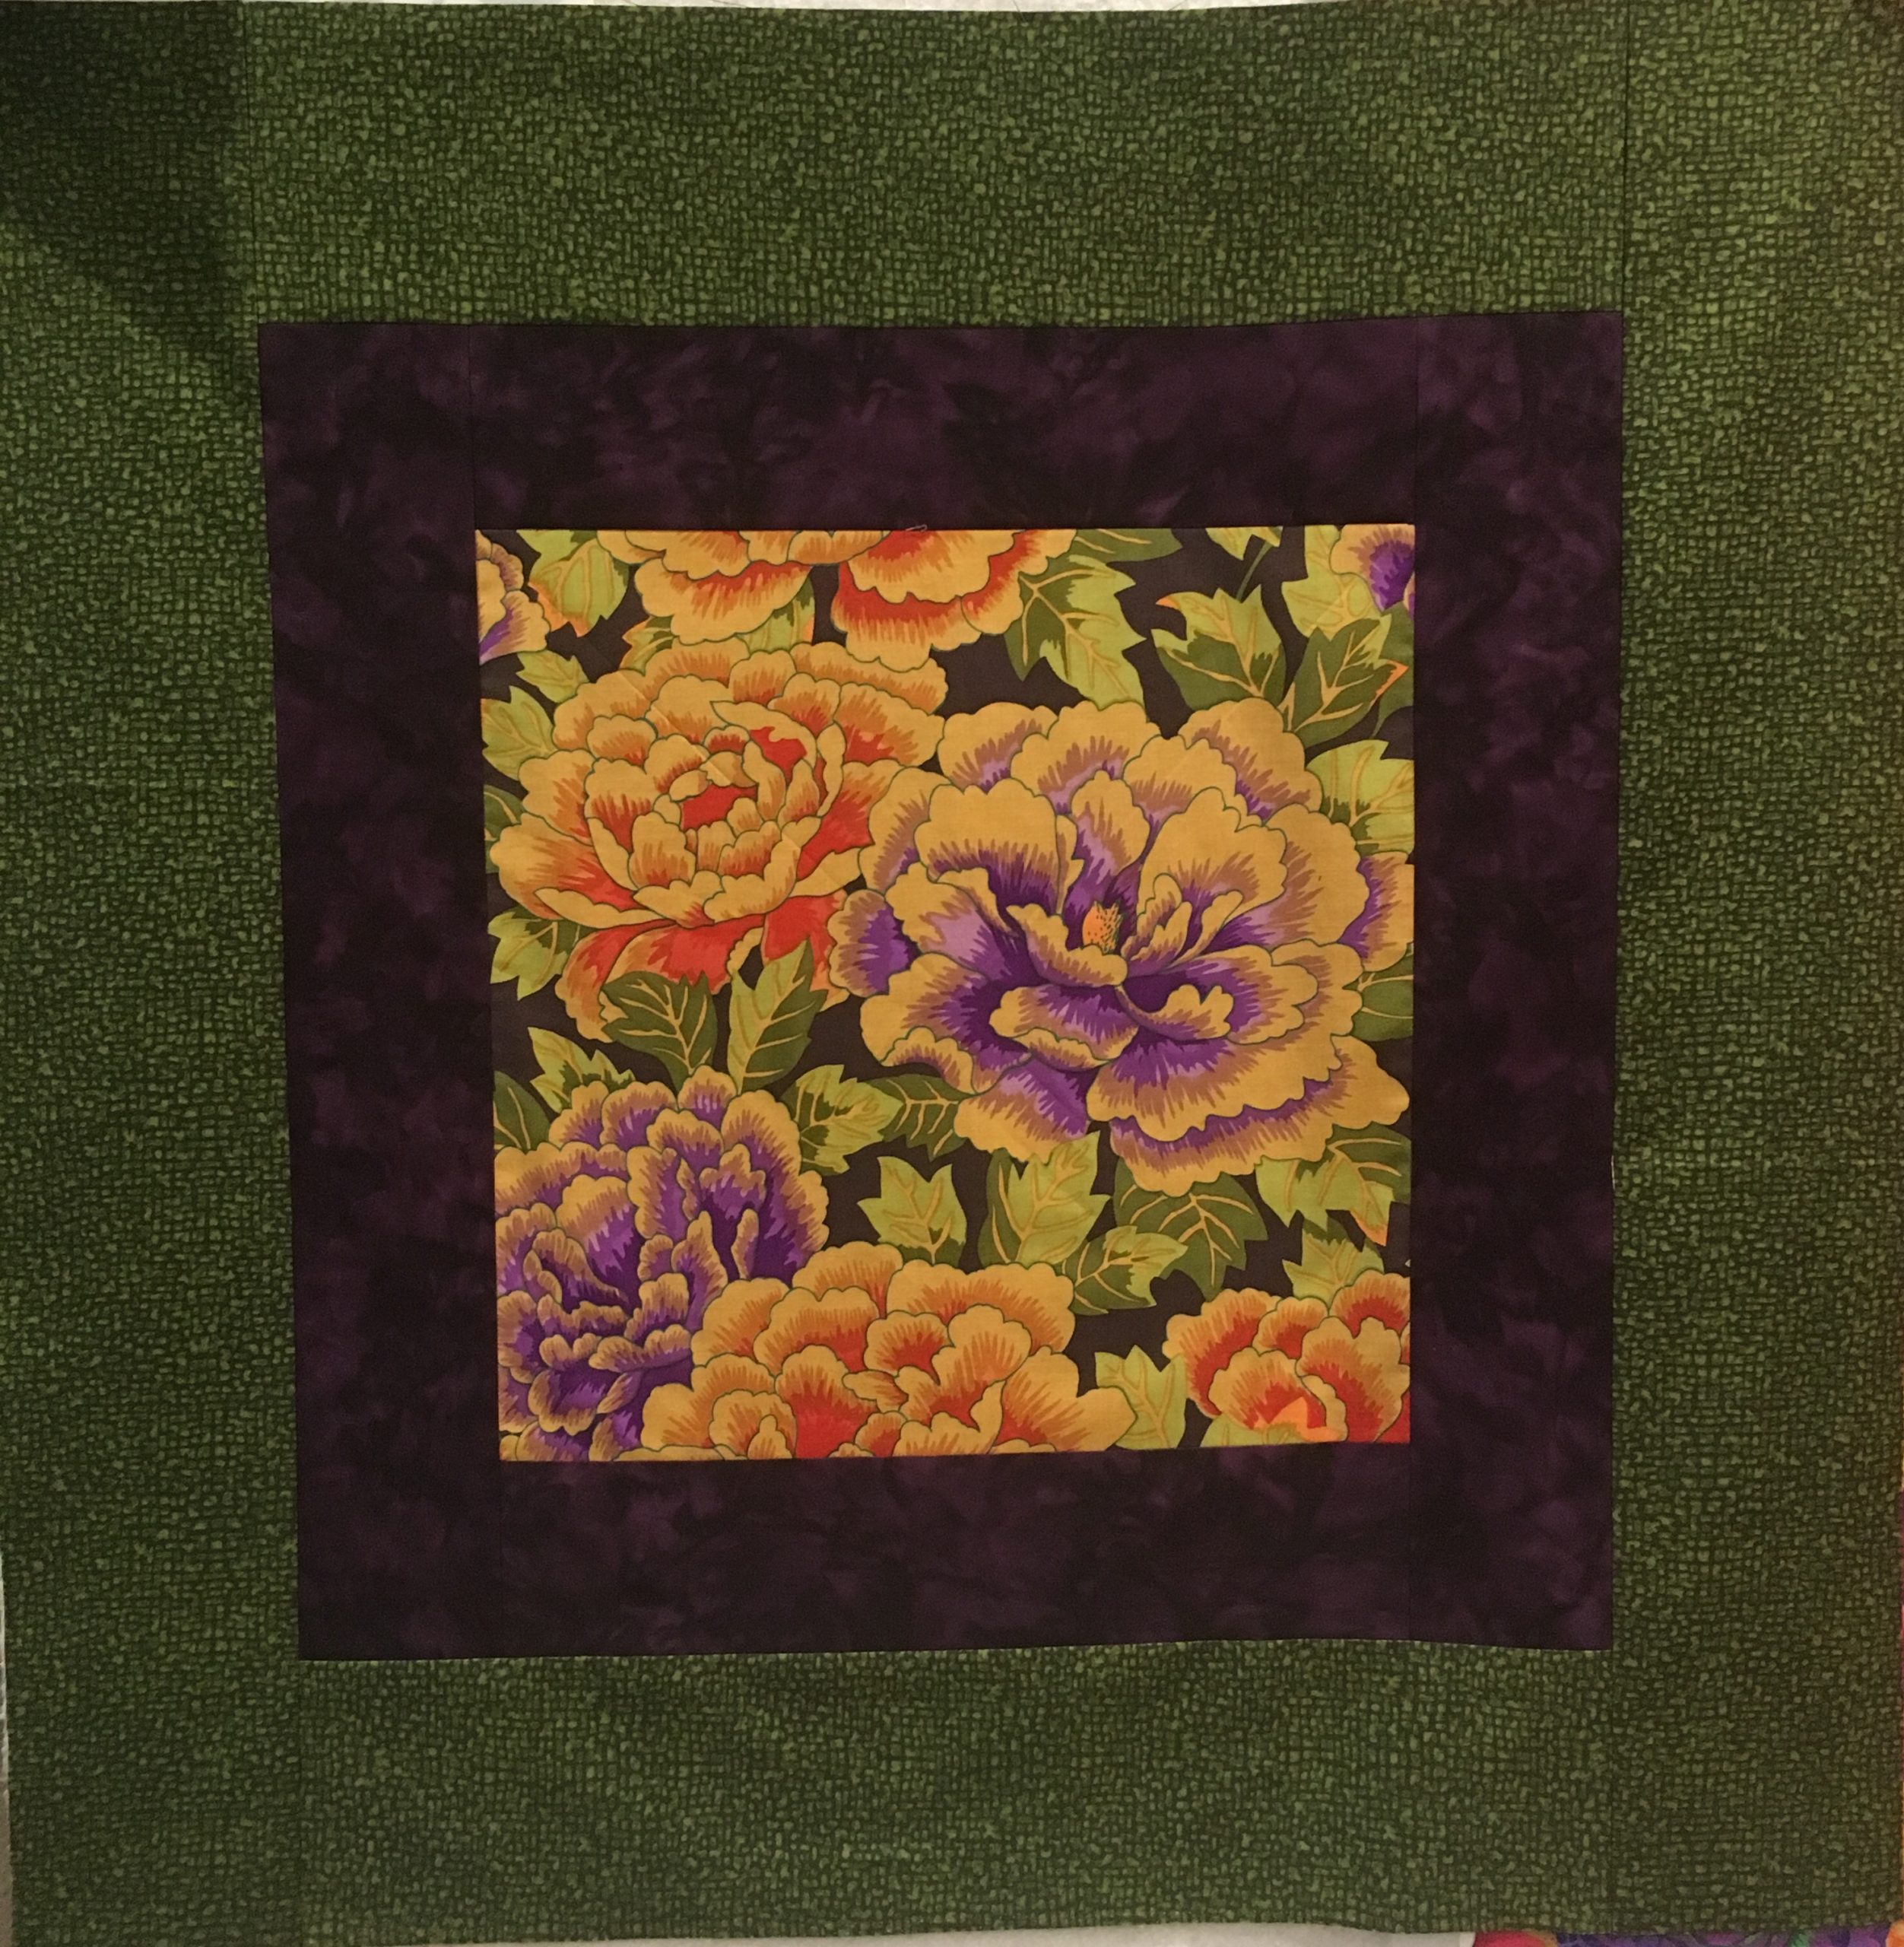
Here is a beautiful quilt top made by my older son, Matthew. It is all fused. We haven’t finished it yet.
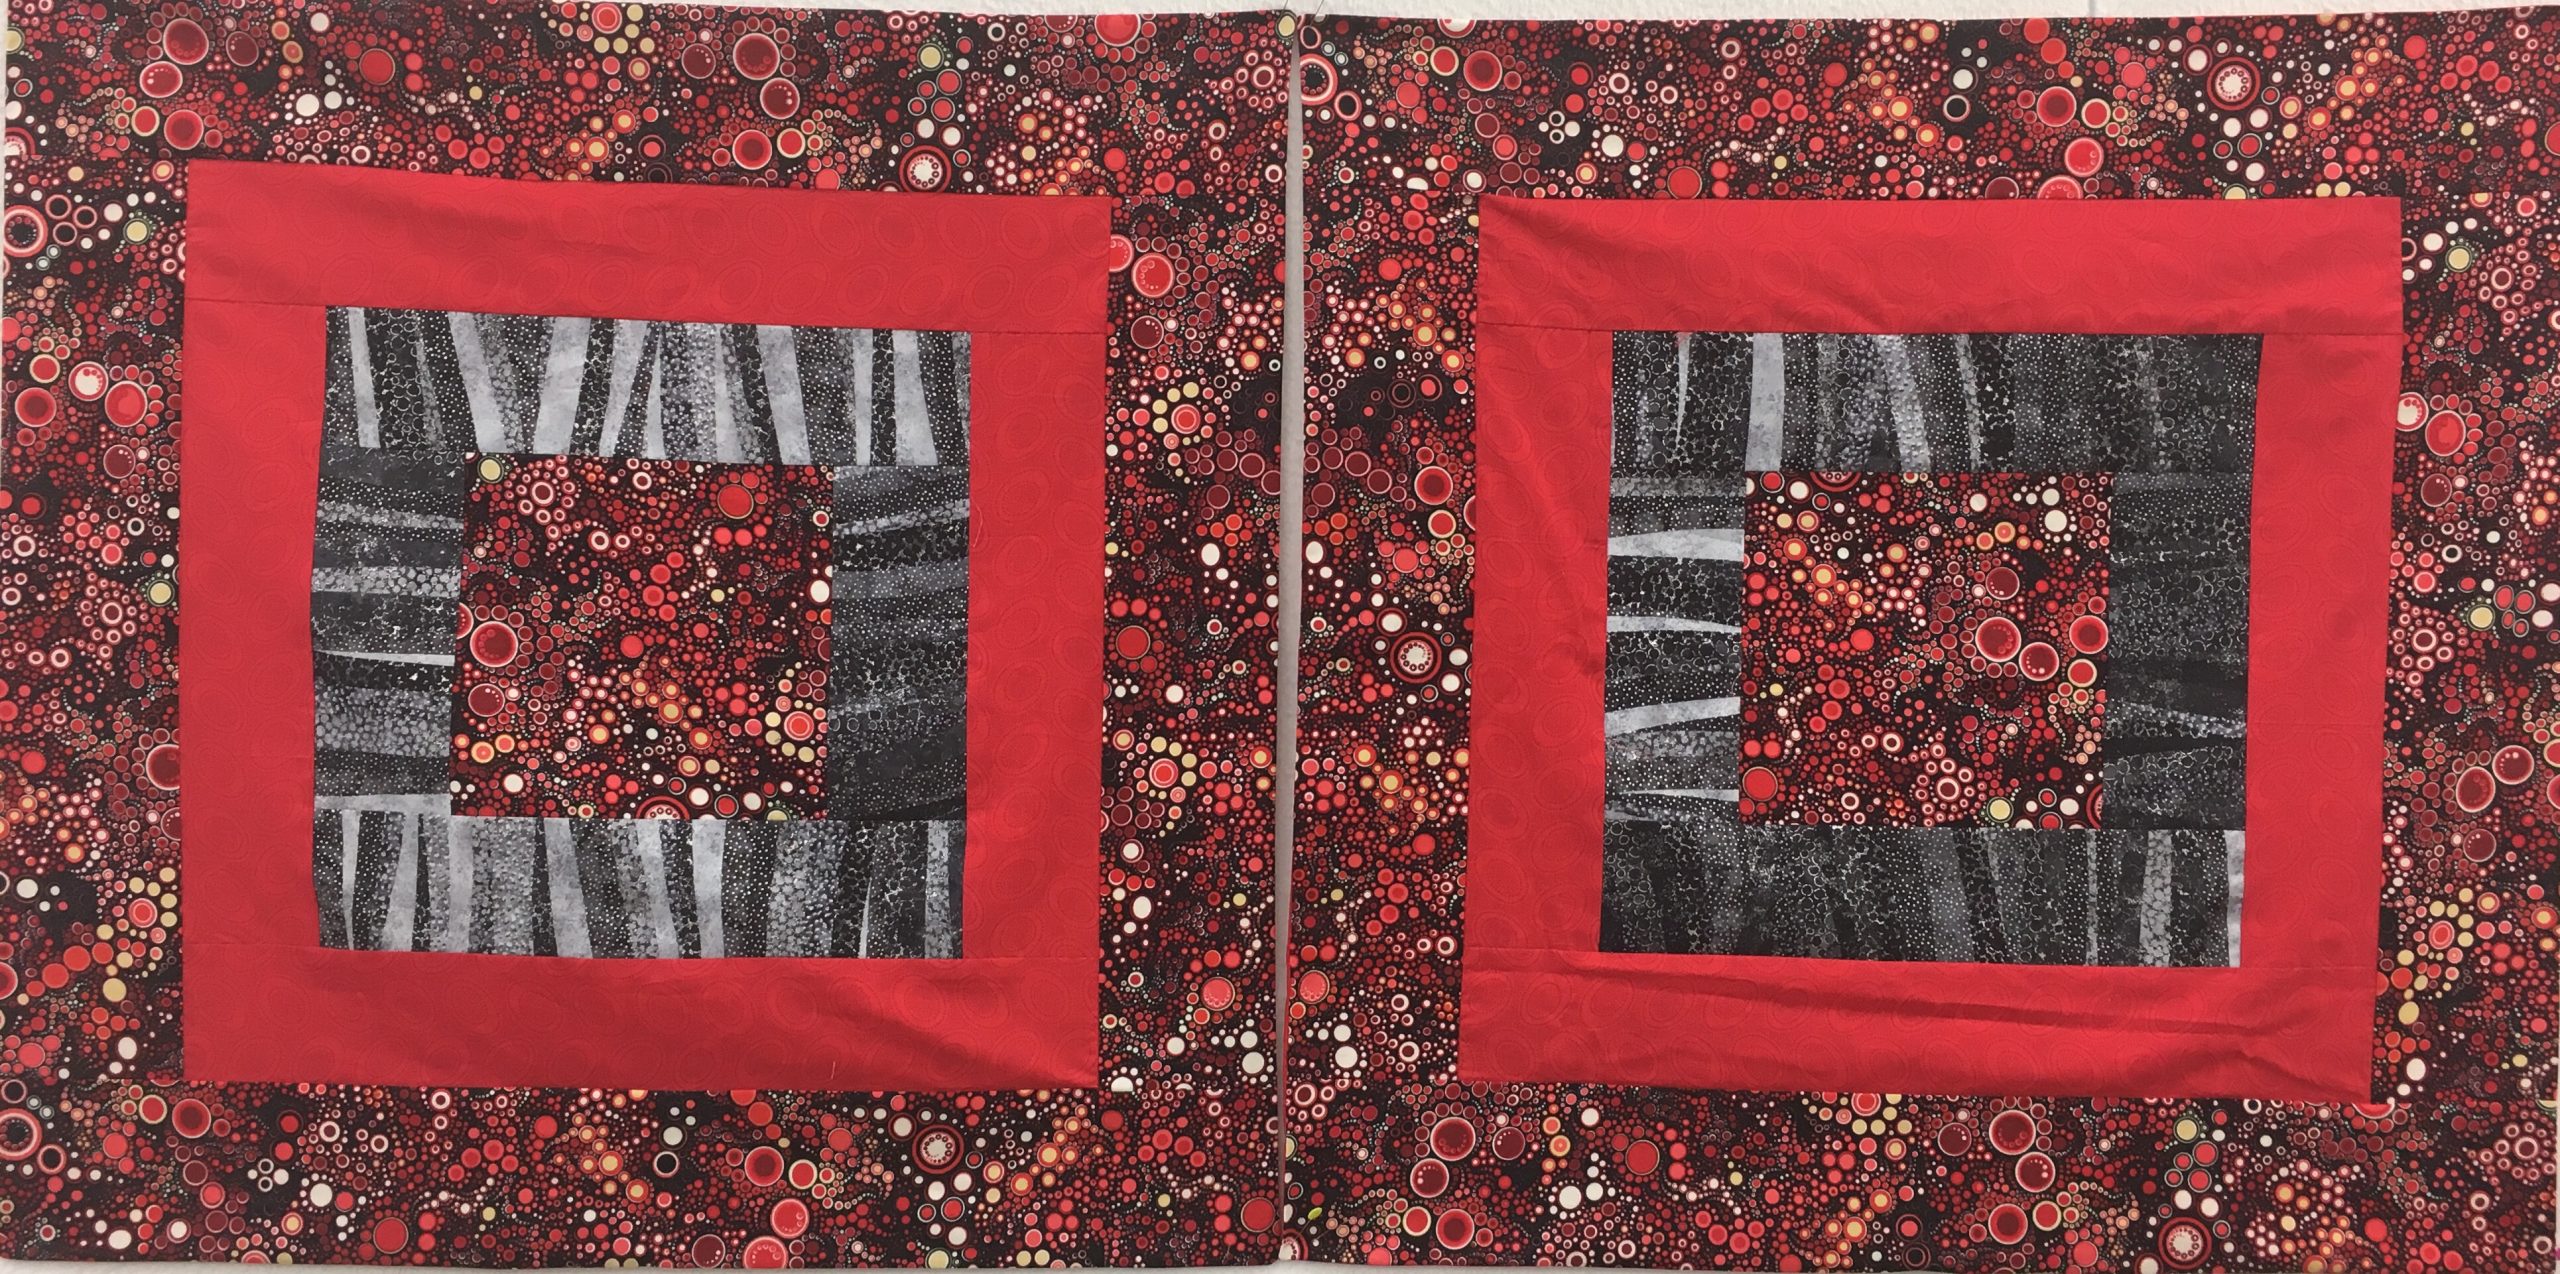
________

Covers for sofa pillows for Matthew.

________

Covers for sofa pillows for Max.

________

Of course, there are more. After all, these only go back as far as 2018. I’ll post some more soon!

Grandma and Baby Quilts

Just so you don’t think I haven’t been sewing at ALL….

My good friend Pru just had her first grandbaby. I think Pru might be my first friend to have a grandbaby during the course of our friendship. I think this means I’m getting old.

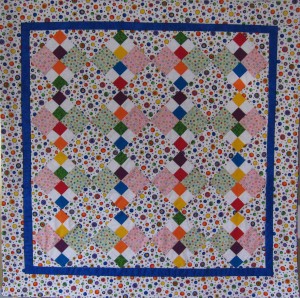
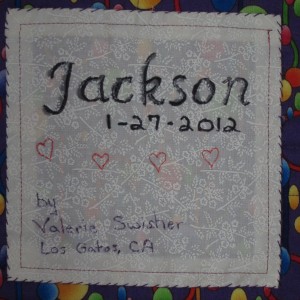
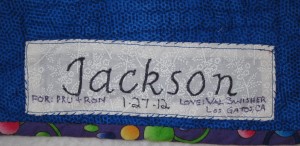
But in any event, it was nice to have a reason to make a baby quilt. Baby quilts are usually small and happy. The small part makes it quick to whip them up. The happy part means that I get to chose happy fabrics – pastels that I don’t usually work with, or in this case, bright rainbow colors. When I was in Houston, I got a rainbow set of fat quarters and figured that I’d find a good use for them. Well here they are. Jackson Victor’s baby quilt using my rainbow of fat quarters.

I  really enjoyed making this quilt. It didn’t take too long. I didn’t do a lot of quilting on it, because I didn’t want it to be too busy. Also, rather than using a binding, I decided to sandwich the quilt and finish it off more like a comforter. Then, I sewed about a half inch in from the edge to make it look like it has a binding. That’s a trick to use when, really, you just can’t bring yourself to make binding, put it on, and hand stitch it down.

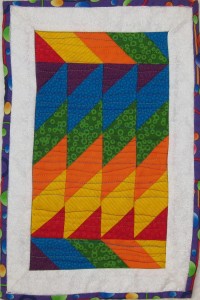
So, once Jackson’s quilt was finished, I realized that I had cut exactly double the amount of fabric I needed from my rainbow palette. I decided to sew the strips together and create something from them. Here is the resulting “companion” quilt:

I decided to use the backing fabric from Jackson’s quilt on the binding I DID create for this one. And voila! I’ve decided to give the little quilt to Jackson’s grandma to commemorate his birth. It’s always nice to give a close relative a quilt made from the same fabric. It is special.

Later tonight, I will go and deliver the quilts. I’m so excited!

Pinterest

Wow. Have you looked at Pinterest? For a fabric and yarn junkie like me, there is a ton and then some of inspiration out there. I have started a few boards of my own. One is called She Who Dies With The Most Fabric Wins (which is also what my scoop.it page is called) and the other is Knit One Purl One. I bet you can tell what types of photos go on which board.

Here is what I love about Pinterest:

  • Variety of amazing photos
  • Ability to search for just about anything I can think of
  • Excitement of seeing stuff I’ve pinned re-pinned by other people
  • Reading comments on my pins made by people who I don’t know
  • Learning about other blogs and website – especially the ones with tutorials and instructions
  • Feeling like a part of a community of crafters

Here is what I’d like to see improved:

  • Grouping what I am VIEWING (not just what I am posting). I see a big mish-mash of all of the people and boards that I follow. I’d like to be able to see JUST my quilt follows or JUST my knitting follows
  • Some way to post a message to a fellow pinner who either is following me or I want to follow
  • Some way, other than simply typing it in, to say, “I didn’t make this piece” or “I made this”. Sometimes when I’m repinning I have little idea who made something. That makes me feel a little uncomfortable, because I don’t want people to think I’m as good as those others.

What strikes me most about the things I see is the quality of what gets pinned. Rarely do I see work that doesn’t impress me. I am simultaneously inspired and slightly depressed. But, always, it makes me want to sew or knit.

If you join Pinterest, please look for me. And then post some beautiful pins and I will follow you, too!

Sawing Teeth

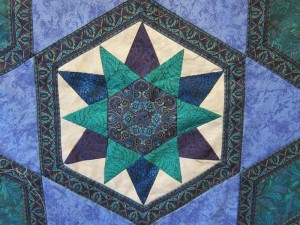
Years ago – I think it is about 6 years or maybe more – one of my BFF’s, Janelle, and I started making a quilt for her daughter, Novim. The quilt is from Jinny Beyer and is a kit that Jinny put together. I have to tell you, this is the most difficult quilt I have ever worked on.

What makes it difficult is the extensive use of border fabric. Getting the borders to line up in so many places and in so many ways has been a real challenge. Often, it is more of a mental challenge than anything else. I swear it feels like I’ve ripped out twice as many seams as I’ve sewn in this quilt.

So, it’s been years and years of working on this quilt sporadically. And, no, we are still not finished with it. But, today we finally put the saw tooth border on it.


But, it’s not done yet! I just hope it doesn’t take another 6 years to finish.

Knitting Frenzy

It’s been a while since I posted. And up until today, it had been a while since I qulited. Instead, I have been knitting knitting knitting!

Way back when, when Maddie was a baby (so that’s about 19 years ago), I used to knit a lot. I knit all sorts of baby clothes for her and for my nephews, too. After a while, though, my arms couldn’t take the repetitive stress. Between knitting and typing and the occasional foray on the piano, I just couldn’t do it anymore. That’s when I switched to quilting and started driving with my foot.

For many years I didn’t touch a knitting needle, except to teach Max how to knit. He turned out to be a very good knitter! But, even just showing him how to knit made my arms hurt.

A few weeks ago, the Biffle and I were walking through downtown Los Gatos, and we walked right past the Very Knit Shop. I have been in the shop a few times to get yarn for couching on my quilts. They have gorgeous yarns there. So, the Biffle and I go upstairs to the shop…and somehow we both decide we are going to try knitting again. In fact, we decide that we will knit each other a scarf for Hanukkah. Here is a picture of the scarf I made for the Biffle, it is my first scarf in a very long time:

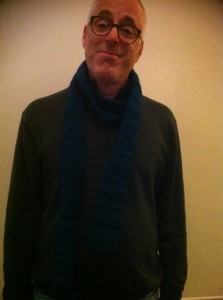
So, then I was on a roll. I made the same scarf in a different color for Greg. I don’t have a photo of it yet, but I will. Then I made a scarf in a pattern from Ravelry for Phil (the hubby Biffle):

And Phil wearing the scarf:

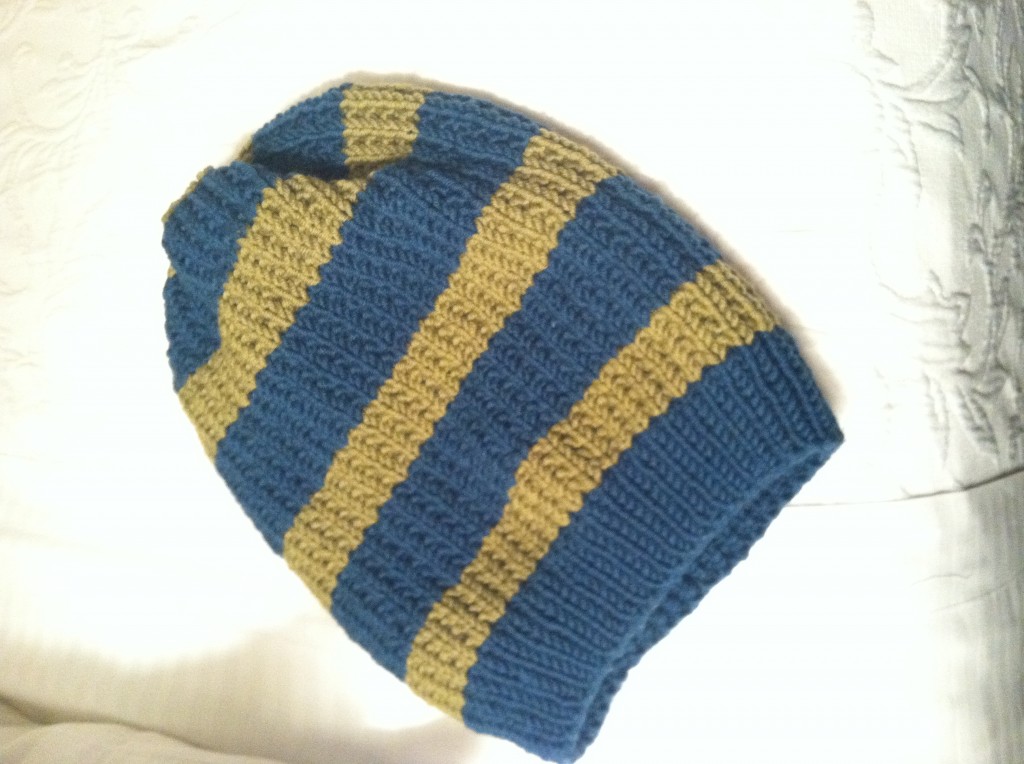
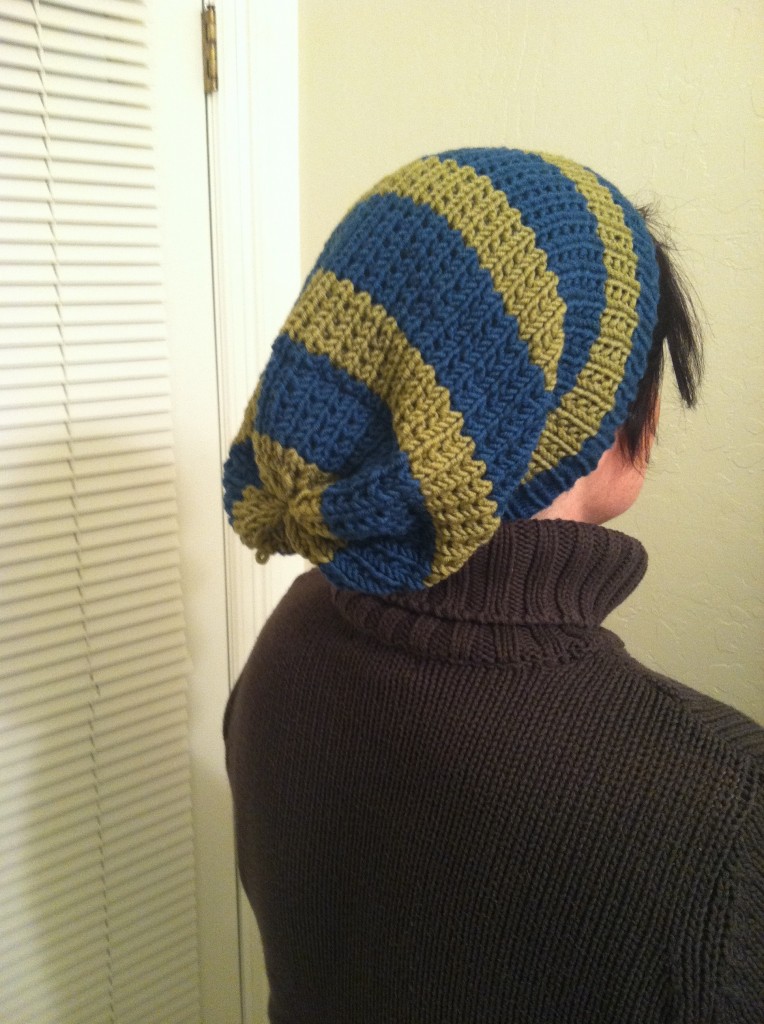
Then I got tired of scarves and moved on to hats. I made one for Maddie and one for Max using the same pattern:

And here I am modeling its supreme slouchiness:

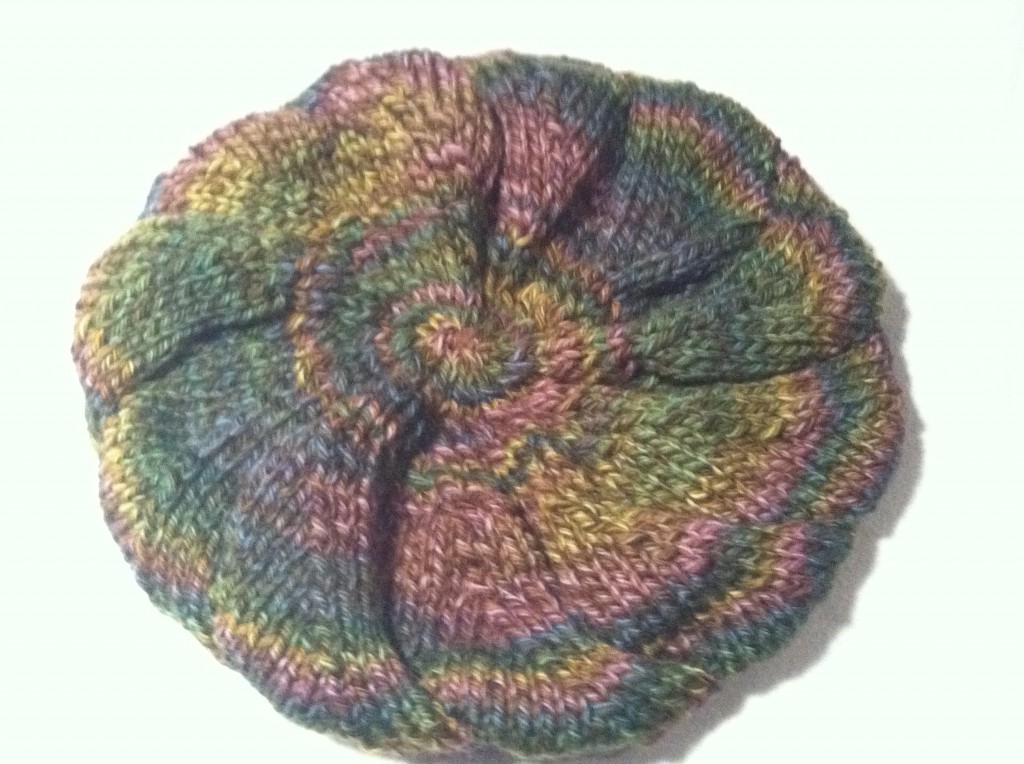
And then I decided to get really fancy and make this cool slouchy beret for myself:

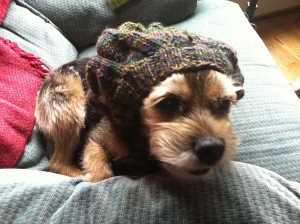
And Allie looks just great in it!

Birfday Biffle Quilt DONE!

I never blogged about finishing the Jinny Beyer Palette Quilt that my Biffle and I started. That’s because I decided to surprise her by finishing it for her birthday.

I put on the binding and then I made the quilt sandwich. I decided to use spray glue to baste the backing, batting, and top, and this was a good idea. The quilt came out nice and even, with no bubbles or folds on the back. I considered putting it on my rack and hand basting it. But, I have found that when I rack large quilts (this one is 60″ x 60″), they tend to get distorted. The end result often is not very even. I really do like the spray basting technique.

Tonight, I gave the quilt to the Biffle. Her reaction was priceless! She was SO very happy and so excited to have the quilt. I also sent the photo to Jinny Beyer. Jinny always enjoys seeing the results of her quilts that folks make.

So this one is done! And I’m working on my no-sew quilt now. I have actually gotten quite distracted by knitting lately. Maybe I should rename my blog: Val Quilts, But Not Nearly Enough Because She Is Busy Knitting?

No Sew Quilt

When I was at the Houston Quilt Festival, I took a class with Robbi Joy Eklow. Robbi makes incredibly colorful, large scale quilts using fusible web.

For the uninitiated, fusible web is like a layer of glue that goes between pieces of fabric. It comes with paper on both sides. You take off one side of paper and iron it to the back of your fabric. Take extra care to make sure you have the paper side down, on the ironing board. More than once over the years I had the glue side down and it makes an extremely stick mess.

Once your fabric is backed with the web and paper, decide where you are going to place the piece (on another piece of fabric), peel off the paper, and with the glue side down (!!), press the top fabric on to the bottom fabric. Here is a video of Robbi Joy Eklow and her studio. She demonstrates some of her techniques.

I have a lot of experience with fusible web. My my children were very young, I used to take plan t-shirts and iron on different designs using the web. Then, I’d use fabric paint to seal between the applique and the t-shirt. It was a lot of fun and I wonder if they still make the appliques (I bet they do).

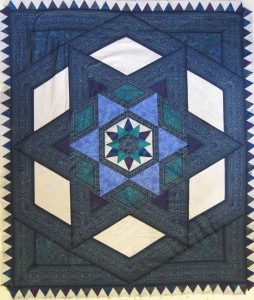
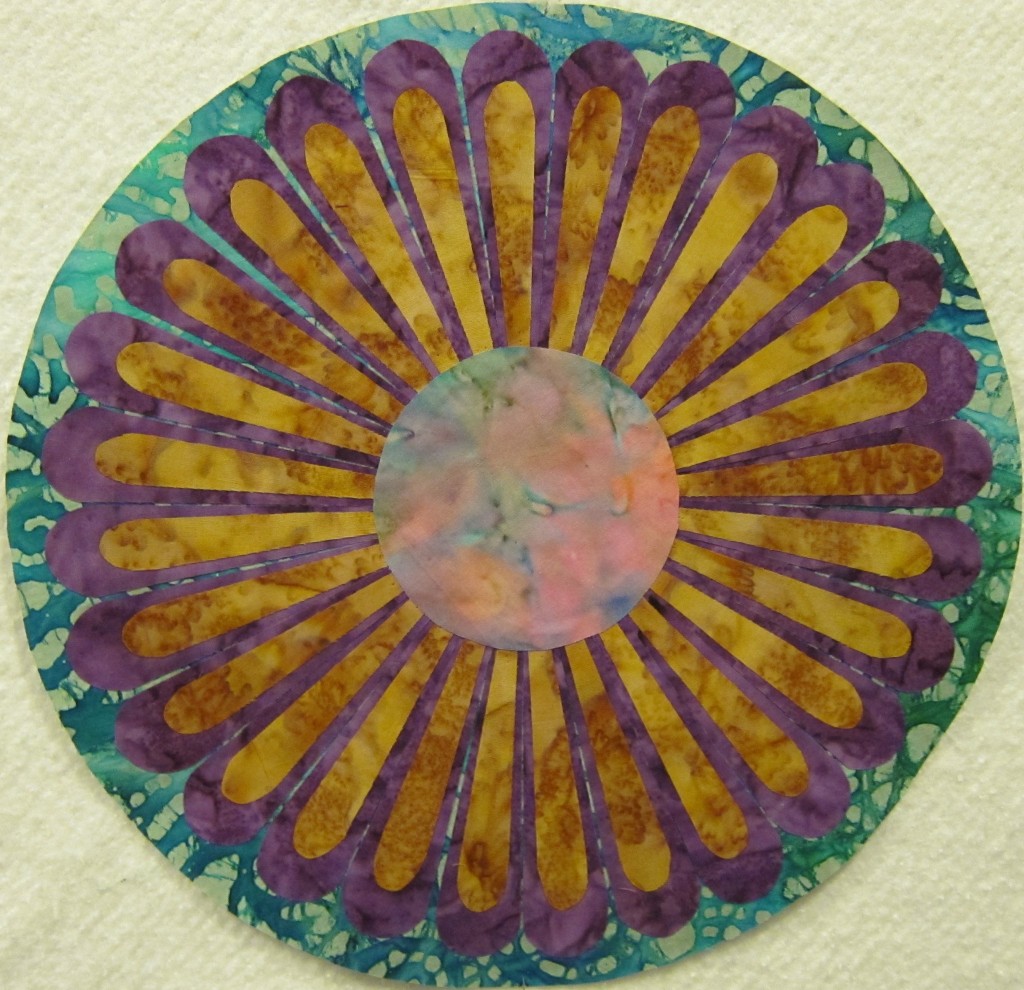
The pattern for the quilt I started making is called Steamboat Sublime. Here is my first completed part of it, the center flower:


Click here to see what Robbi Joy Eklow’s quilt, Steamboat Sublime, looks like. I don’t know if I’ll do the entire quilt as she has it. But, using fusible web in this way has opened up some new ideas for future quilts.

Houston International Quilt Festival

For the past few days, I and 60,000 of my closest quilting friends have been attending the International Quilt Festival in Houston. This is also the home of the Houston quilt market – known to the industry as “going to market.”

What an amazing show this is. If you quilt and have never been there, I urge you to go – just to experience it! The show floor is the largest I’ve ever seen. Half of it is vendors and booths. The other half is an amazing exhibition.

The booths are crowded and many of them sell the same stuff: lots of old fashioned dark brown and brick red fabric and patterns. But, there are a few gems hiding in the aisles.

My (new) favorite fabric designer has a booth there. Her name is Marcia Derse. Click here for a link to her website. I met Marcia last year. While my friend Deb and I were browsing her booth, her husband came up to us and said, “Please buy some fabric. I don’t want to have to schlep all of this stuff back to Ohio in my Prius.” Well, that was enough to get me looking!

And boy does Marcia make some gorgeous fabrics. Her grei goods (the actual fabric on which the patterns are printed) are of the highest quality. Her designs are inspiring. And her colors are what really trips my trigger. Take a look at her website and see what you think.

Another booth I enjoyed was the Bohin booth. Bohin is a French company and they make really nice needles. They also sell thimbles in a multitude of sizes. I bought one – but it is so small that I can’t find it in my hotel room at the moment.

I went a little crazy at the Aurifil booth. I purchase a set of brightly colored threads. They were on sale, but still cost me $100.  I bought a beautiful pair of shears at the Kai Scissor booth, too. All in all, I bought everything except a new sewing machine!

The exhibition was amazing. Here is one of my favorite quilts from the show.


Isn’t it unbelievable?? I vacillated between being terrifically inspired and so dejected that I wanted to break all of my fingers.

This was my second year at the show and I will definitely be back next year!