In this crazy time of the pandemic, most of my sewing time has been spent making masks. I’m not a “machine” like some of my sewist friends. But, I have developed a procedure that works for me.
I’m going to share it with you, in case it helps you to make a mask.
To start, you need:
- One piece of fabric 7.5″ x 15″ (it’s a good idea to wash the fabric first, before you cut it)
- Four strips of fabric that are 18″ long and about 2″ wide. I cut my strips to a 1 and 7/8″ width, which seems ridiculous, but works for me.
- I also use a piece of fusible interfacing to give the mask a little body. If you want to, use a piece that is 7.5″ x 7.5″.
- One new twist tie, the kind you get at the supermarket in the produce section.
- One piece of cardboard (I use a file folder) cut to about 3″ x 2″.
So, here we go.
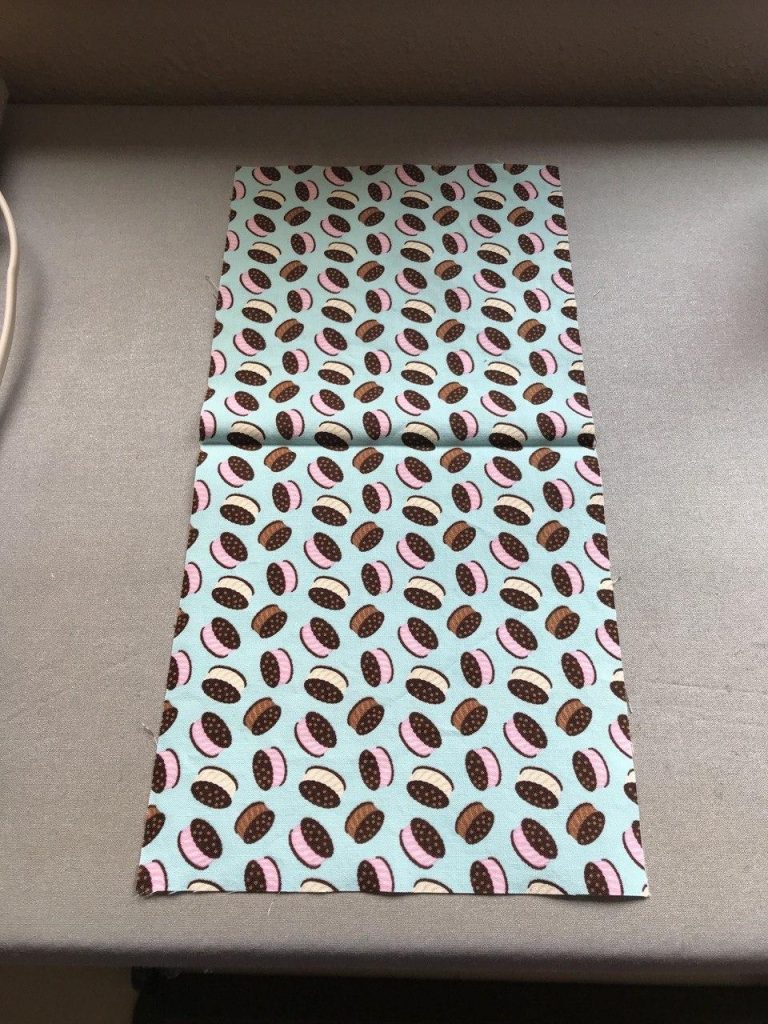
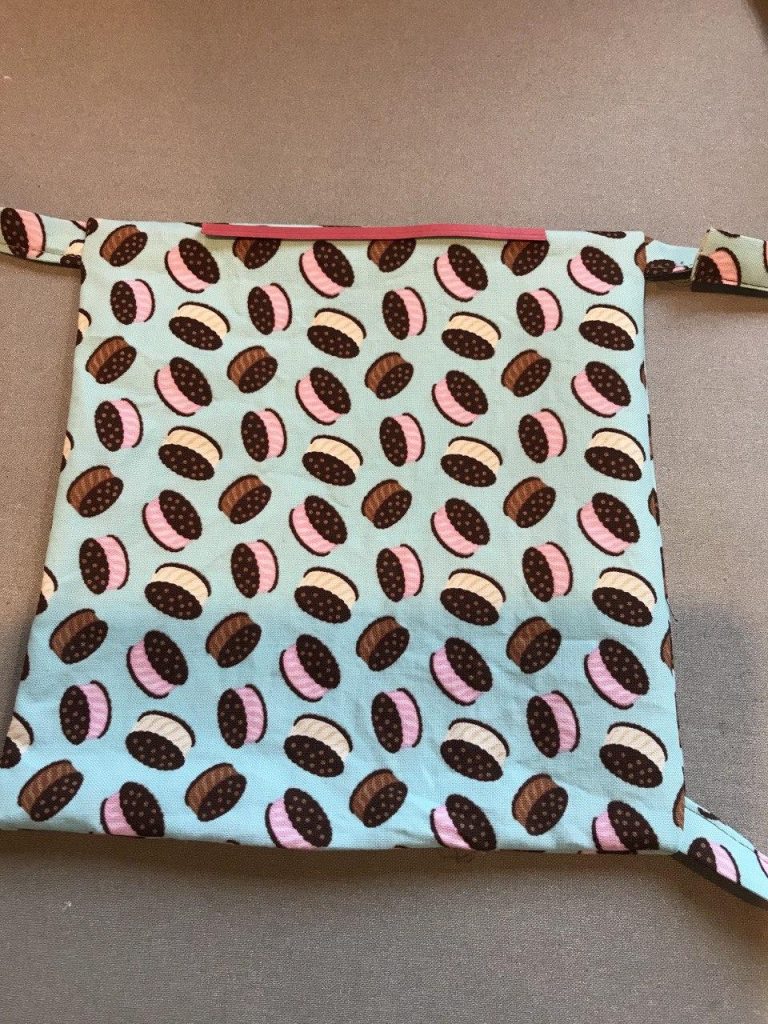
Take your 15 x 7.5″ fabric and fold it so that the right sides are together.
Now is the time you can press the interfacing to one half of the fabric.
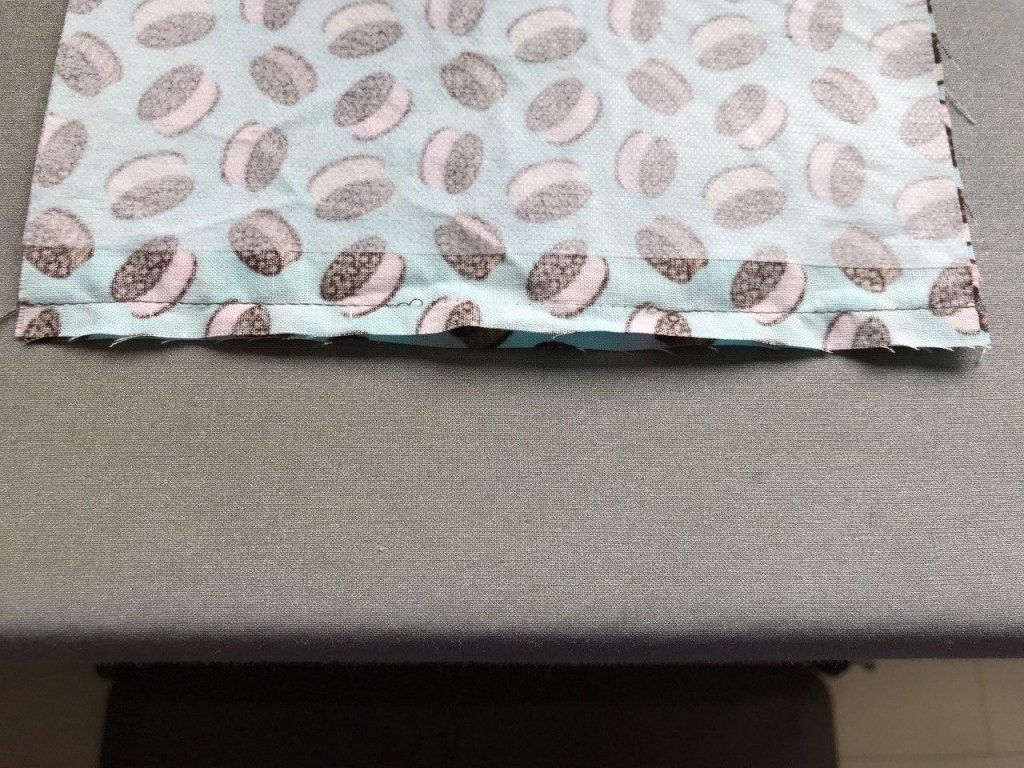
Next, sew across the bottom of the fabric, opposite where the fold is. BUT, you need to leave about 1.5″ open in the center. So, sew in from the edge, leave 1.5″ unsewn, and sew to the other side.
Now you need to make the cords. I find this part to be the trickiest and most time-consuming. When I first started making masks, I used elastic that would go behind the ear. But, two things happened:
- I ran out of elastic.
- I realized that if you wear hearing aids like I do, it is not possible to have the elastic around your ear AND your hearing aid in at the same time. Inevitably, the hearing aid pops off your head. And you don’t want to lose a $4,000 hearing aid! (Did you know they are that expensive? Each? Ack!)
Okay – so to make the cords, you want to take a strip that you cut and do a double fold, like you are making bias binding.
This way, you don’t have any raw edges sticking out.
So, on the Free Spirit website, I found a YouTube video on how to make a little jig to do the double fold. You use cardboard – I used a file folder. Here is the jig:
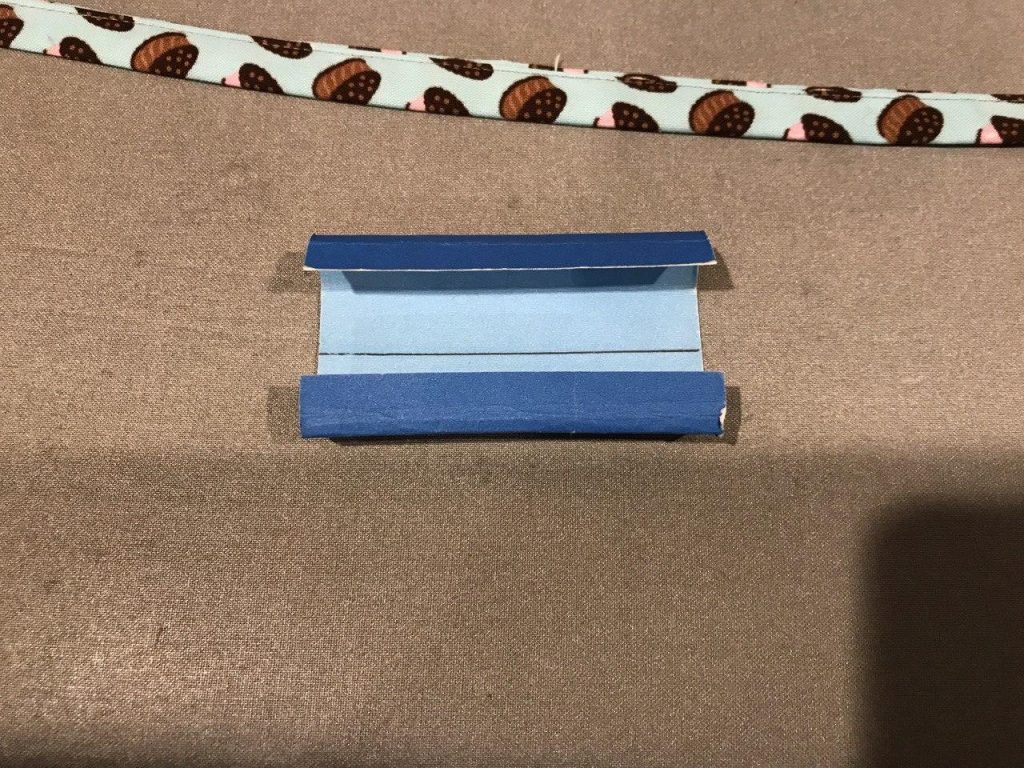
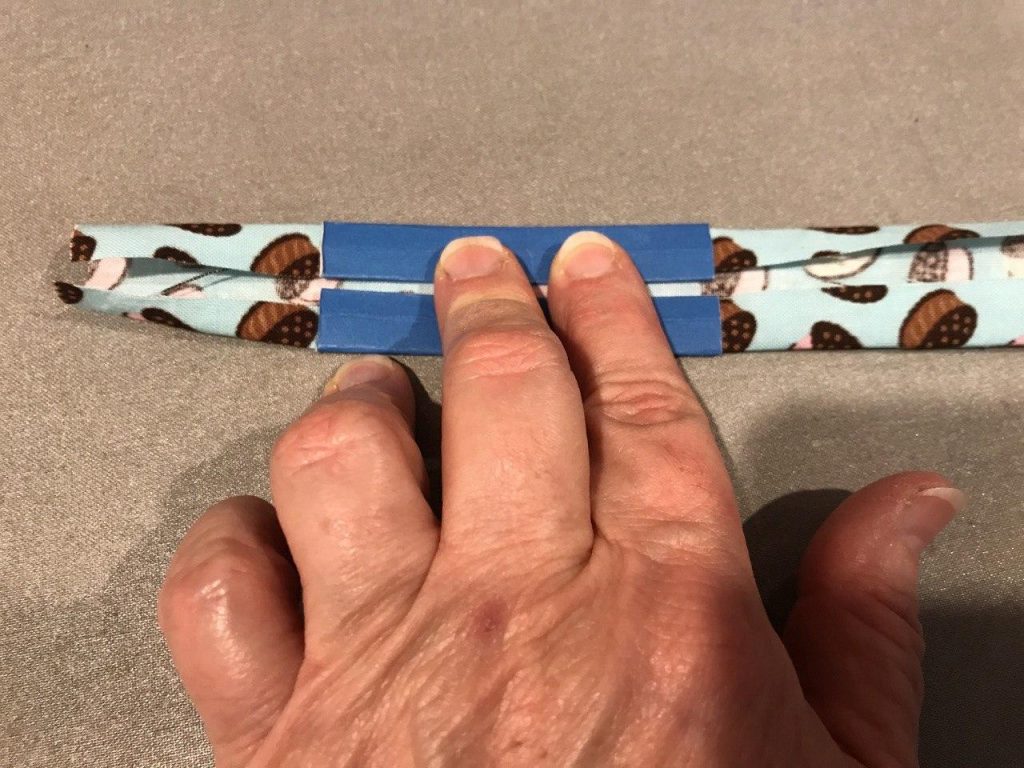
All you do is put the fabric into the jib, fold it up, and press it. Move the jig down the fabric (or the fabric through the jig…same thing) until you’ve gone all the way to the end of the strip. however, I highly recommend that you starch the strips before you do this. It makes the creases hold better and it is easier to work with. I like Best Press for this sort of thing.
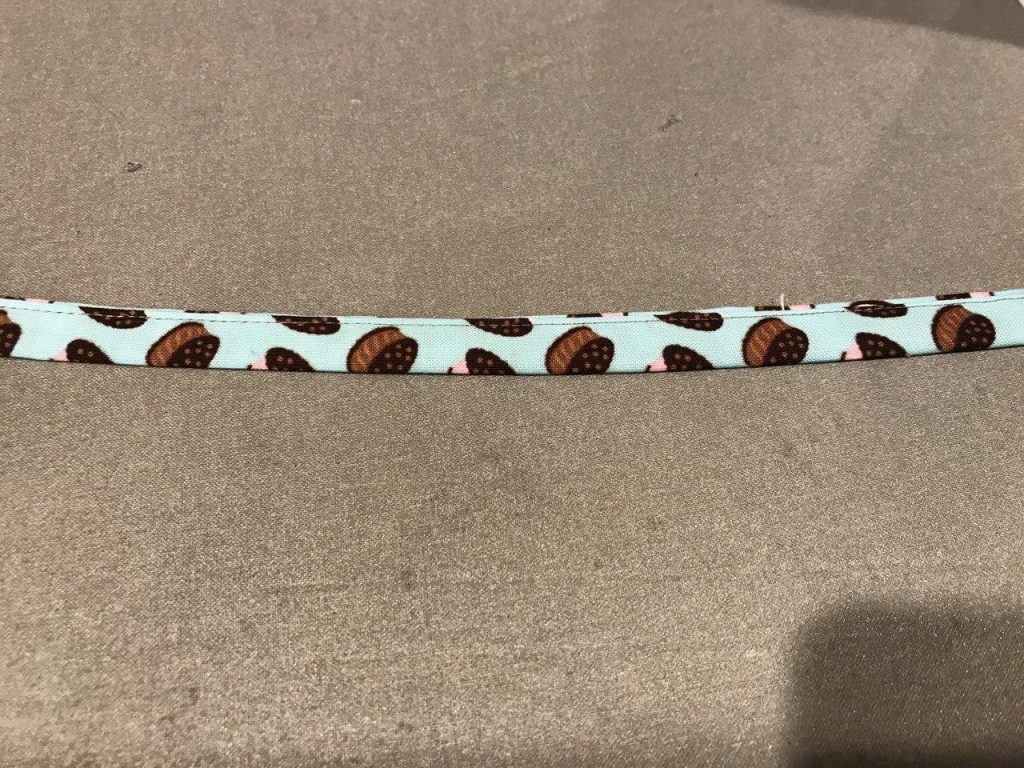
After you’ve gone down the length of the strip, press it in half and sew it so it looks like this:

Do this for all four strips of fabric. Don’t burn your fingers!
Now that your strips are all pressed and sewn, it is time to attach them to the mask.
The body of the mask should still be sitting waiting for you, folded right sides together and pressed. And you have the bottom sewn with the 1.5″ opening in the middle. (That was up there, at the beginning of the post.)
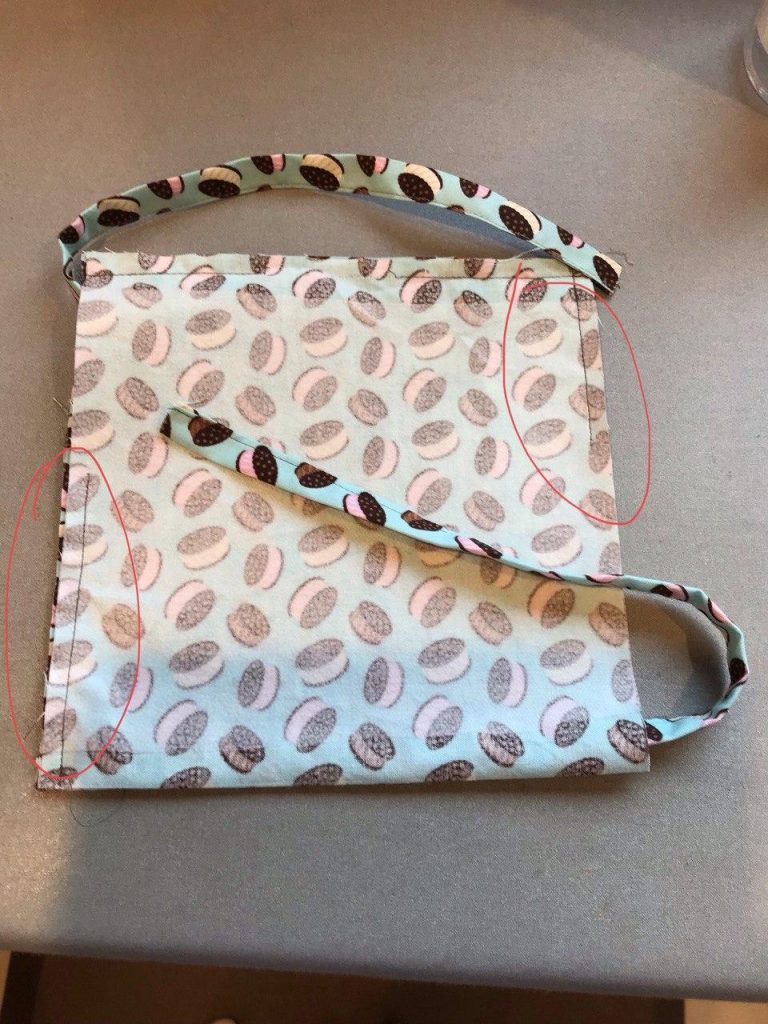
Take a strip (that is now all done and is really a cord), and align it with the top of the mask – but on the INSIDE. And do the same for the bottom – on the INSIDE. I put one on the upper right and the other on the lower left. You’ll see why.
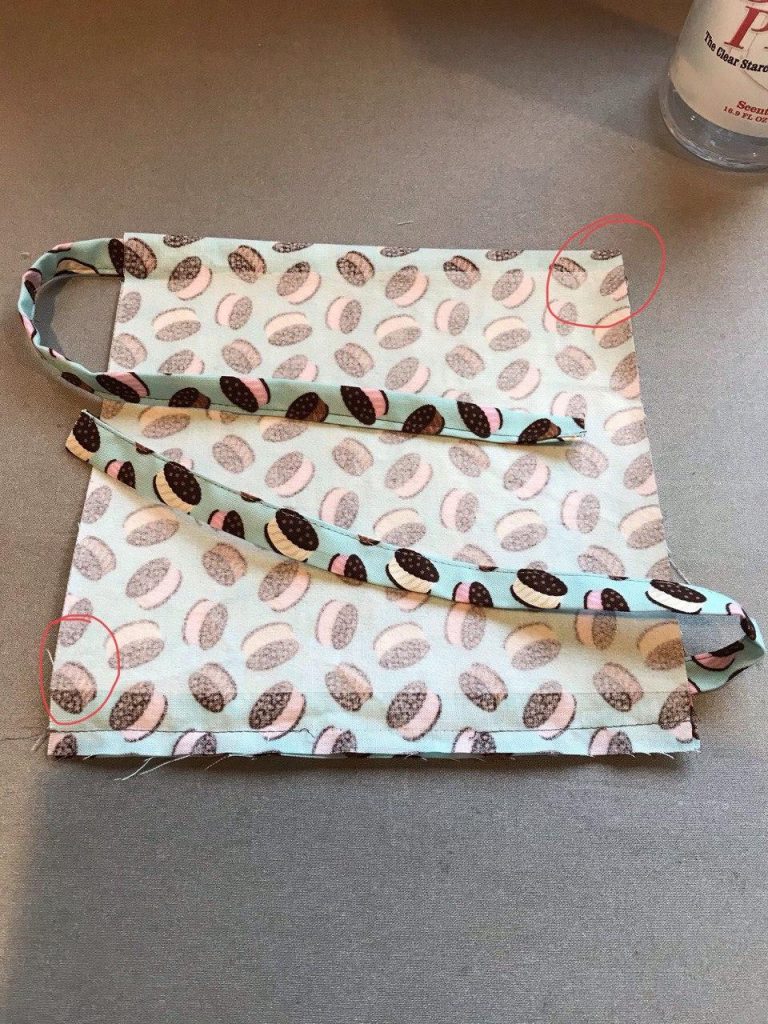
Keeping the cords INSIDE the sandwich, sew halfway down each side. Like this:
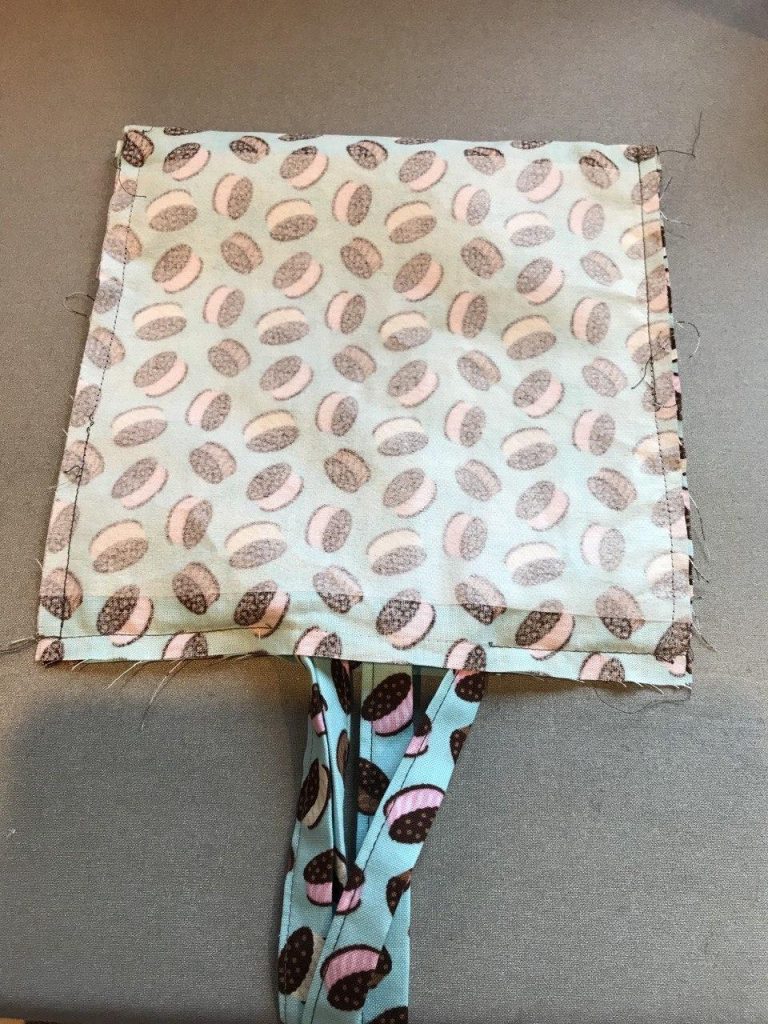
Next, sew the other two chords and sew all the way down the side. At this point, I like to pull the loose ends of the chords through than 1.5″ opening in the bottom of the mask. It keeps them out of the way and lets the mask lie relatively flat.
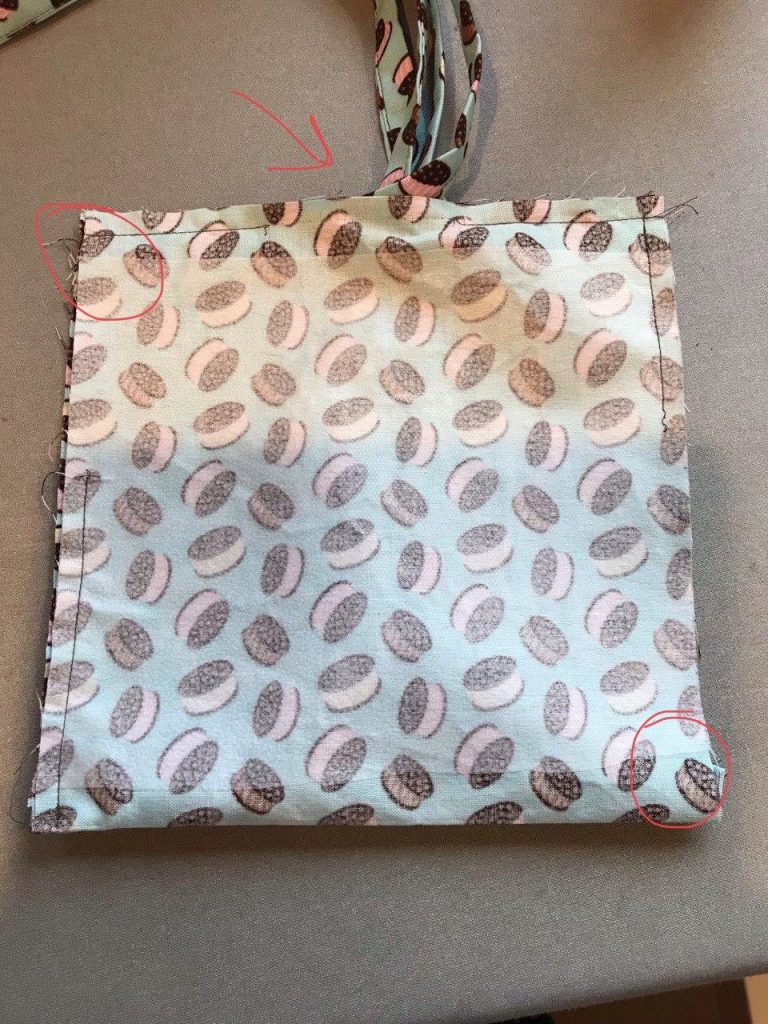
Now all four cords are sewn in.
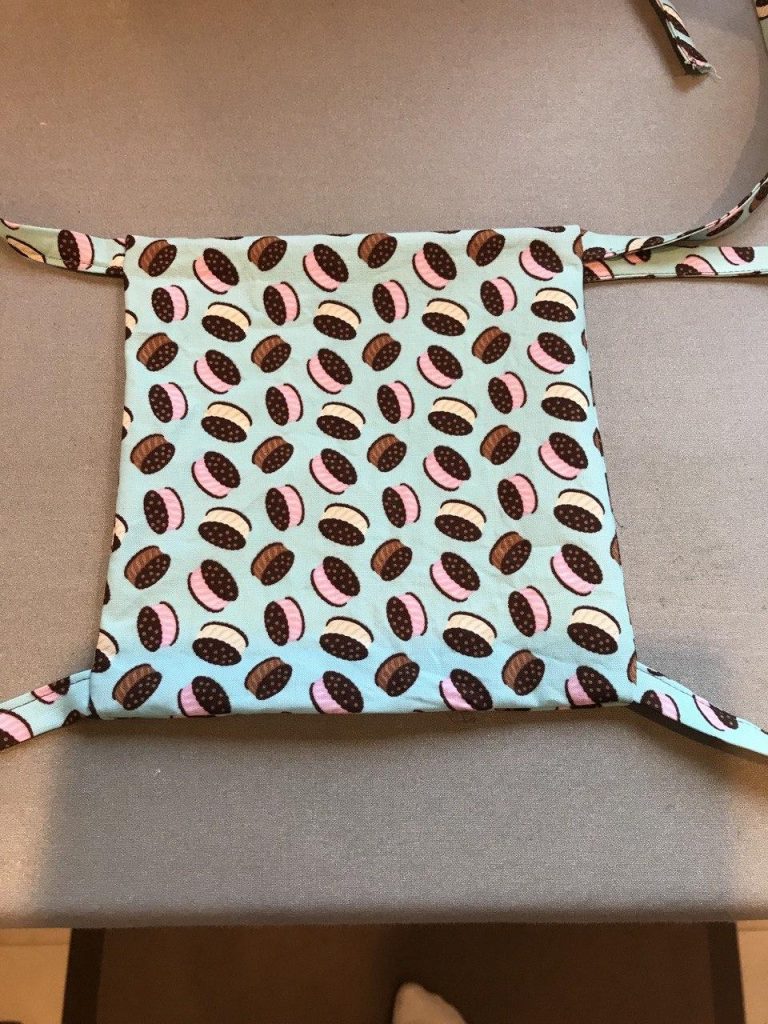
Flip the mask so that the right sides are facing out and the cords are too.
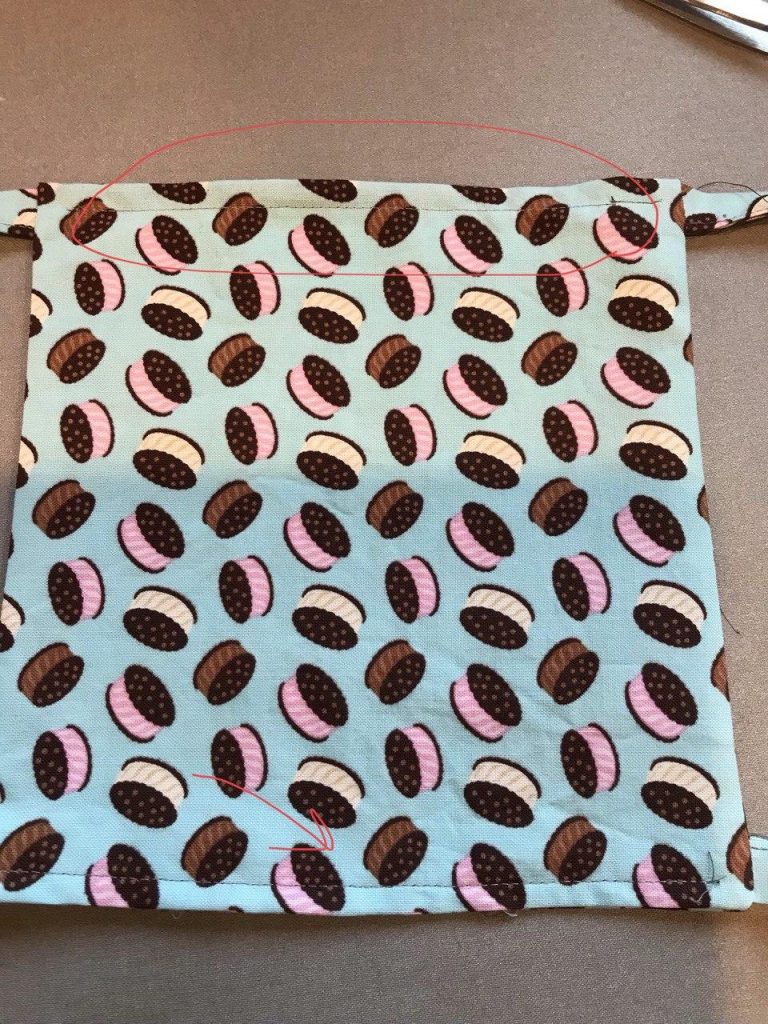
Take the supermarket twist tie and put it INSIDE the mask, at the top, in the middle. Right about here:
This is the bendy part that goes over your nose. Sometimes I need to use tweezers to line up the twist tie INSIDE in the right place.
Sew across so that the twist tie is secured in the little pocket you just made for it.
Next, sew across the bottom, so that you seal up the 1.5″ opening that you used for the cords and twist tie.
Now fold three pleats into the fabric. I always pin down the pleats. Some people measure and use precision. I just fold them and pin them. This is a utilitarian mask, not the next work of art. Who has the time?
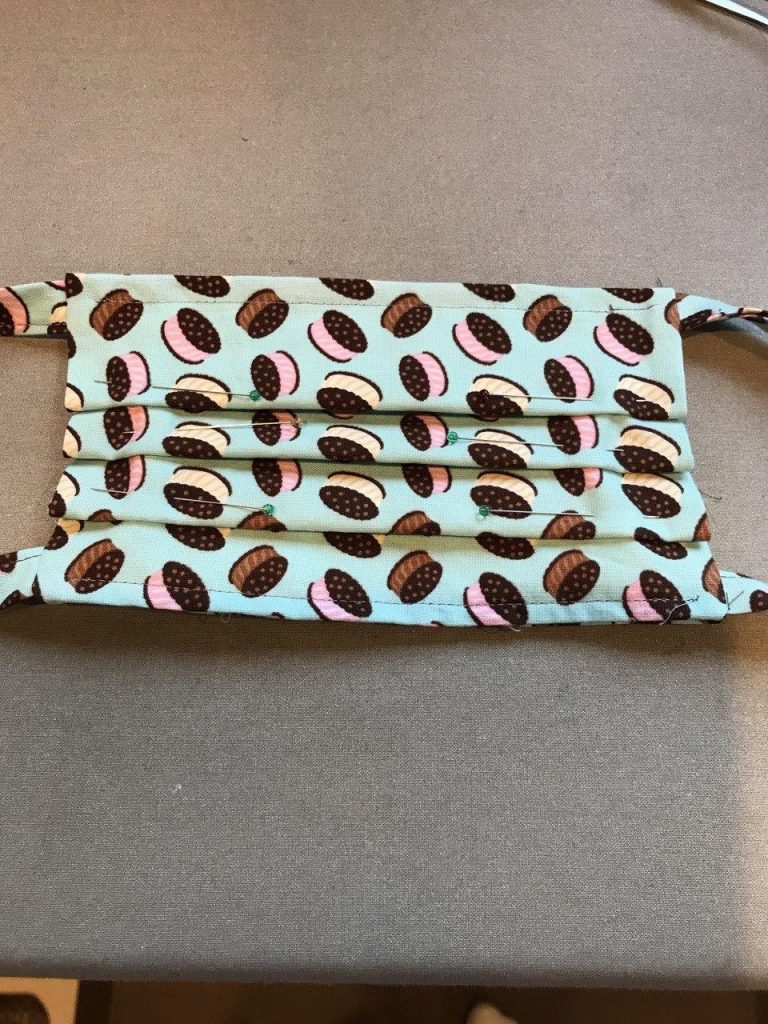
Sew down both sides – you may have to fiddle with the presser foot to make sure the folds don’t get caught in the back.
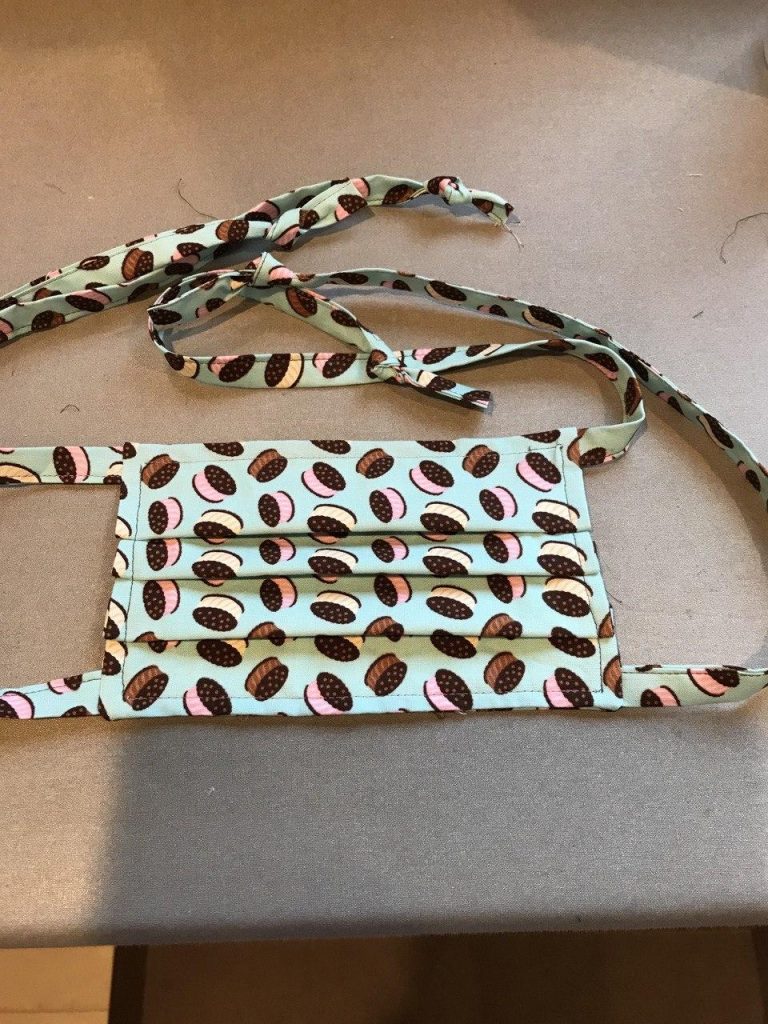
Remove the pins, press the mask. Then, I like to tie knots in the end of each chord. And VOILA! You’ve made a mask!